¶ Creating Collections
Revision date: 13/may/2022
Vizzi version: 1.12.0
Collections are sets of related content. It is through them that content can be organized, for example, into series, seasons, and episodes. In this chapter, we will see how to organize content in Vizzi.
¶ How to Organize Content in Vizzi
First, go to the “Collections” menu and click the “CREATE” button at the top right of the screen, and in the “GENERAL” tab, fill in the information about the collection:
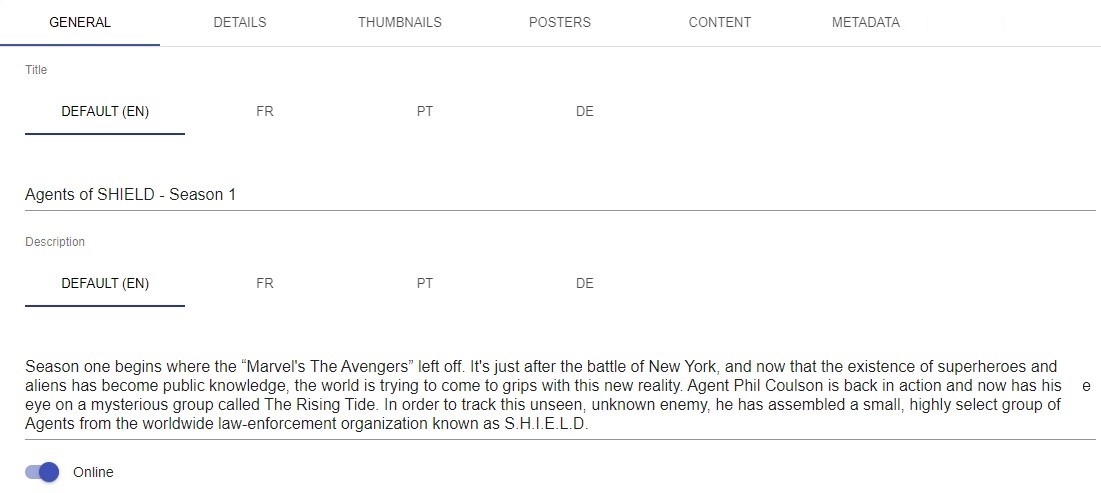
To make the collection viewable on the frontend, that is, by the end-user, check the “Online” option.
In the “CONTENT” tab, “Items” field, select the contents (VODs or Live Streams) that will be part of the collection being created:

Note that in the “Collections” field we can select entire collections created previously. These collections will be nested under the current one being created. In this way, we can create in the frontend, for example, a line with all the seasons of the same series.
These two were the mandatory tabs for setting up a collection on Vizzi and the ones presented below are completely optional.
In the “DETAILS” tab, set the start and end date and time of the collection. Leaving it blank, the collection will always be available for exhibition on the frontend;

If you want to add thumbnails and posters, go to the corresponding tabs, click the “ADD” button and enter the URL of the image in the “URL” field or click the gray box to select an image:
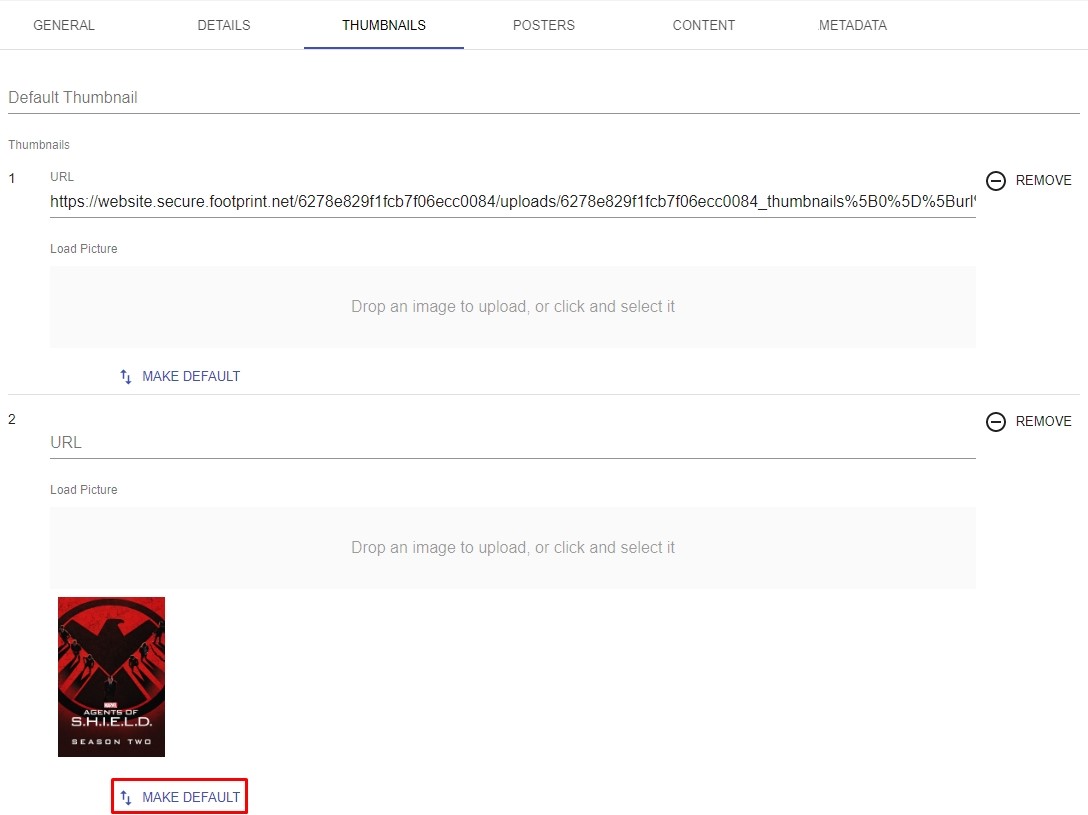
After the images are added, click the “MAKE DEFAULT” button to set the default image.
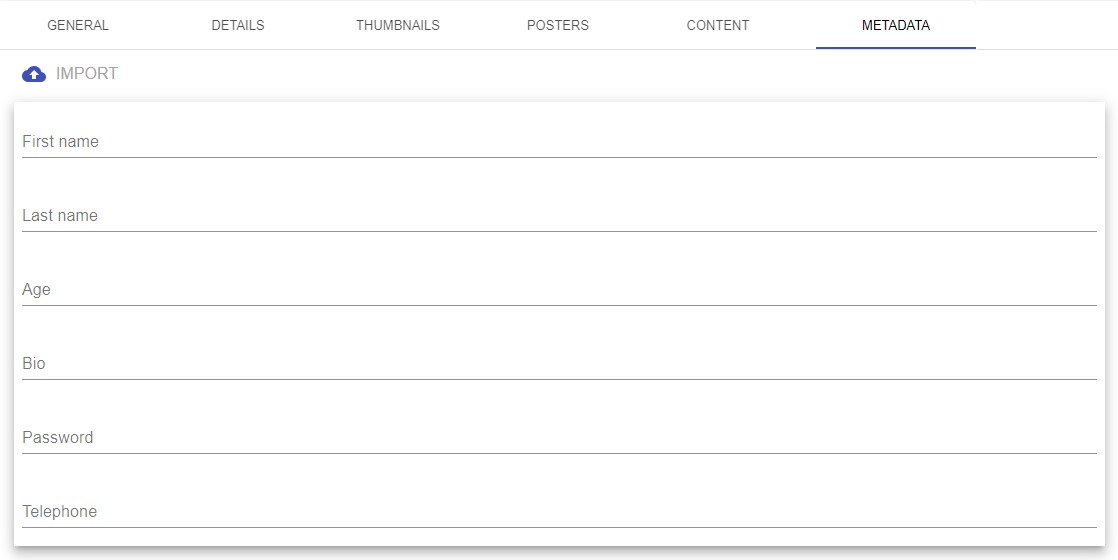
If applicable, on the “Metadata” tab, fill in the collection metadata information:
Once this is done, click the “SAVE AND SHOW” button and you are good to go.
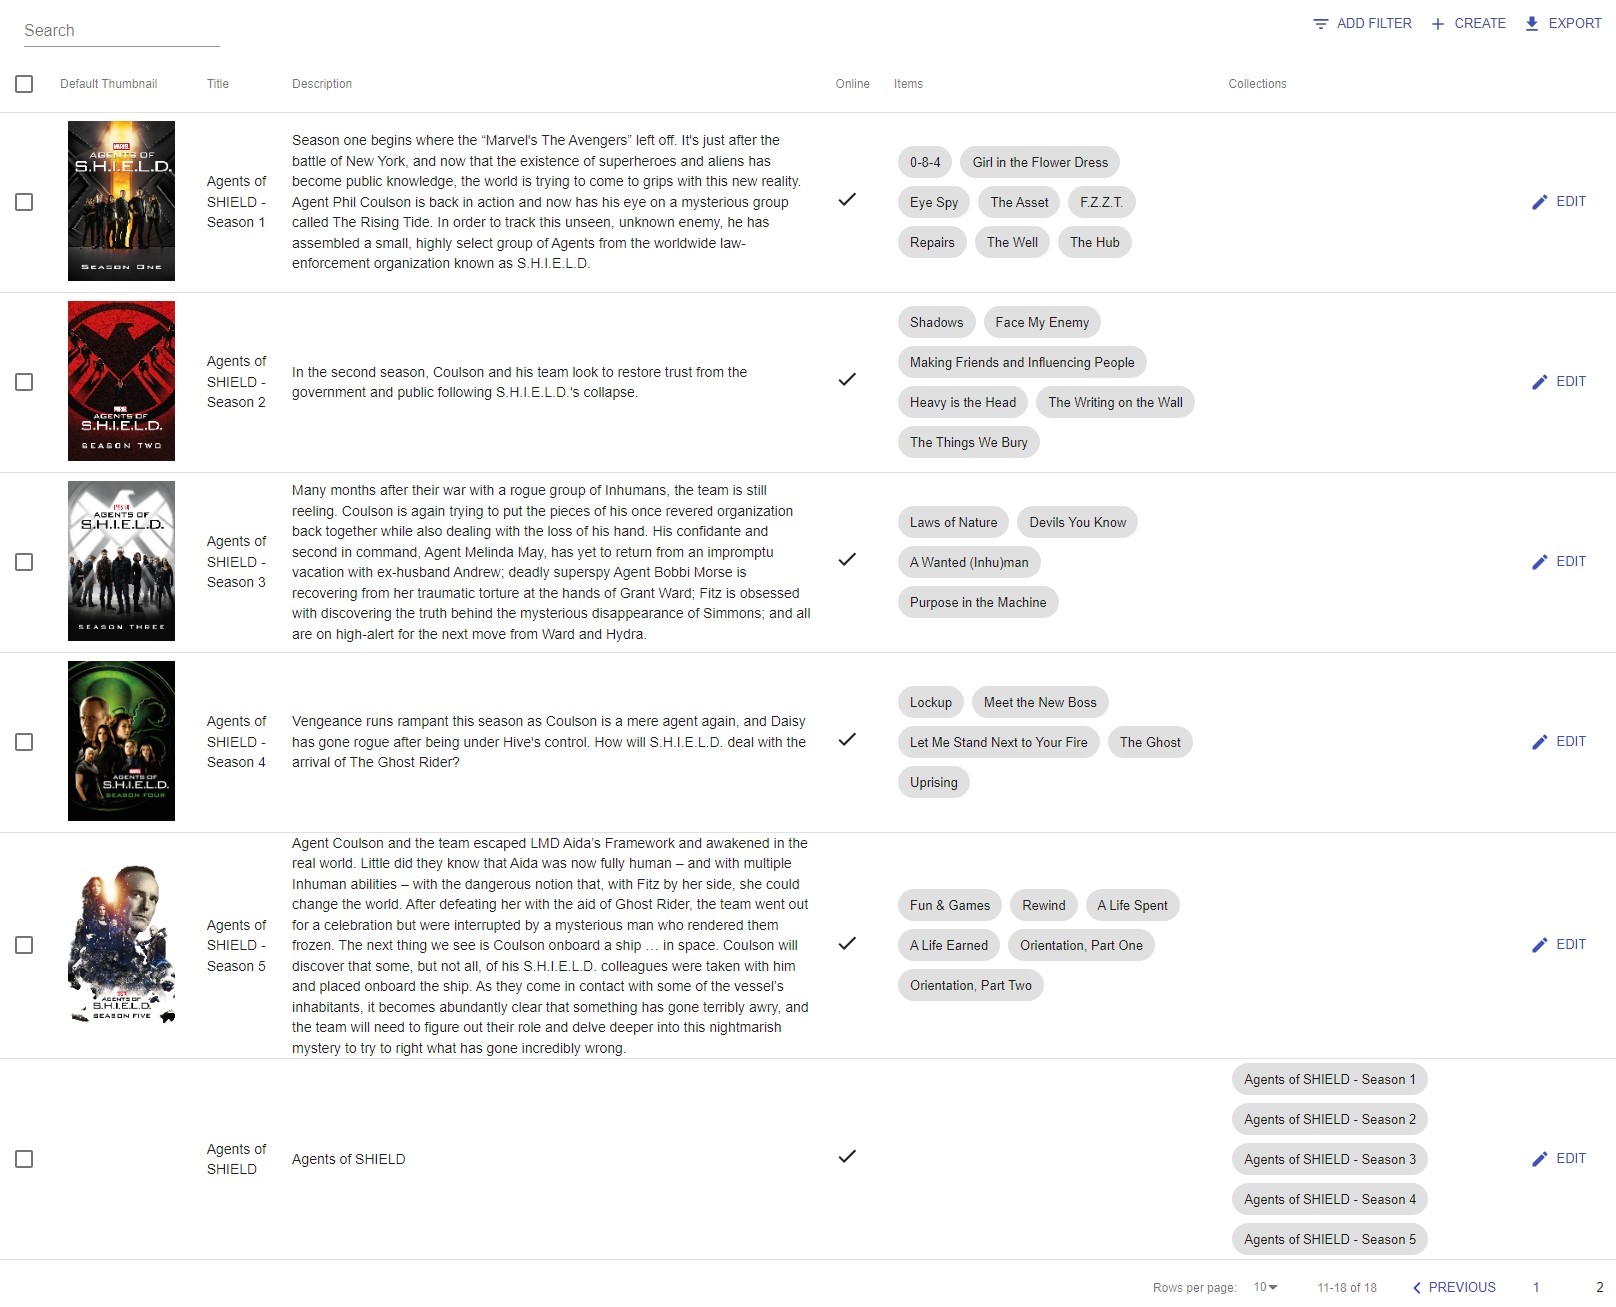
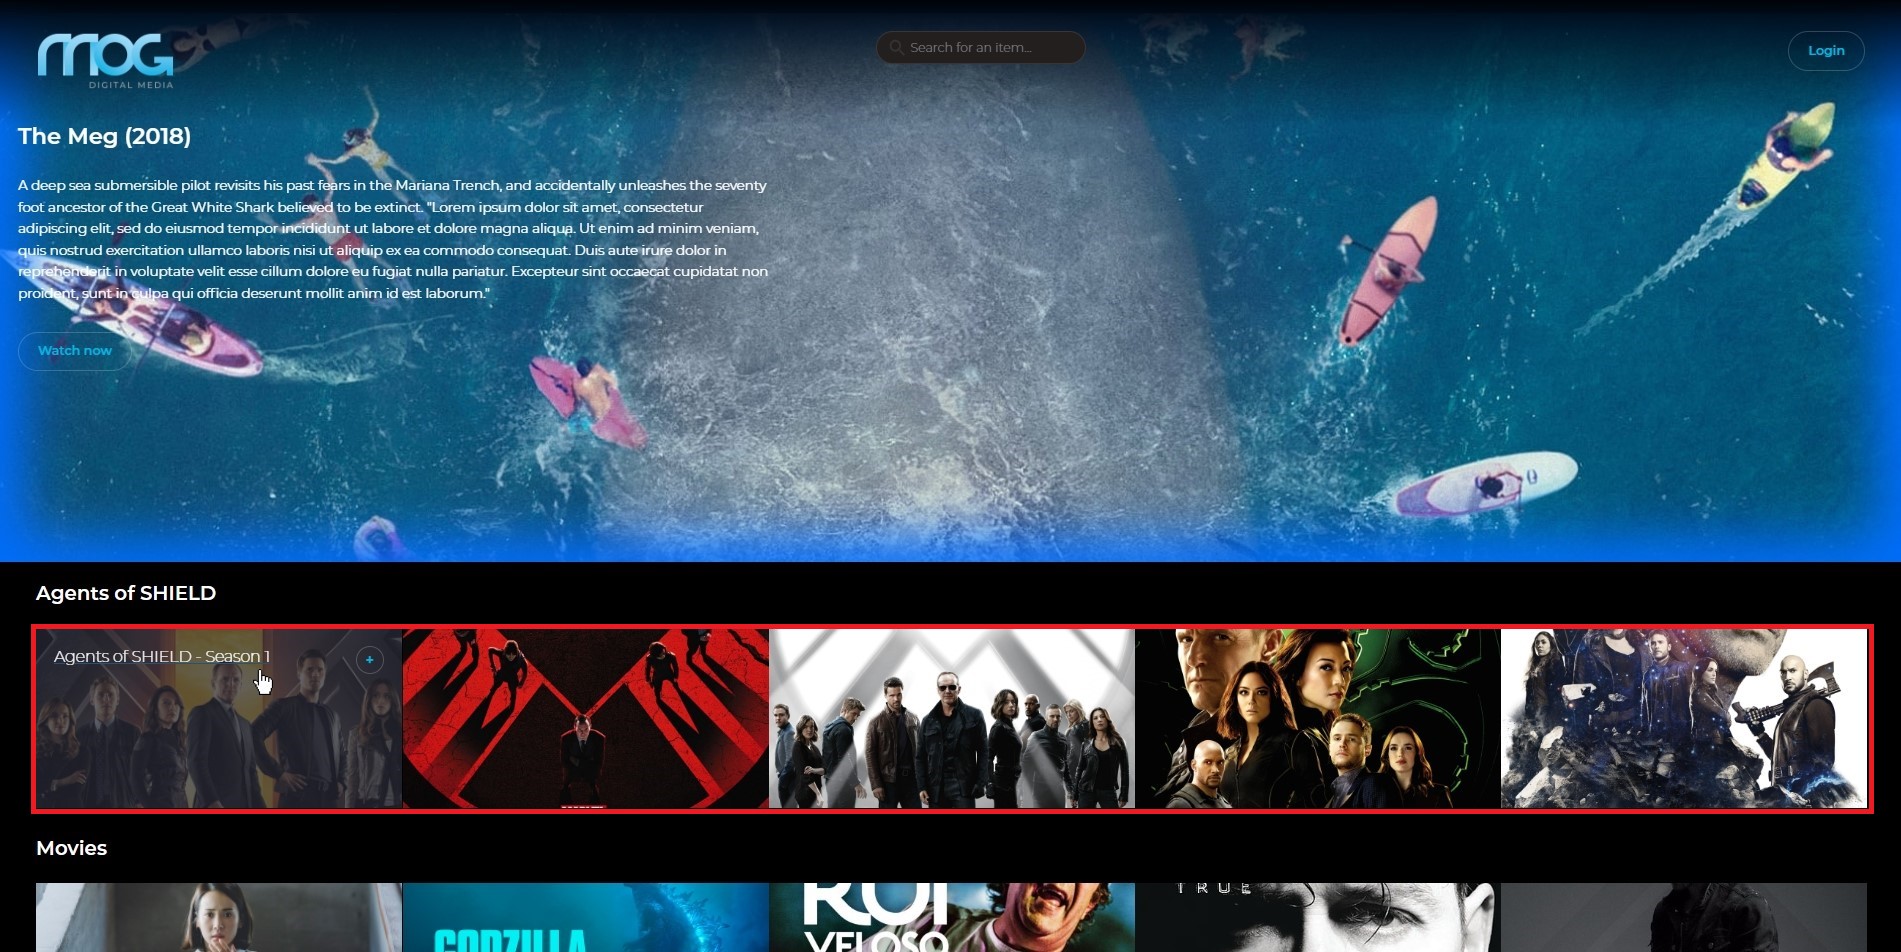
In the image above, 5 collections were created for each of the 5 seasons of a series. Each of them has its respective VODs linked. After that, another collection was created (the last one) to feature all available seasons of the same series. So, on the frontend, the presentation will look like this:
For more details on how to configure a collection, please refer to chapter Collections.