- Click the “Audiences” tab in the navigation menu (left of the screen);

- In the content toolbar click the “Create” button (top right corner of the screen) to create a new audience;

- In the "GENERAL" tab the "Name" is required;
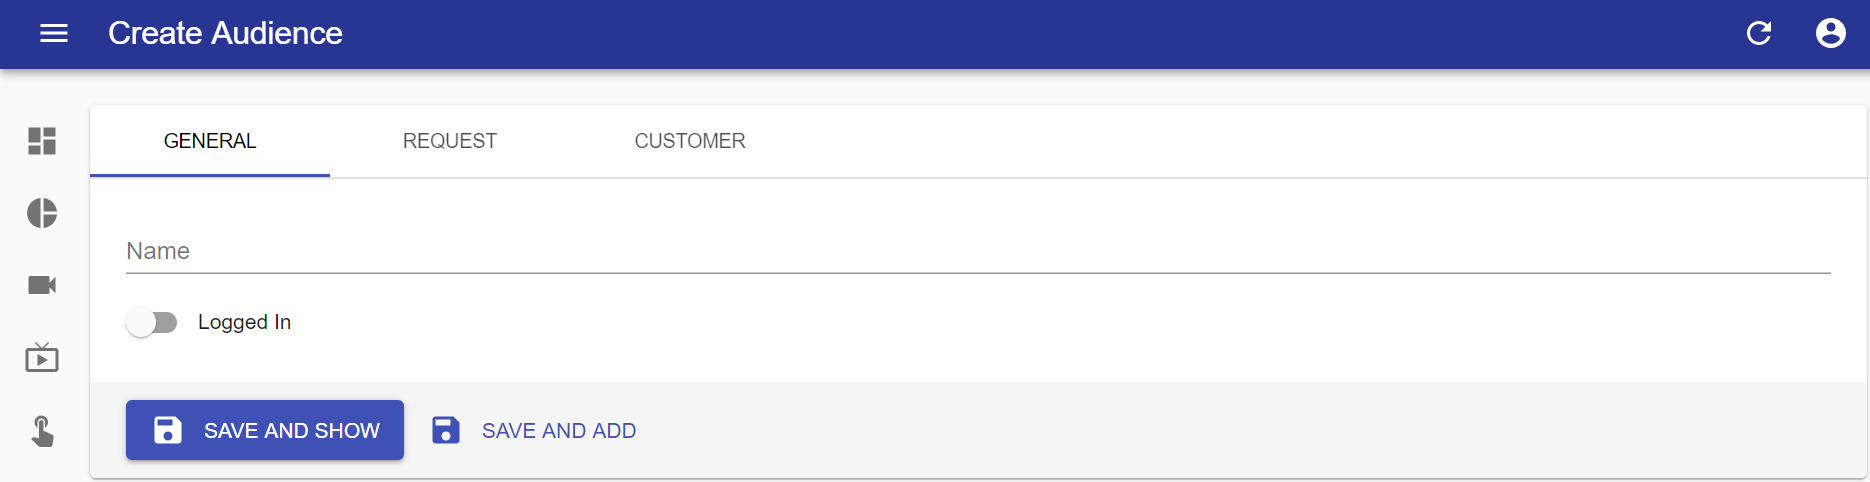
- Name: enter the name of the audience;
- Logged In: if checked this audience will only match users that have previously logged in to the system.
- [OPTIONAL] In the "REQUEST" tab add the characteristics that will filter your audience (even when not logged in);
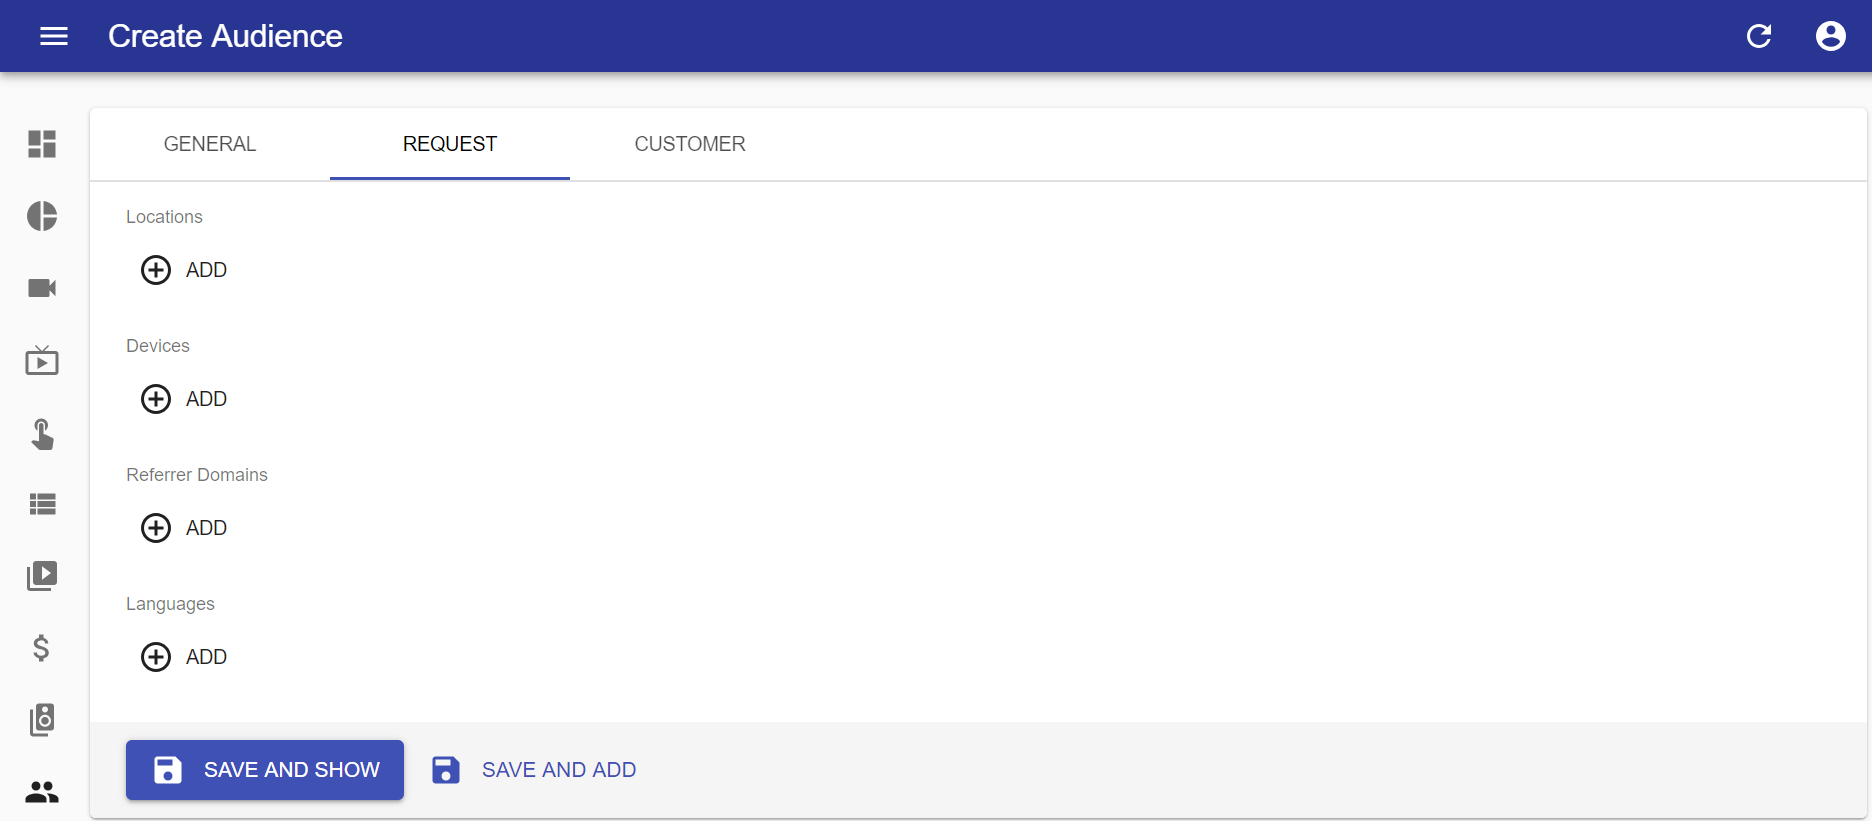
- Click "ADD" to add any of these filters and “REMOVE” if you want to remove them. Available filters are as follows:
- Locations: filter by location from which customer is accessing the service, by typing or selecting a location in the “Location” field;
- Devices: filter by a device from which the user is accessing the service, by entering the type of device in the “Device” field;
- Referrer Domains: it may be the case where an instance of Vizzi backoffice serves more than one frontend, in which case each frontend will have its own domain. Filter by domain from which user is accessing the service, by entering in the “Domain” field;
- Languages: filter by the preferred language of the user accessing the service, by typing or selecting a language in the “Language” field.
- [OPTIONAL] In the “CUSTOMER” tab add the characteristics that will filter your audience by specific user registration criteria.
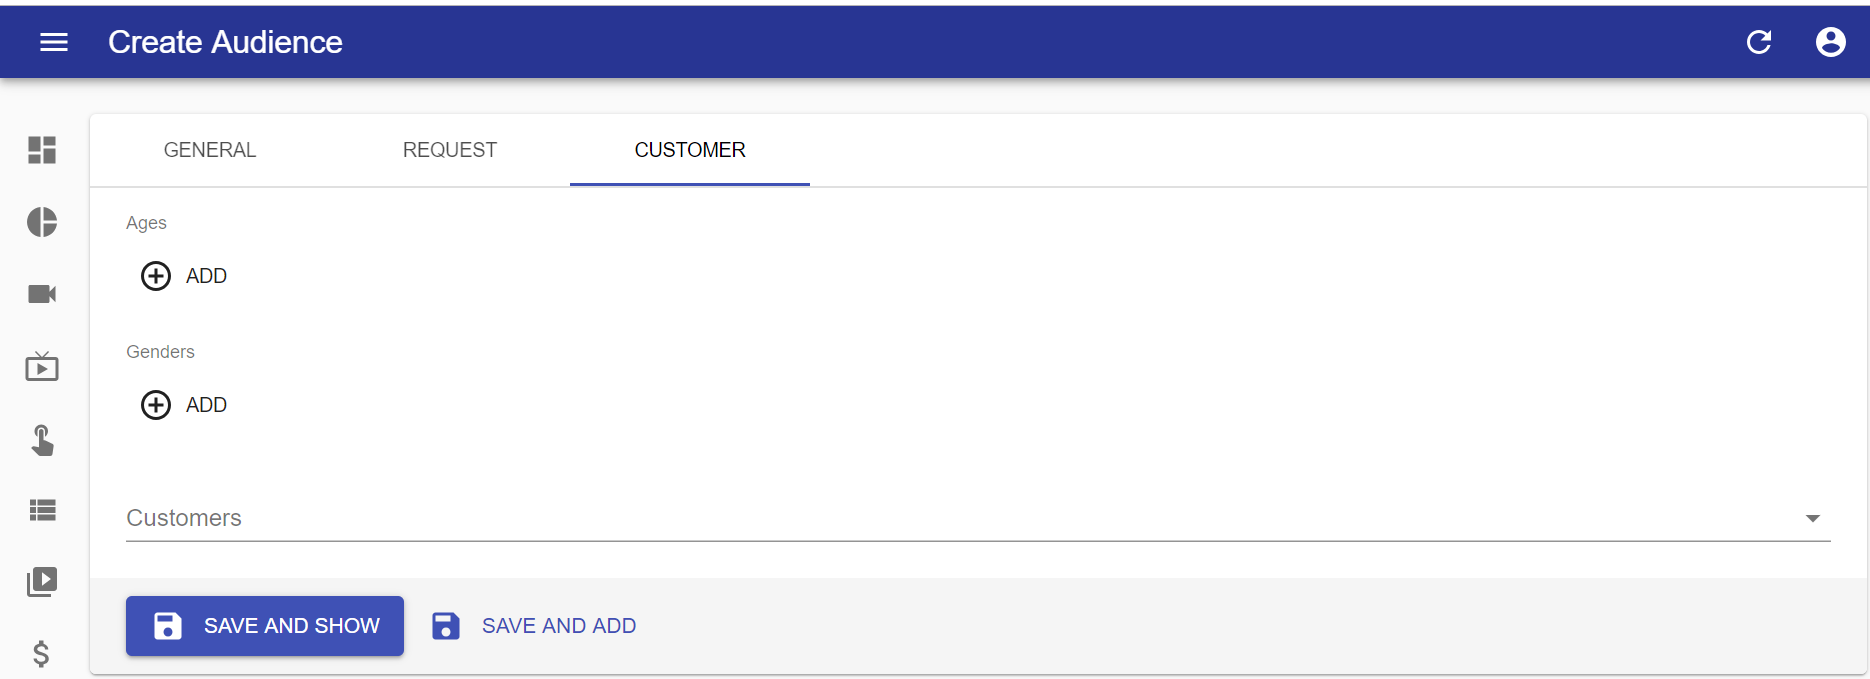
- Click "ADD" to add any of these filters and “REMOVE” if you want to remove them. Available filters are as follows:
- Ages: set minimum and maximum ages in order to specify an age range;

- Genders: set audience gender in order to filter “Male” or “Female” audiences;

- Customers: determine one or more specific Customers in order to set a fine-grained curated audience.

- Click "SAVE AND SHOW" to save and go to the preview of the created item, or "SAVE AND ADD" to save and continue adding more items.