¶ Customizing the Frontend
Revision date: 02/sep/2022
Vizzi version: 1.12.0
Customizing the appearance of the Vizzi white label frontend to match your brand identity is a quick and easy task and can be done by you in the backend settings.
Let’s see below how simple it is to perform this.
¶ Configuration
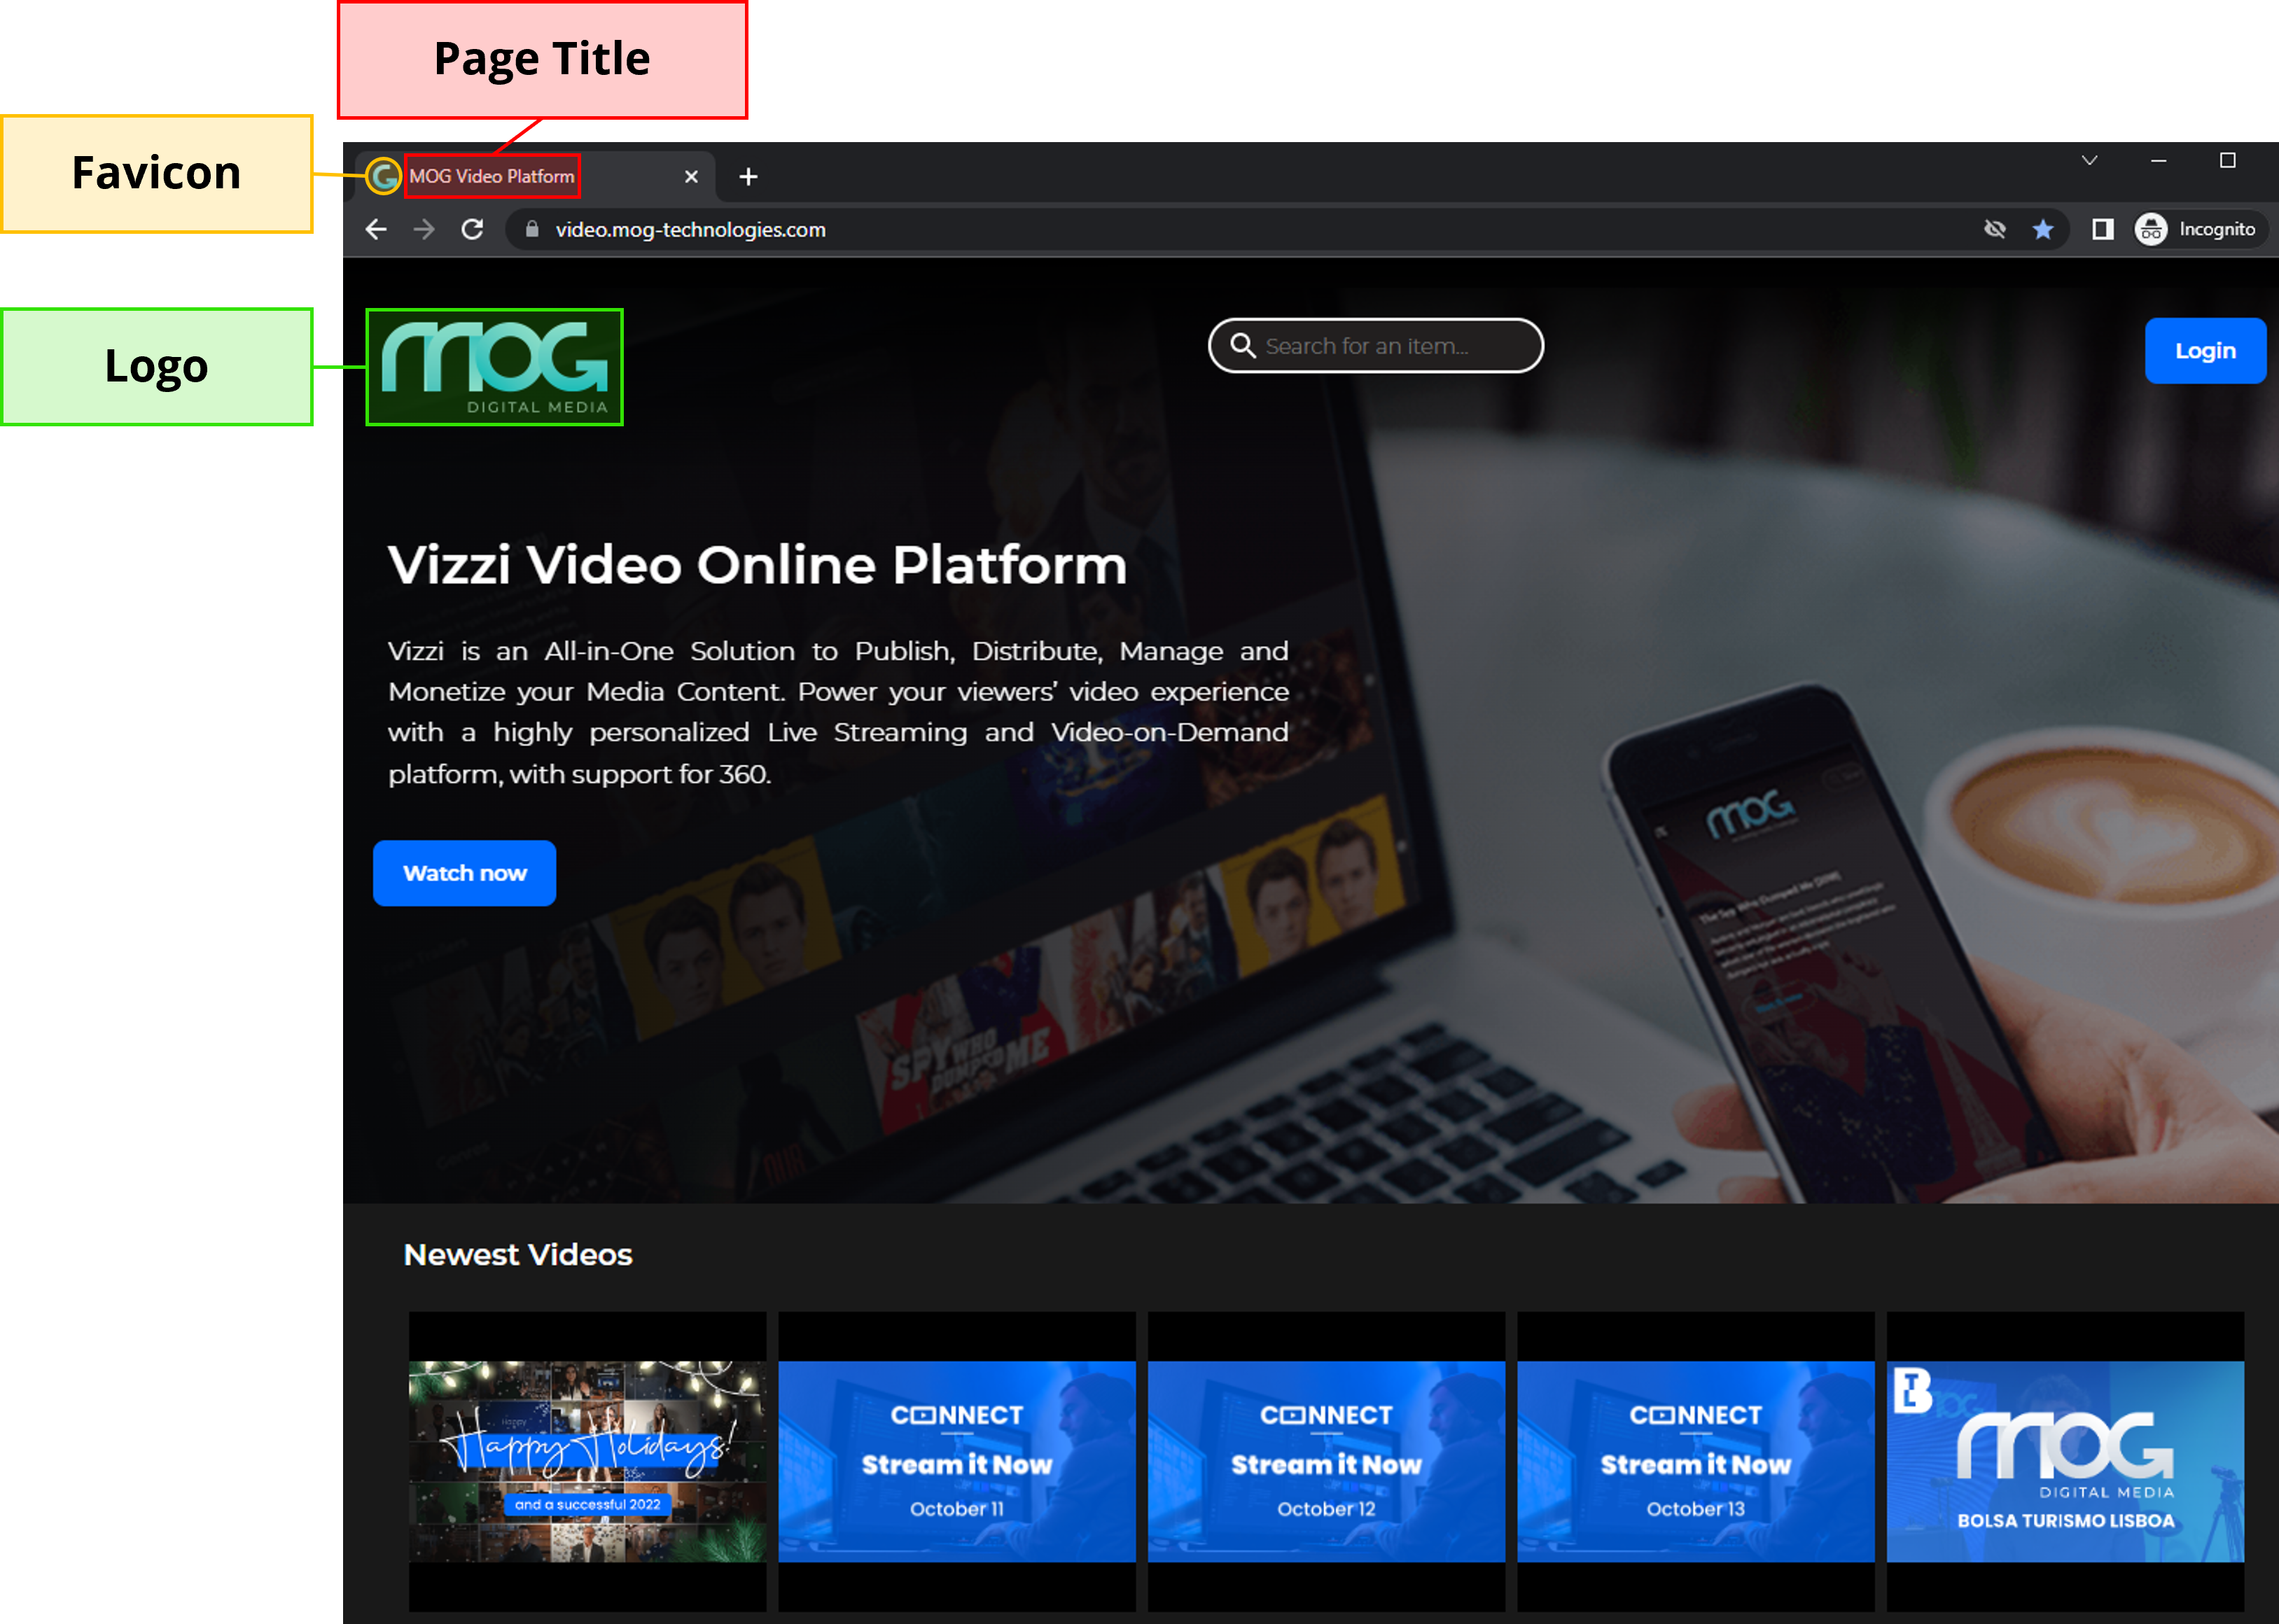
First, go to the “Frontend Settings” menu and click the “CREATE” button in the upper right corner of the screen. In the “GENERAL” tab, fill in the name, page title, and the URLs for your logo and favicon:

On the frontend, these elements are presented as highlighted in the figure below:
Note: by default, customers see the frontend configuration named “default” unless the user matches an audience defined as a target audience of a specific frontend configuration. This configuration is done through the “Audiences” tab.
To choose the colors for the frontend elements, go to the “COLORS” tab:
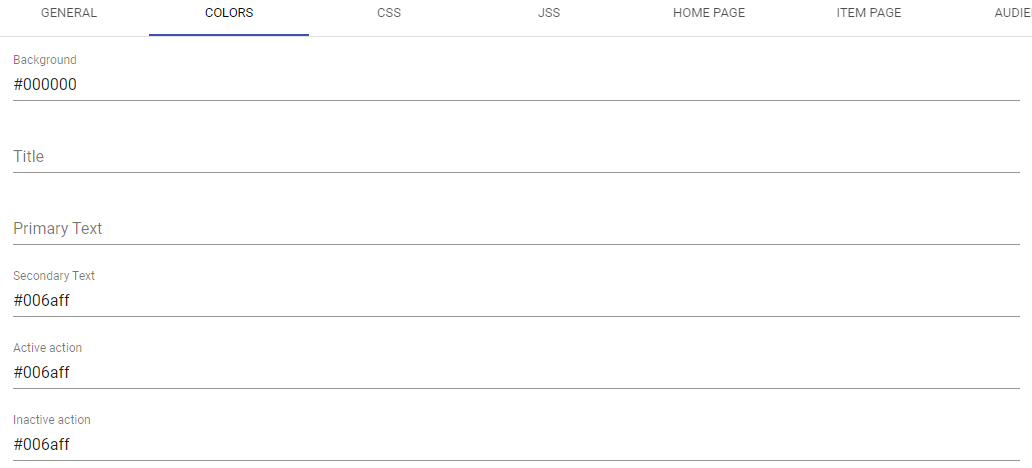
In the “Active Actions” field, choose the colors of the buttons’ edges and their background when hovering the mouse.

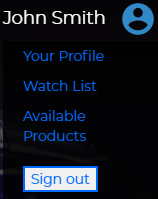
In the “Inactive Actions”, select the text colors of the management functions for the customer who is logged in on the frontend:
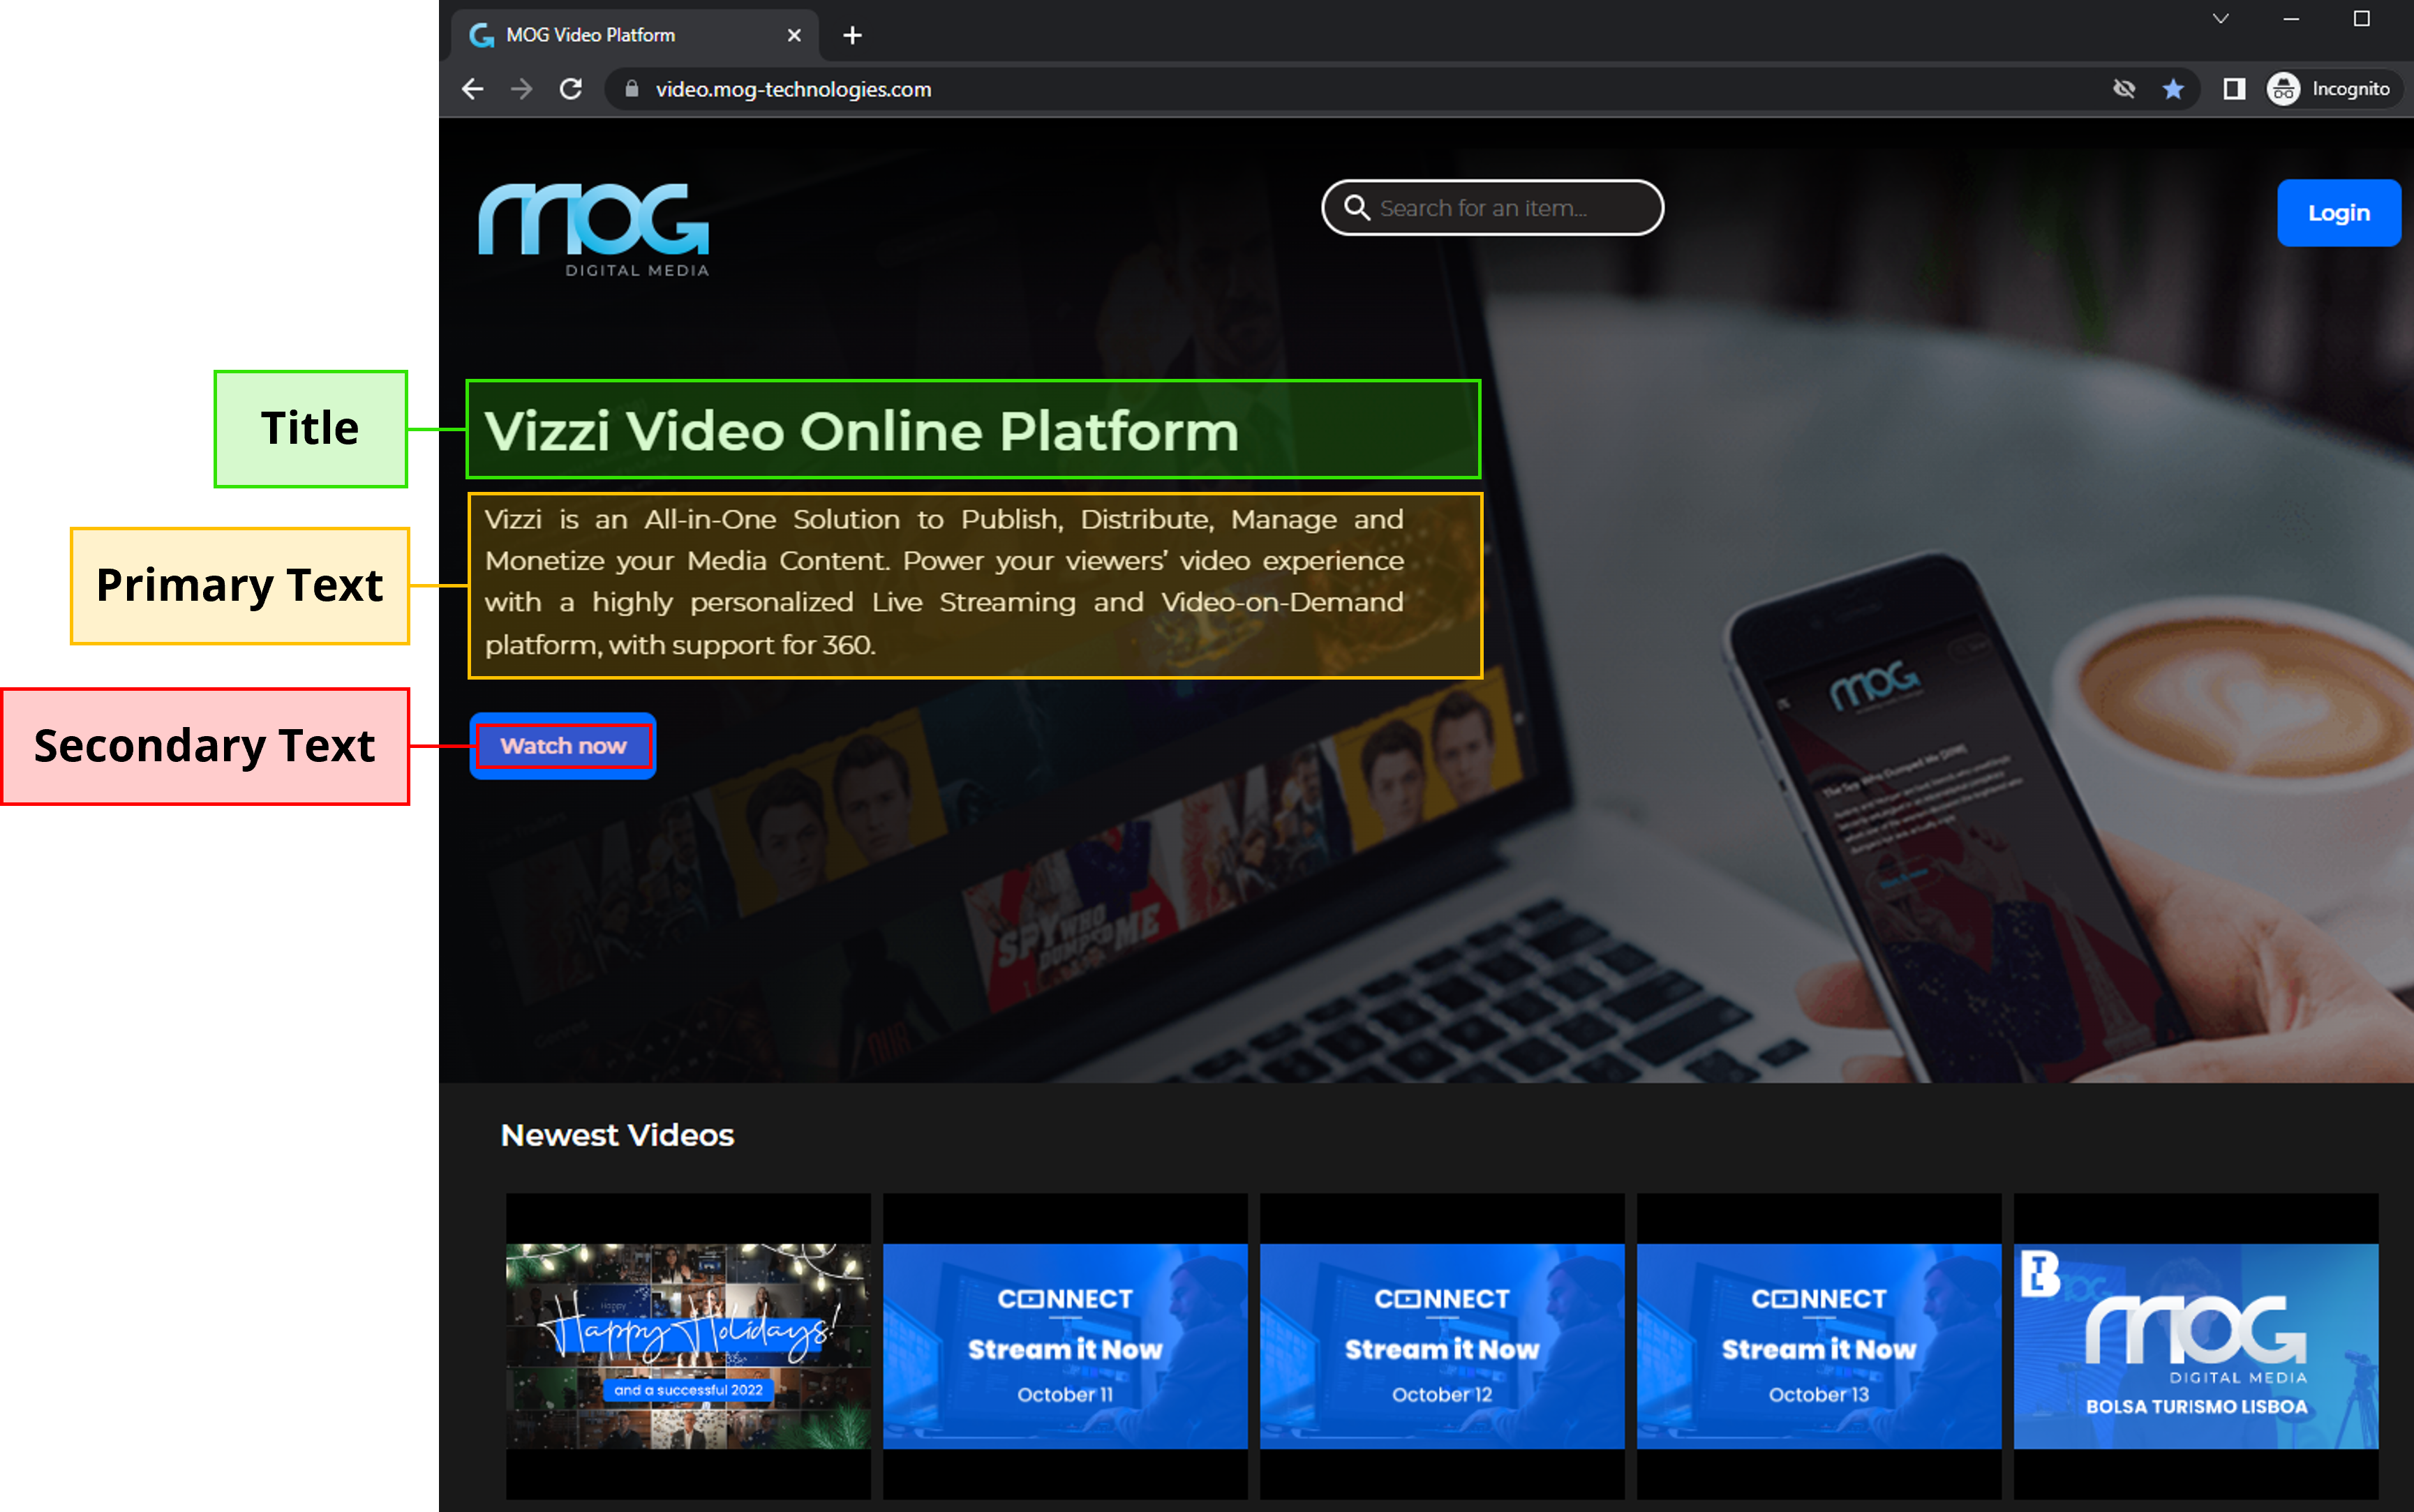
The “Title”, “Primary text”, and “Secondary text” are presented as highlighted below:
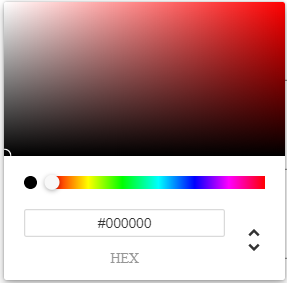
Note: clicking on any field will show a color picker (figure below) for choosing the intended color. You can choose by clicking on a color or typing the value corresponding to the color in Hexadecimal, RGB, or HSL.
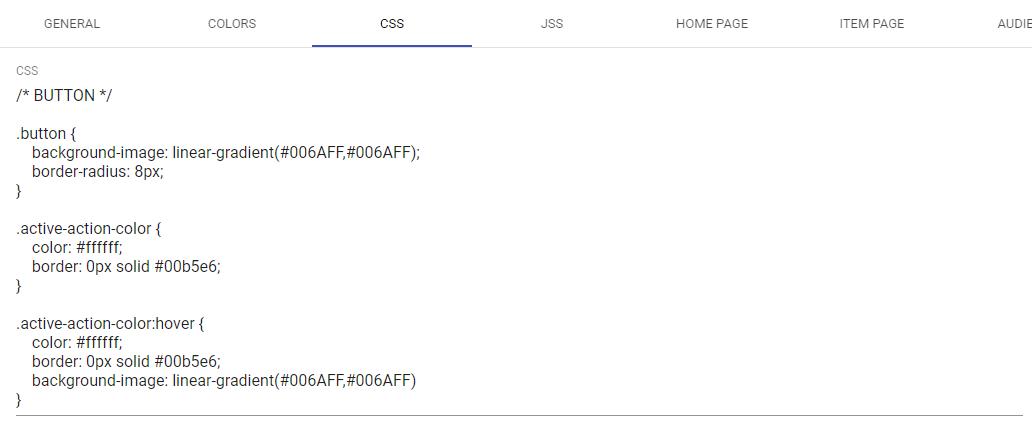
Another way to customize the entire appearance of the frontend, whether for web browsers or mobile devices, is through CSS and JSS style definitions. To do this, enter them in the corresponding tab, as shown below:
You can configure the elements that will be displayed on the frontend homepage and their behavior. To this, go to the “HOME PAGE” tab:

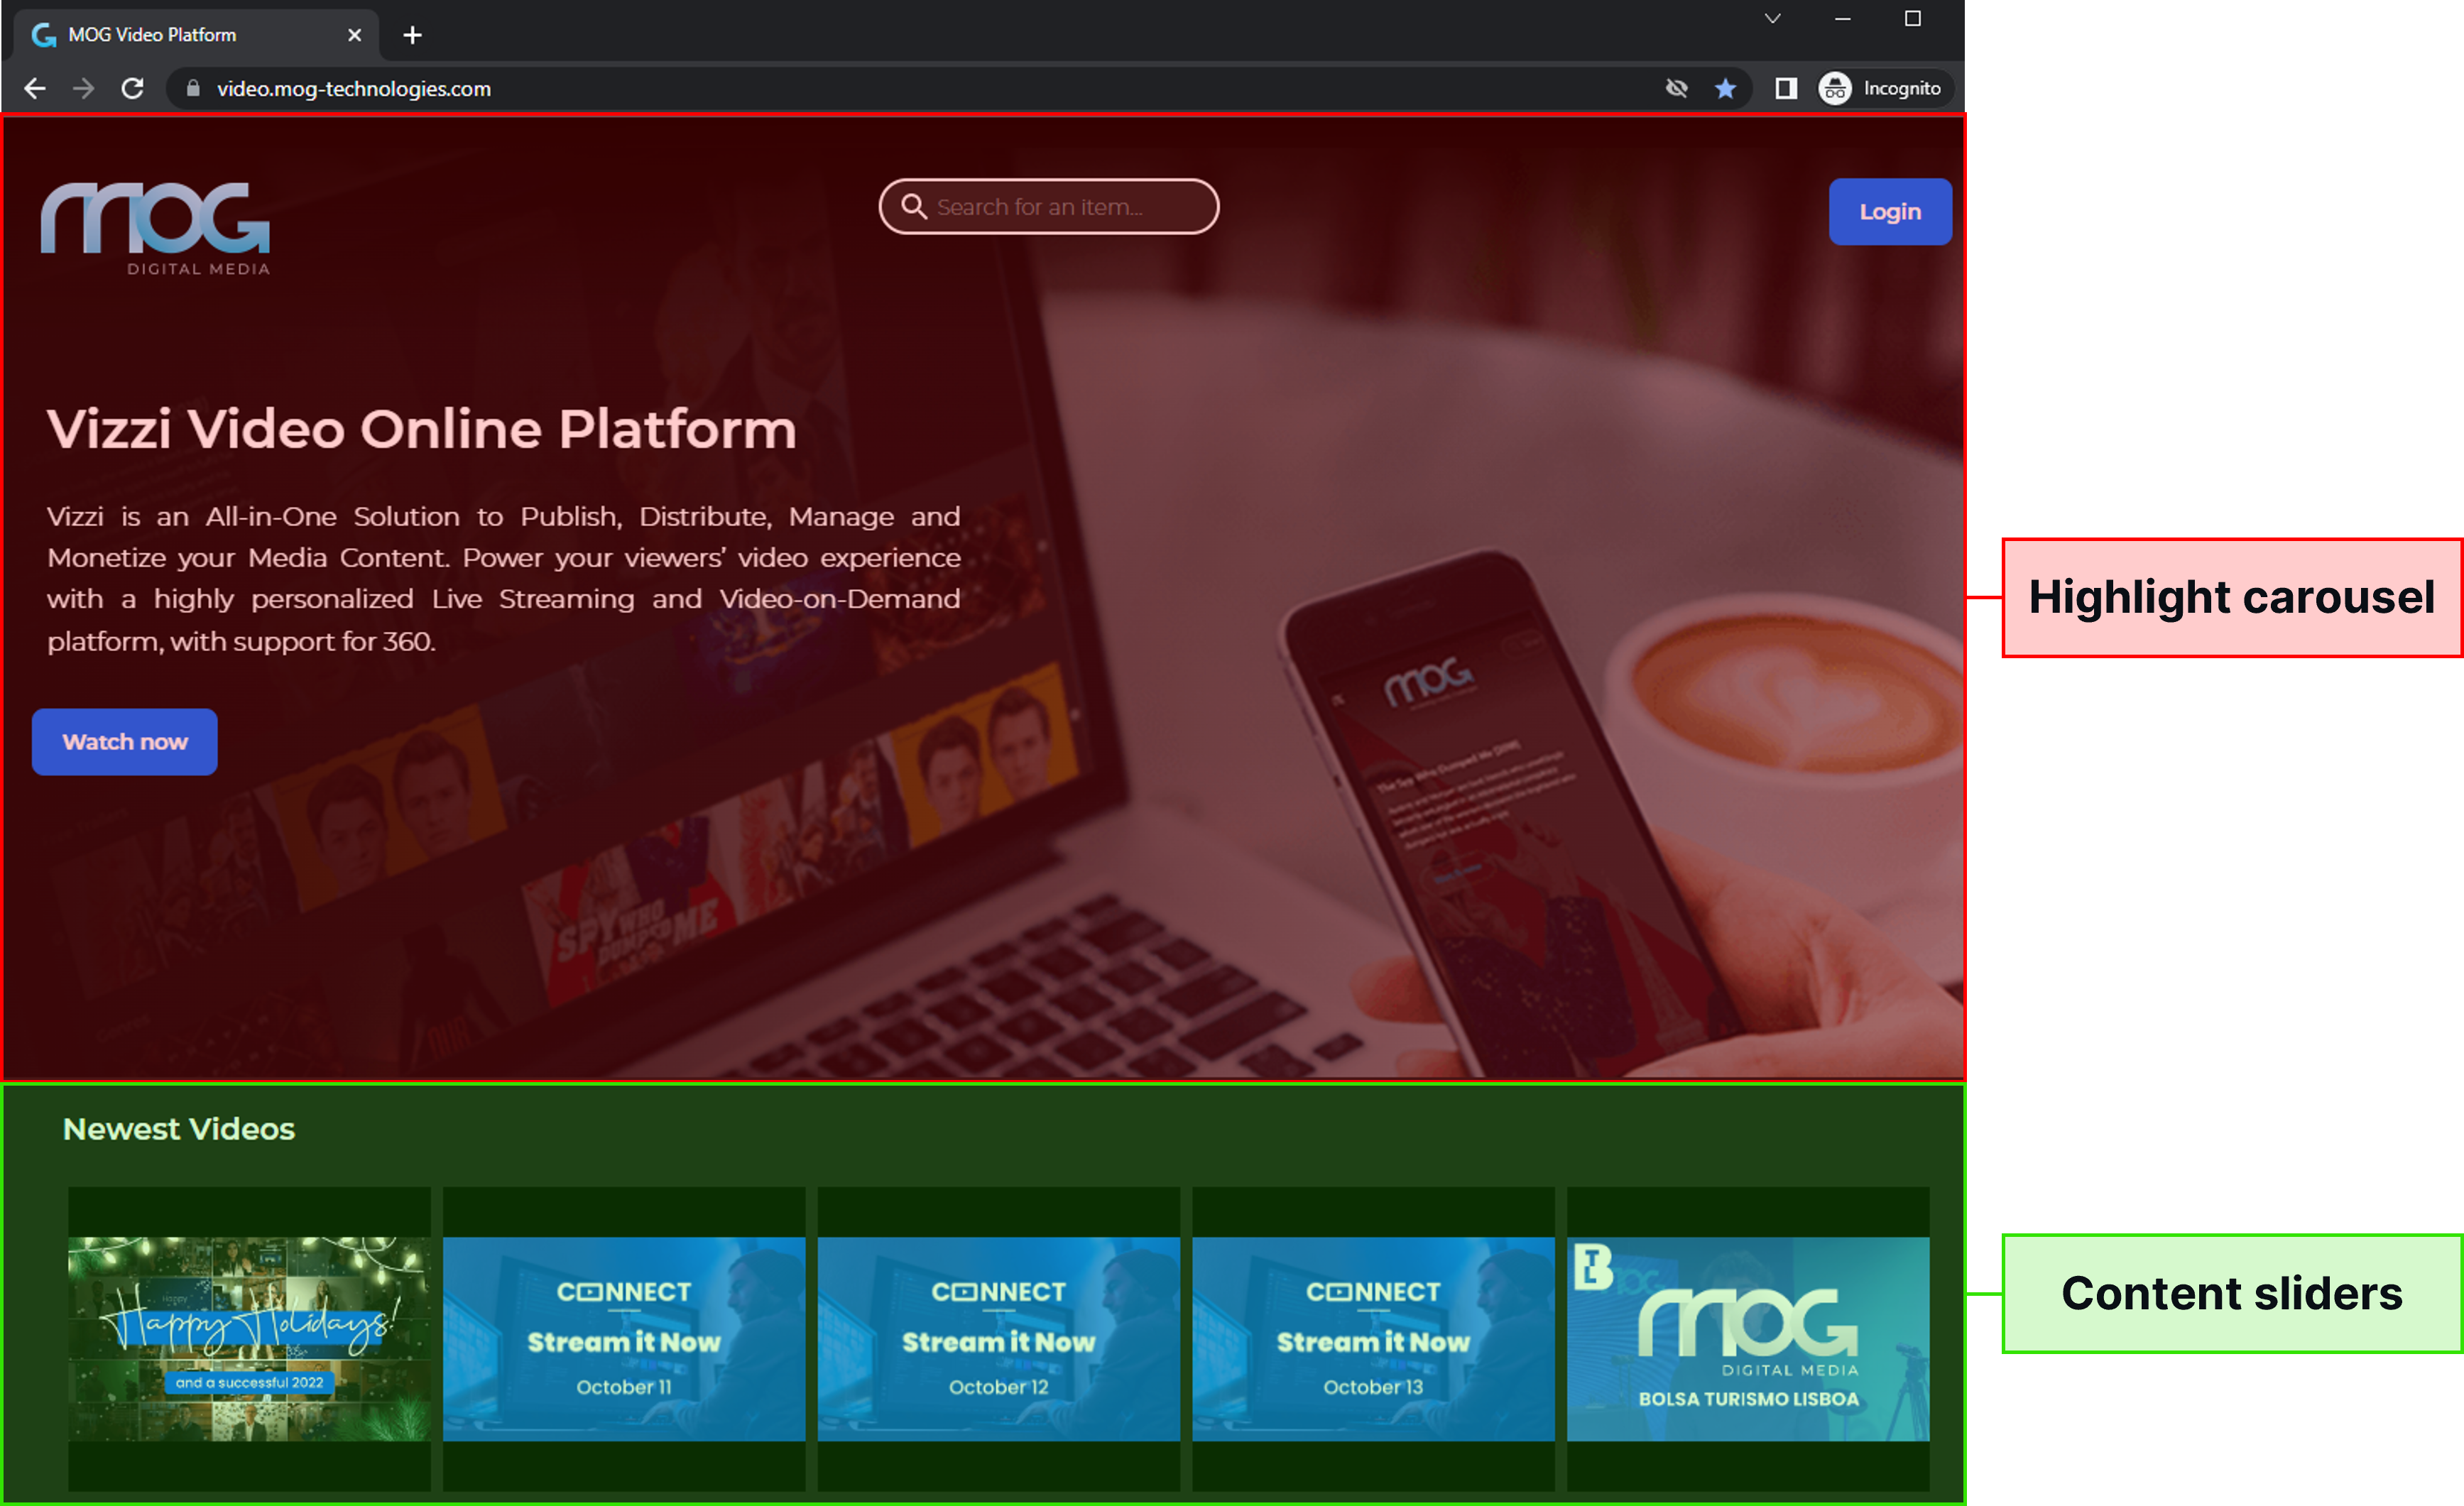
In the components area, you can define what will be displayed:
- Highlight carousel: shows videos highlighted on the home page of the frontend with the default poster as background;
- Content sliders: shows the available videos in a carousel with the default thumbnail as background.
In the style area, you can define how the components will behave:
- Pure on-demand: highlight carousel is set to auto swipe to the next item every 5 seconds;
- Sequential play: highlight carousel is set to automatically play each video until it ends and then moves to the next item.
Configure the elements that will be displayed in the frontend Item page and their behavior in the “ITEM PAGE” tab:

You can choose to use the poster defined as default in the VOD or Live configuration by checking the option “Use default poster” or, if this option is unchecked, you can specify which of the content’s posters will be shown. In this last case, enter the index number of the poster in the “Poster index” field. This number must be an integer starting at 1.
Selecting the option “Show related content” will include a slide of related content below the player. If this option is enabled, you can determine whether the content will be videos from the same collection or videos that feature at least one of the categories of the selected item by choosing between the options “Content in the Same Collection” and “Content with Matching Categories”;
To link different customizations to specific audiences, go to the “AUDIENCES” tab and select one of the previously added profiles:

For more details, please refer to Frontend Settings page.