¶ Configuring Virtual Screens
Revision date: 13/jul/2023
Vizzi version: 1.14.0
- Click the "Virtual Screens" tab in the navigation menu (left of the screen);

- In the content toolbar click the “Create” button (top right corner of the screen) to create a new virtual screen;

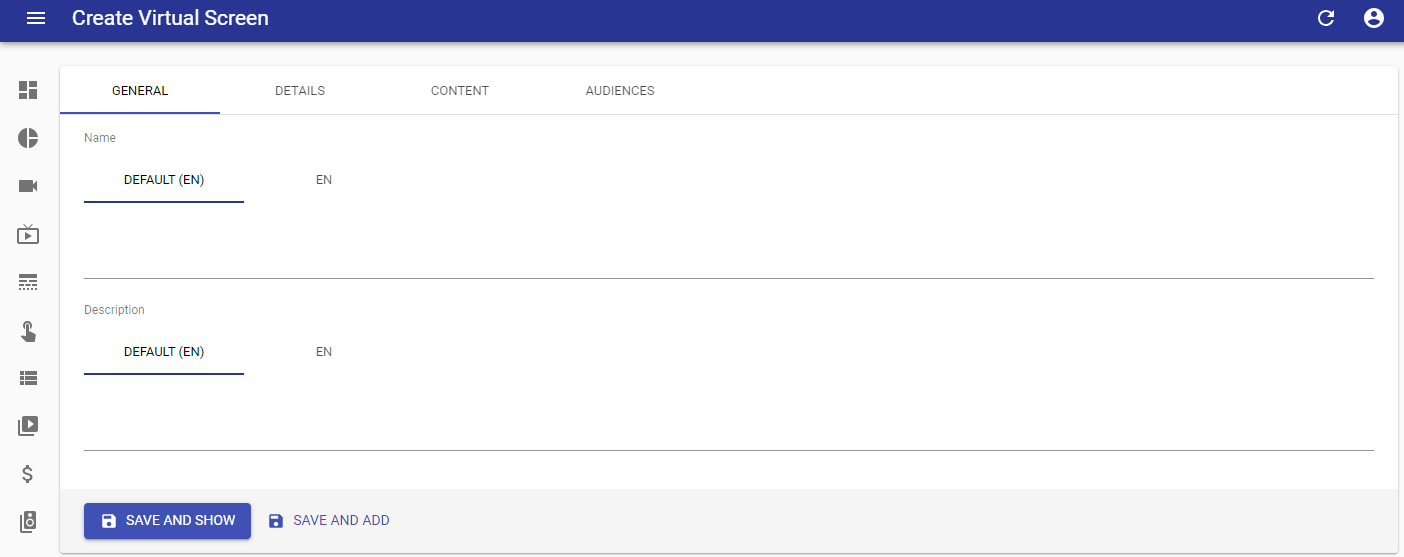
- In the "GENERAL" tab fill in the required information (Name and Description);

- Name: for each configured language, enter the name for the virtual screen;
- Description: for each configured language, enter the virtual screen description. A synopsis of the content that will be presented.
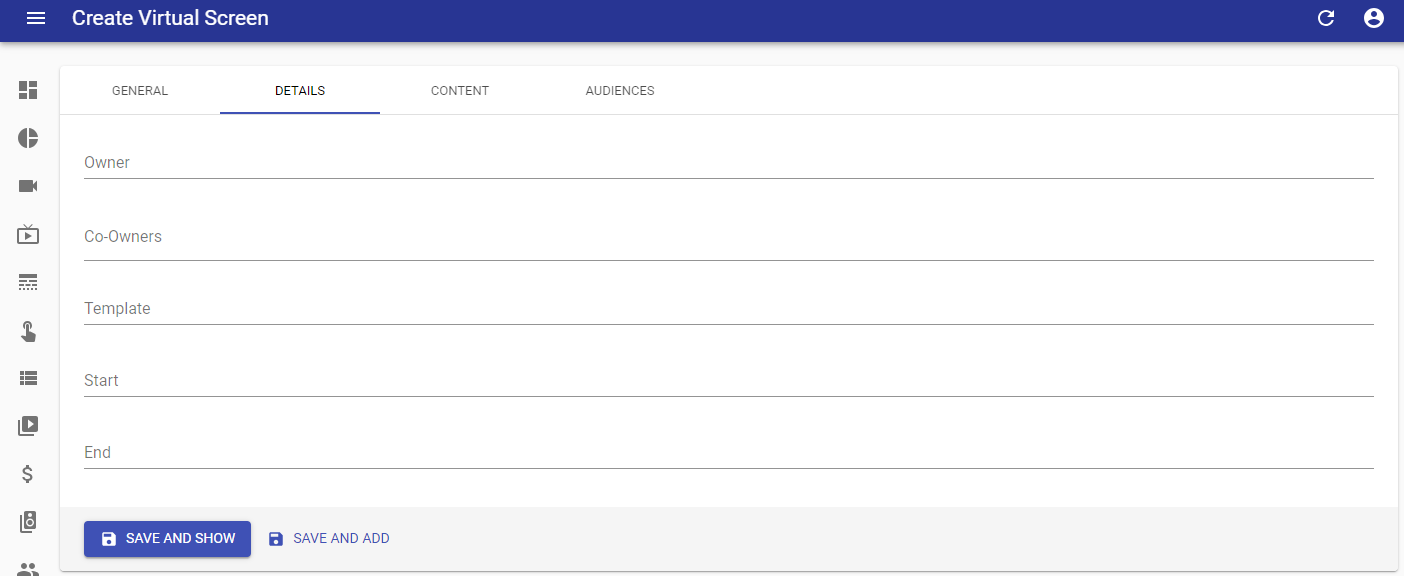
- In the “DETAILS” tab fill in the required information;

- [OPTIONAL] Owner: represents the owner (Customer) of the virtual screen. Filling this field sets the virtual screen in such a way that only the specified owner has control over it. Leaving blank means any user can take control of an instance (duplicate) of this virtual screen;
- [OPTIONAL] Co-Owners: use this field to define one or more customers to share the virtual screen control. They will have the same view and permissions as the owner;
- [OPTIONAL] Template: enter the template name to be used in this virtual screen;
Note: the template name is provided by MOG, if you don't have it, please ask us.
- [OPTIONAL] Start: specify the date and time from when the virtual screen is available. To be used if limiting virtual screen availability in time;
- [OPTIONAL] End: specify the date and time until when the virtual screen is available. To be used if limiting virtual screen availability in time.
- In the “CONTENT” tab fill in the required information;

- [OPTIONAL] Content: select what content (Collections) belong to this virtual screen. When specified only selected content will be displayable on the virtual screen. Leaving it empty will allow any content within the content catalog to be used, as specified in the virtual screen URL. (see how to set up a URL in chapter "Access to Virtual Screens > URL Access").
- In the “AUDIENCES” tab fill in the required information;

- [OPTIONAL] Audiences: click the “Audiences” field and select previously created "Audiences" that should have access to the virtual screen. Leaving it empty will allow any user to access the virtual screen. Specifying audiences will limit the access to users belonging to that audience. Note that when using audiences only explicitly defined Customers are taken in consideration.
- Click "SAVE AND SHOW" to save and go to the preview of the created item, or "SAVE AND ADD" to save and continue adding more items.