¶ Screen Recording
Revision date: 13/jul/2022
MAM4PRO version: 2022.06.00
Now more than ever, multiples industries have been showing the growing need to record a large array of different conference calls, software, and platforms in a quick and efficient way, without losing quality. Due to the difficulty to perform this action, it was established that the Screen Recording feature should be included in the software.
To achieve this purpose, we implemented the mCAPTURE plugin that can be installed in any machine and streams the captured screen as an NDI® stream, that can be captured and recorded by a MOG server. In this setup, it’s possible to capture the desired screen that is being performed in a workstation and then capture and record it with a MOG server located in the same network.
¶ Installing
Note: for the correct operation of the mCAPTURE, it is necessary to have Windows 10 with the May 2019 update (version 1903, build number 10.0.18362). The app will not work with older versions.
The mCAPTURE plugin can be installed through the MOG installer as described in the steps below.
-
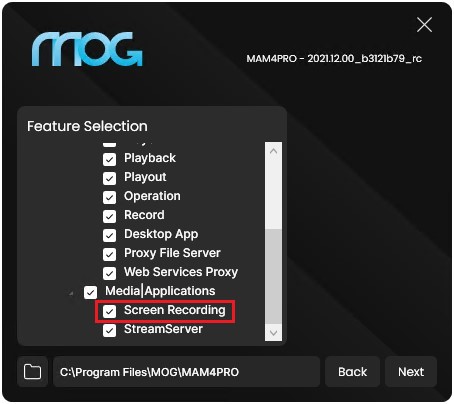
Launch the installer and press “Change”;

-
On the next screen, the installer will present the features installed with the check selected and those available for installation. Check the “Screen Recording” option to install and click “Change” to start the procedure. The installation process should take a while depending on the performance of the machine;
-
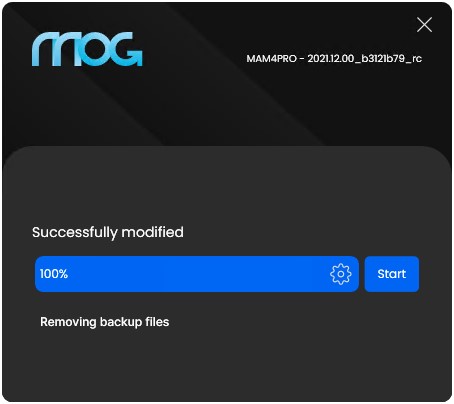
After the installation finishes, the next window should appear. Click “Start”;
¶ Configuring
Before starting recording, define what will be captured and the name of the feed sent.
¶ Capture Options
Through the options highlighted in the image below, you can enable and disable the microphone and mouse cursor capture to, for example, make it easier to explain any presentation:
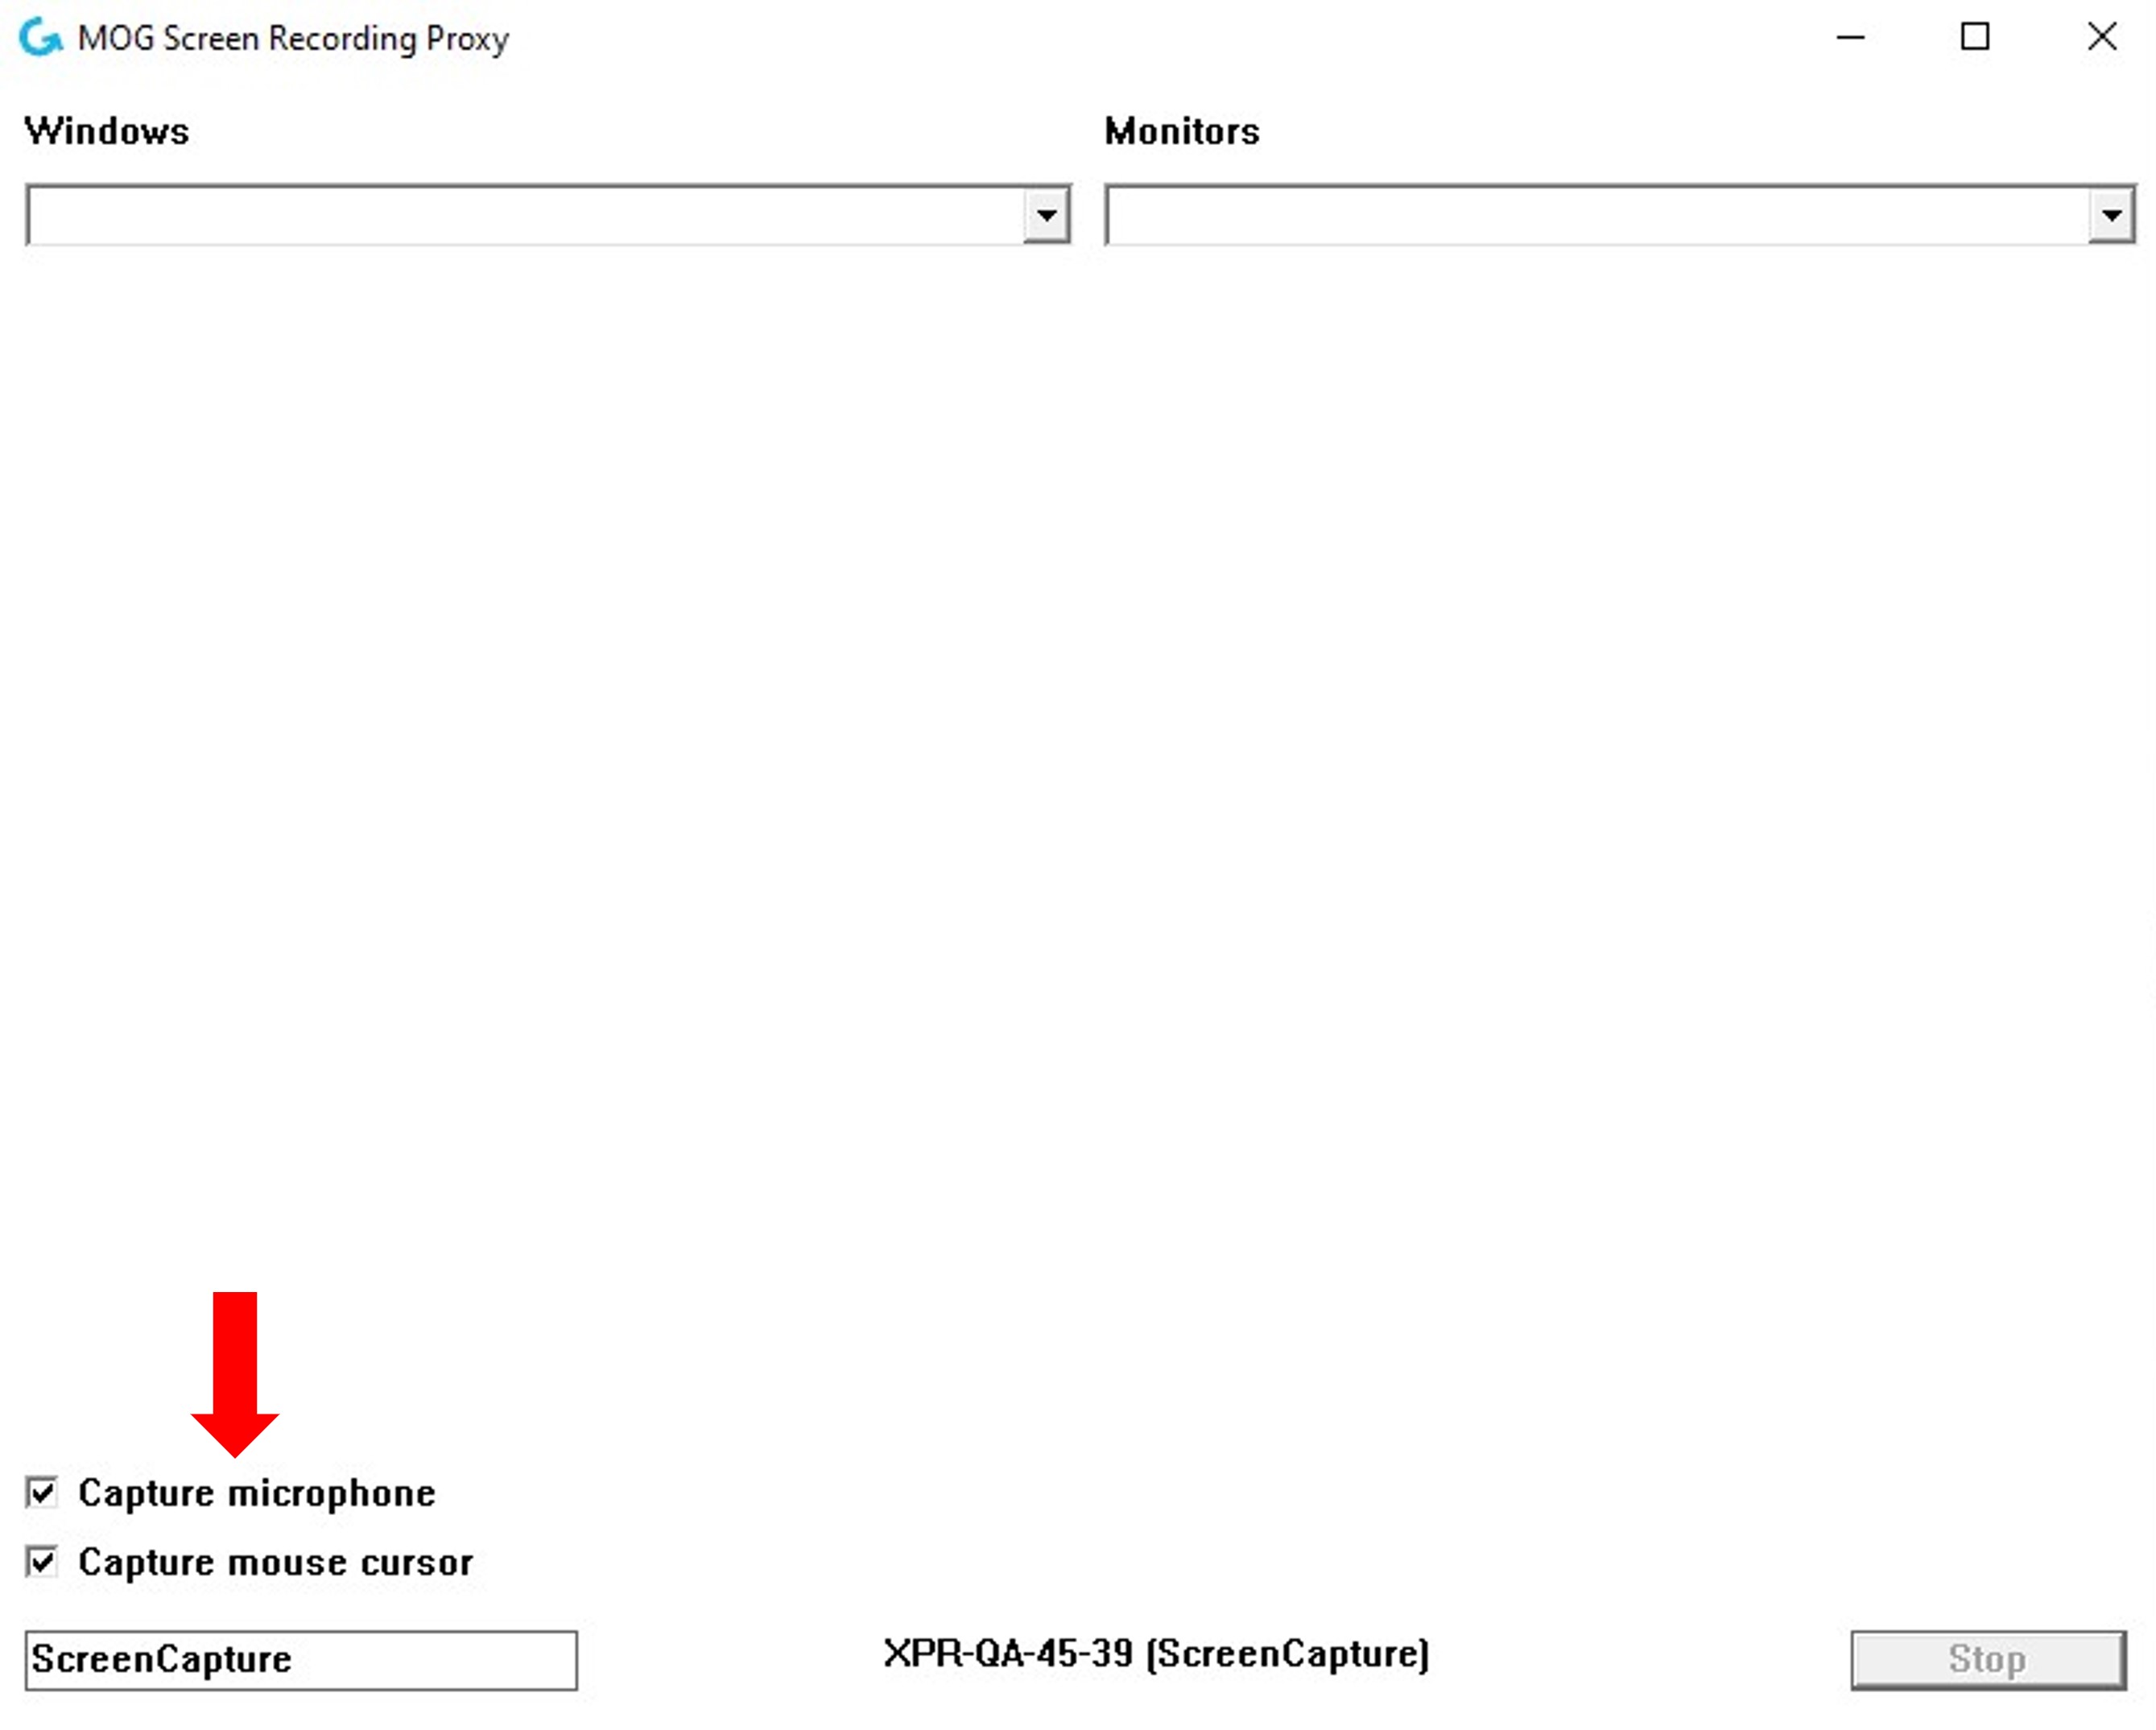
Note: it’s not possible to capture the audio from a specific windows. Every sound being outputted at the moment of the recording will be captured.
¶ Stream Name
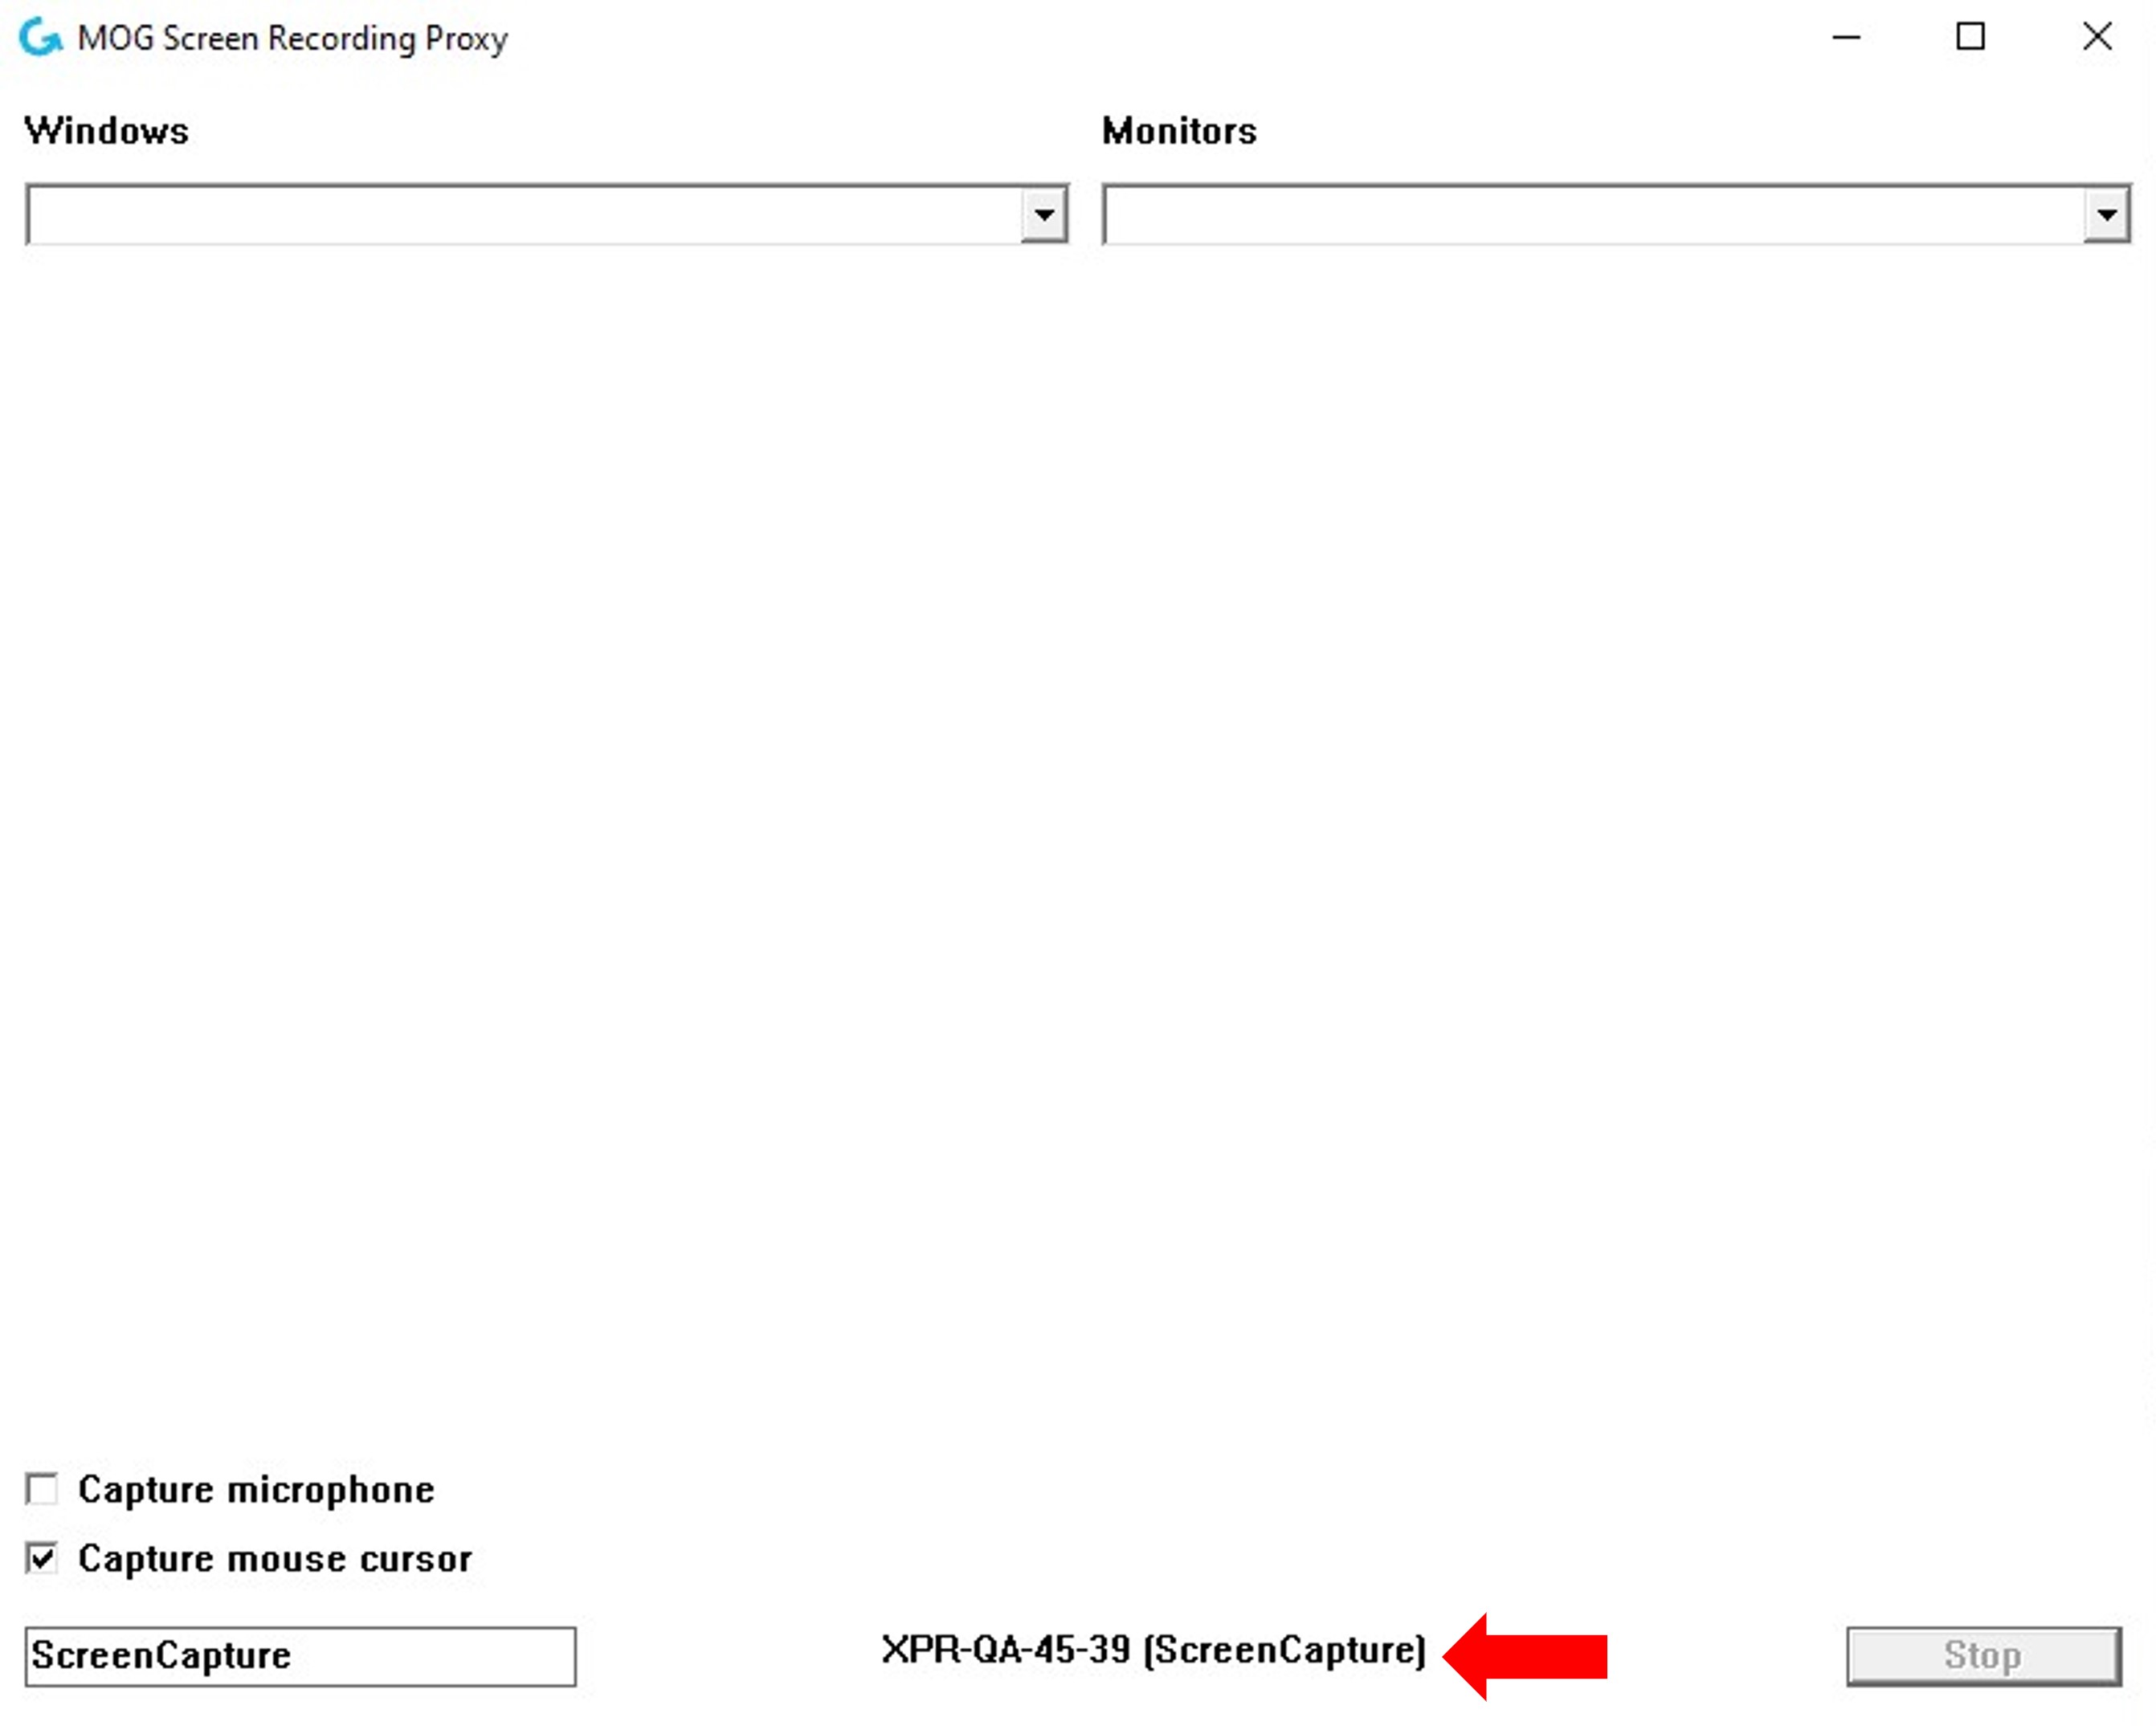
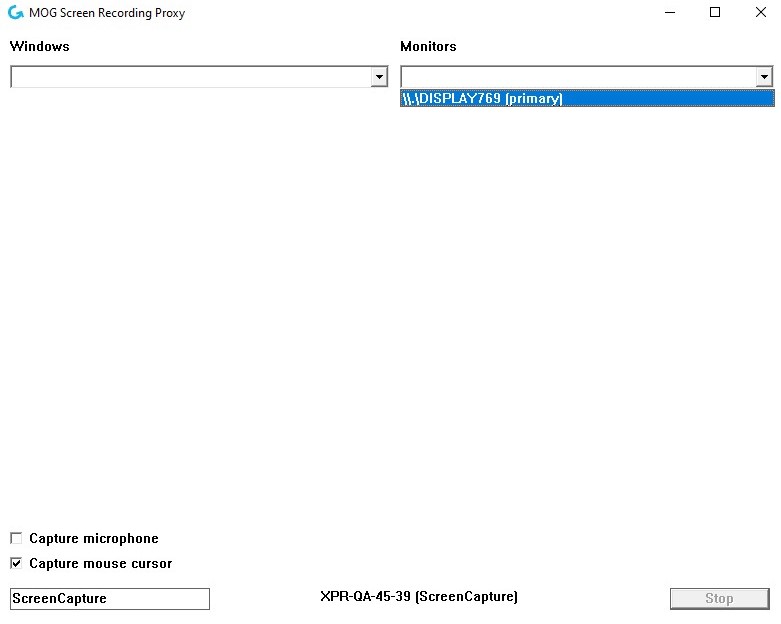
Change the stream name by editing the text box in the lower-left corner:
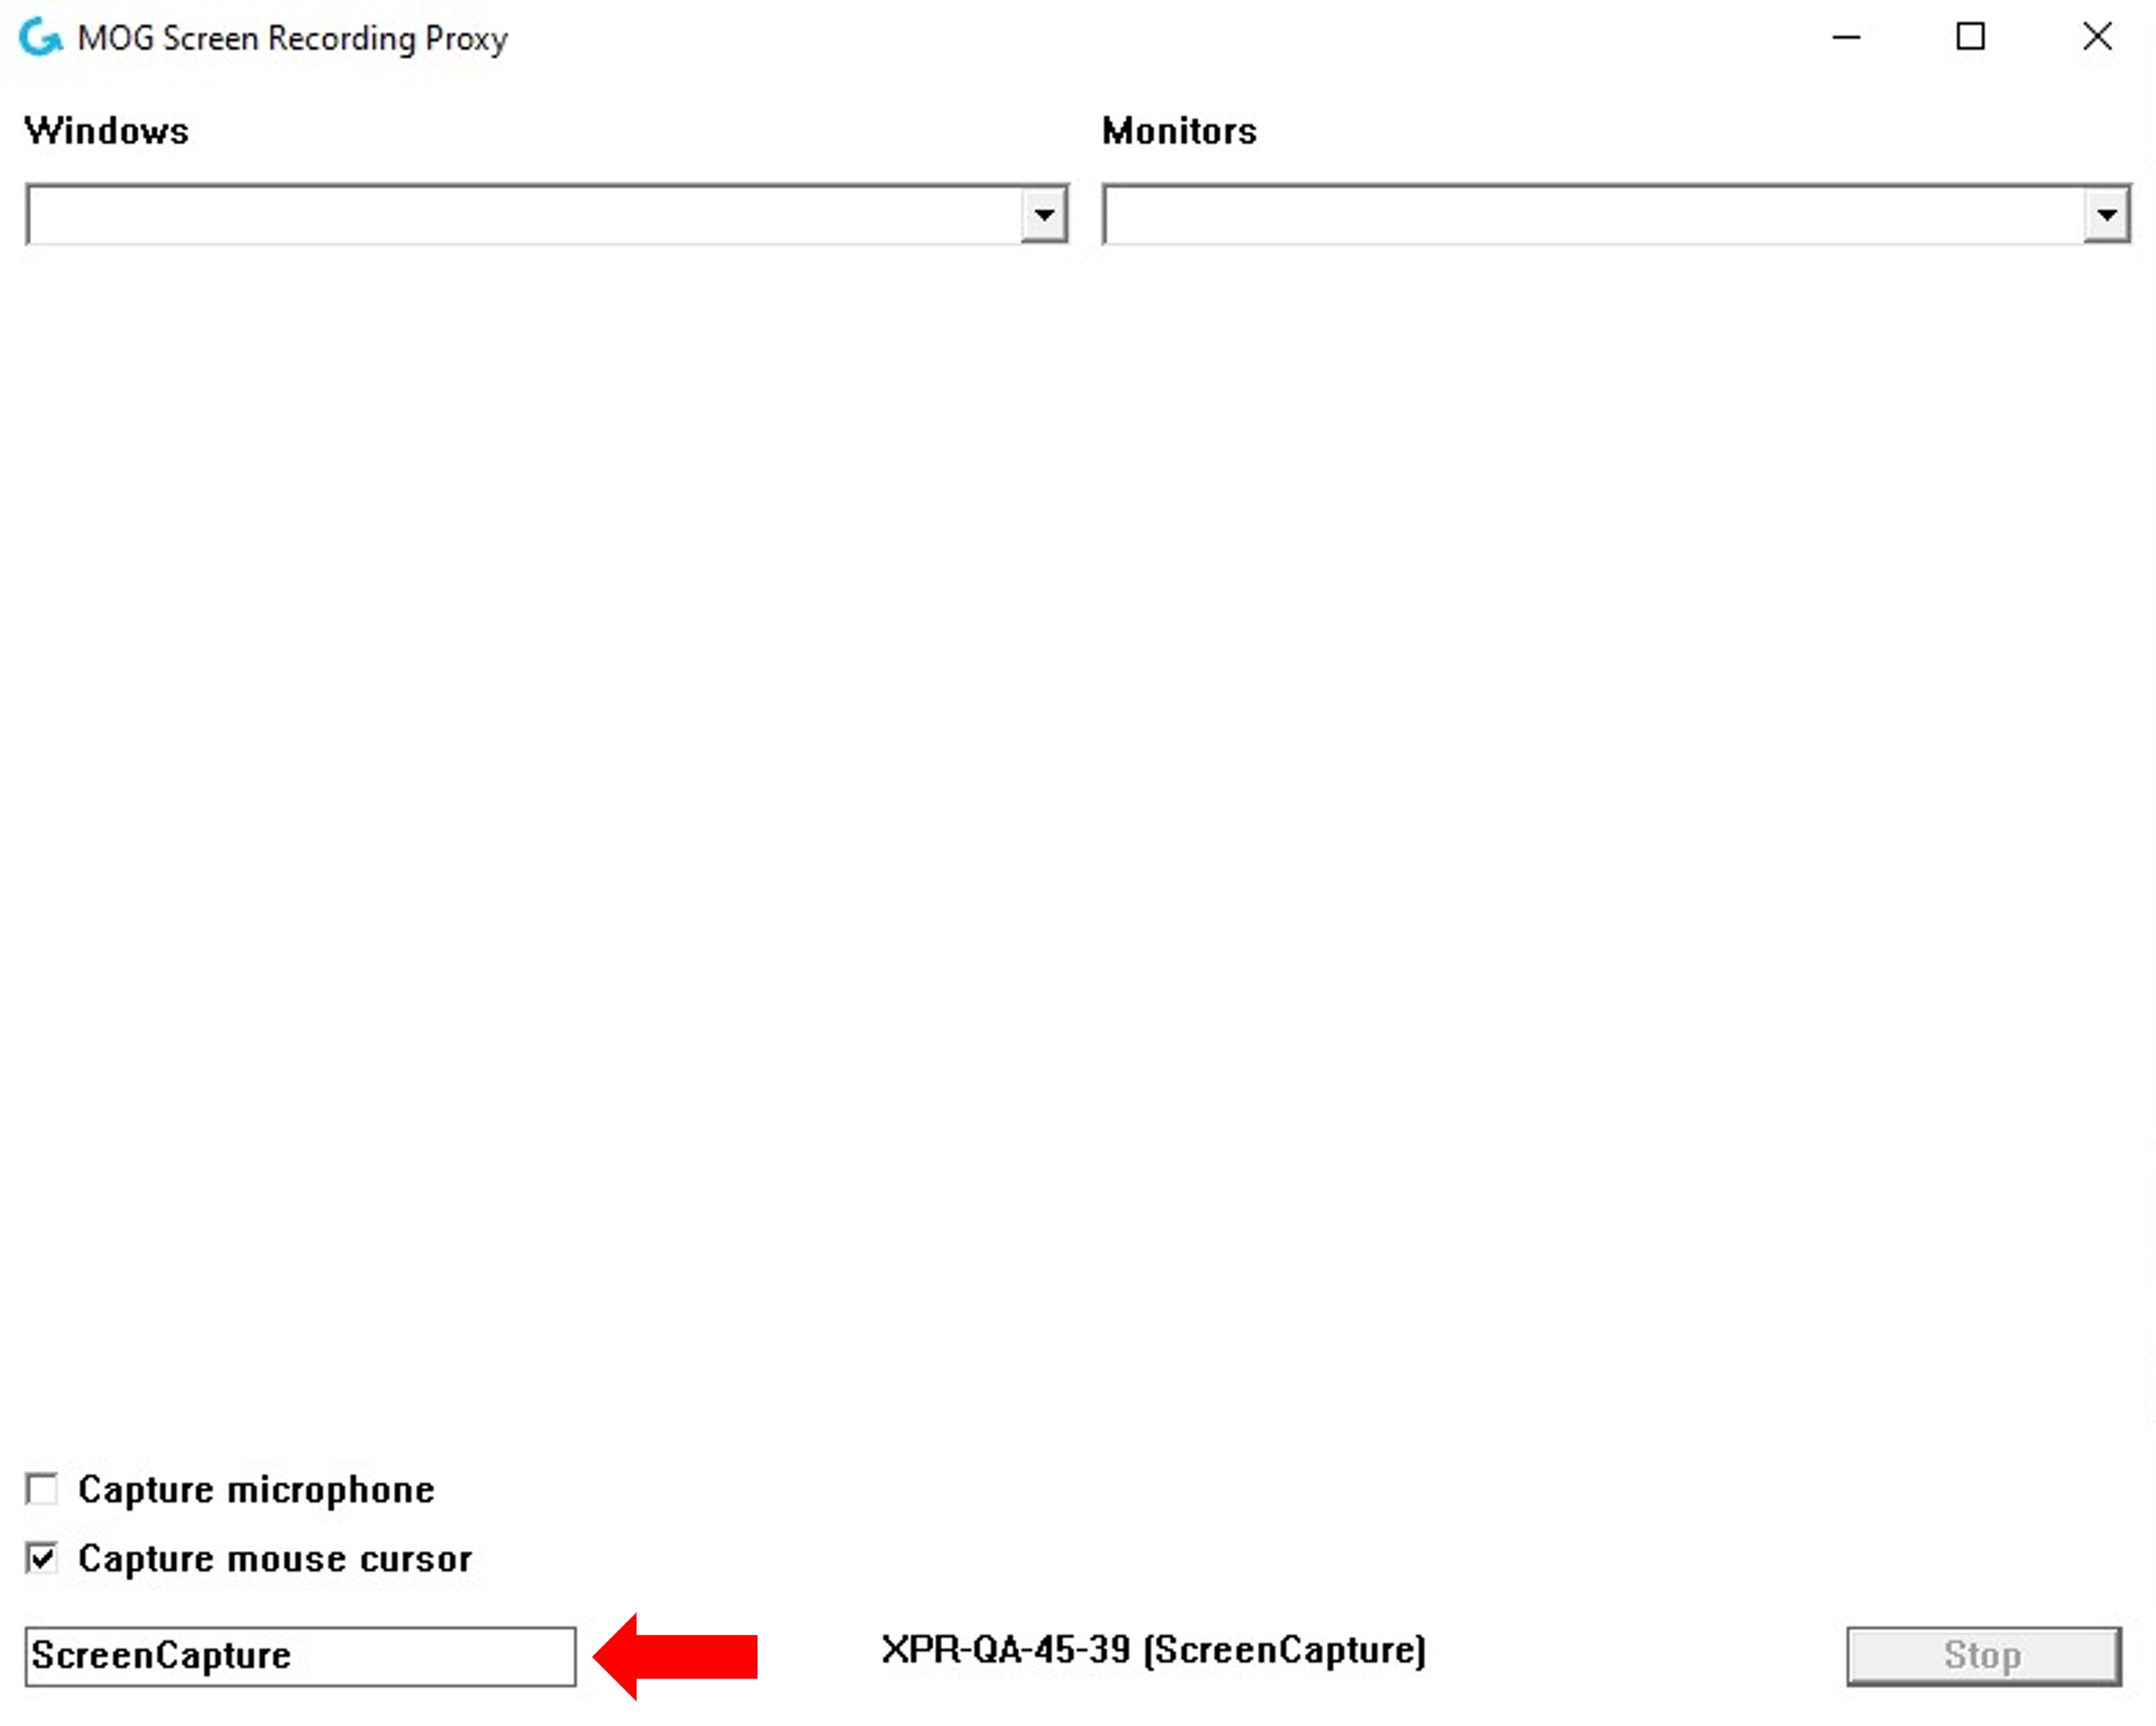
By default is “ScreenCapture” but it can be changed to something more in line with the capture being performed. This field can only be changed before a new capture starts.
The label centered at the bottom represents the NDI discovery name that will be used as an input of the NDI receiving application.
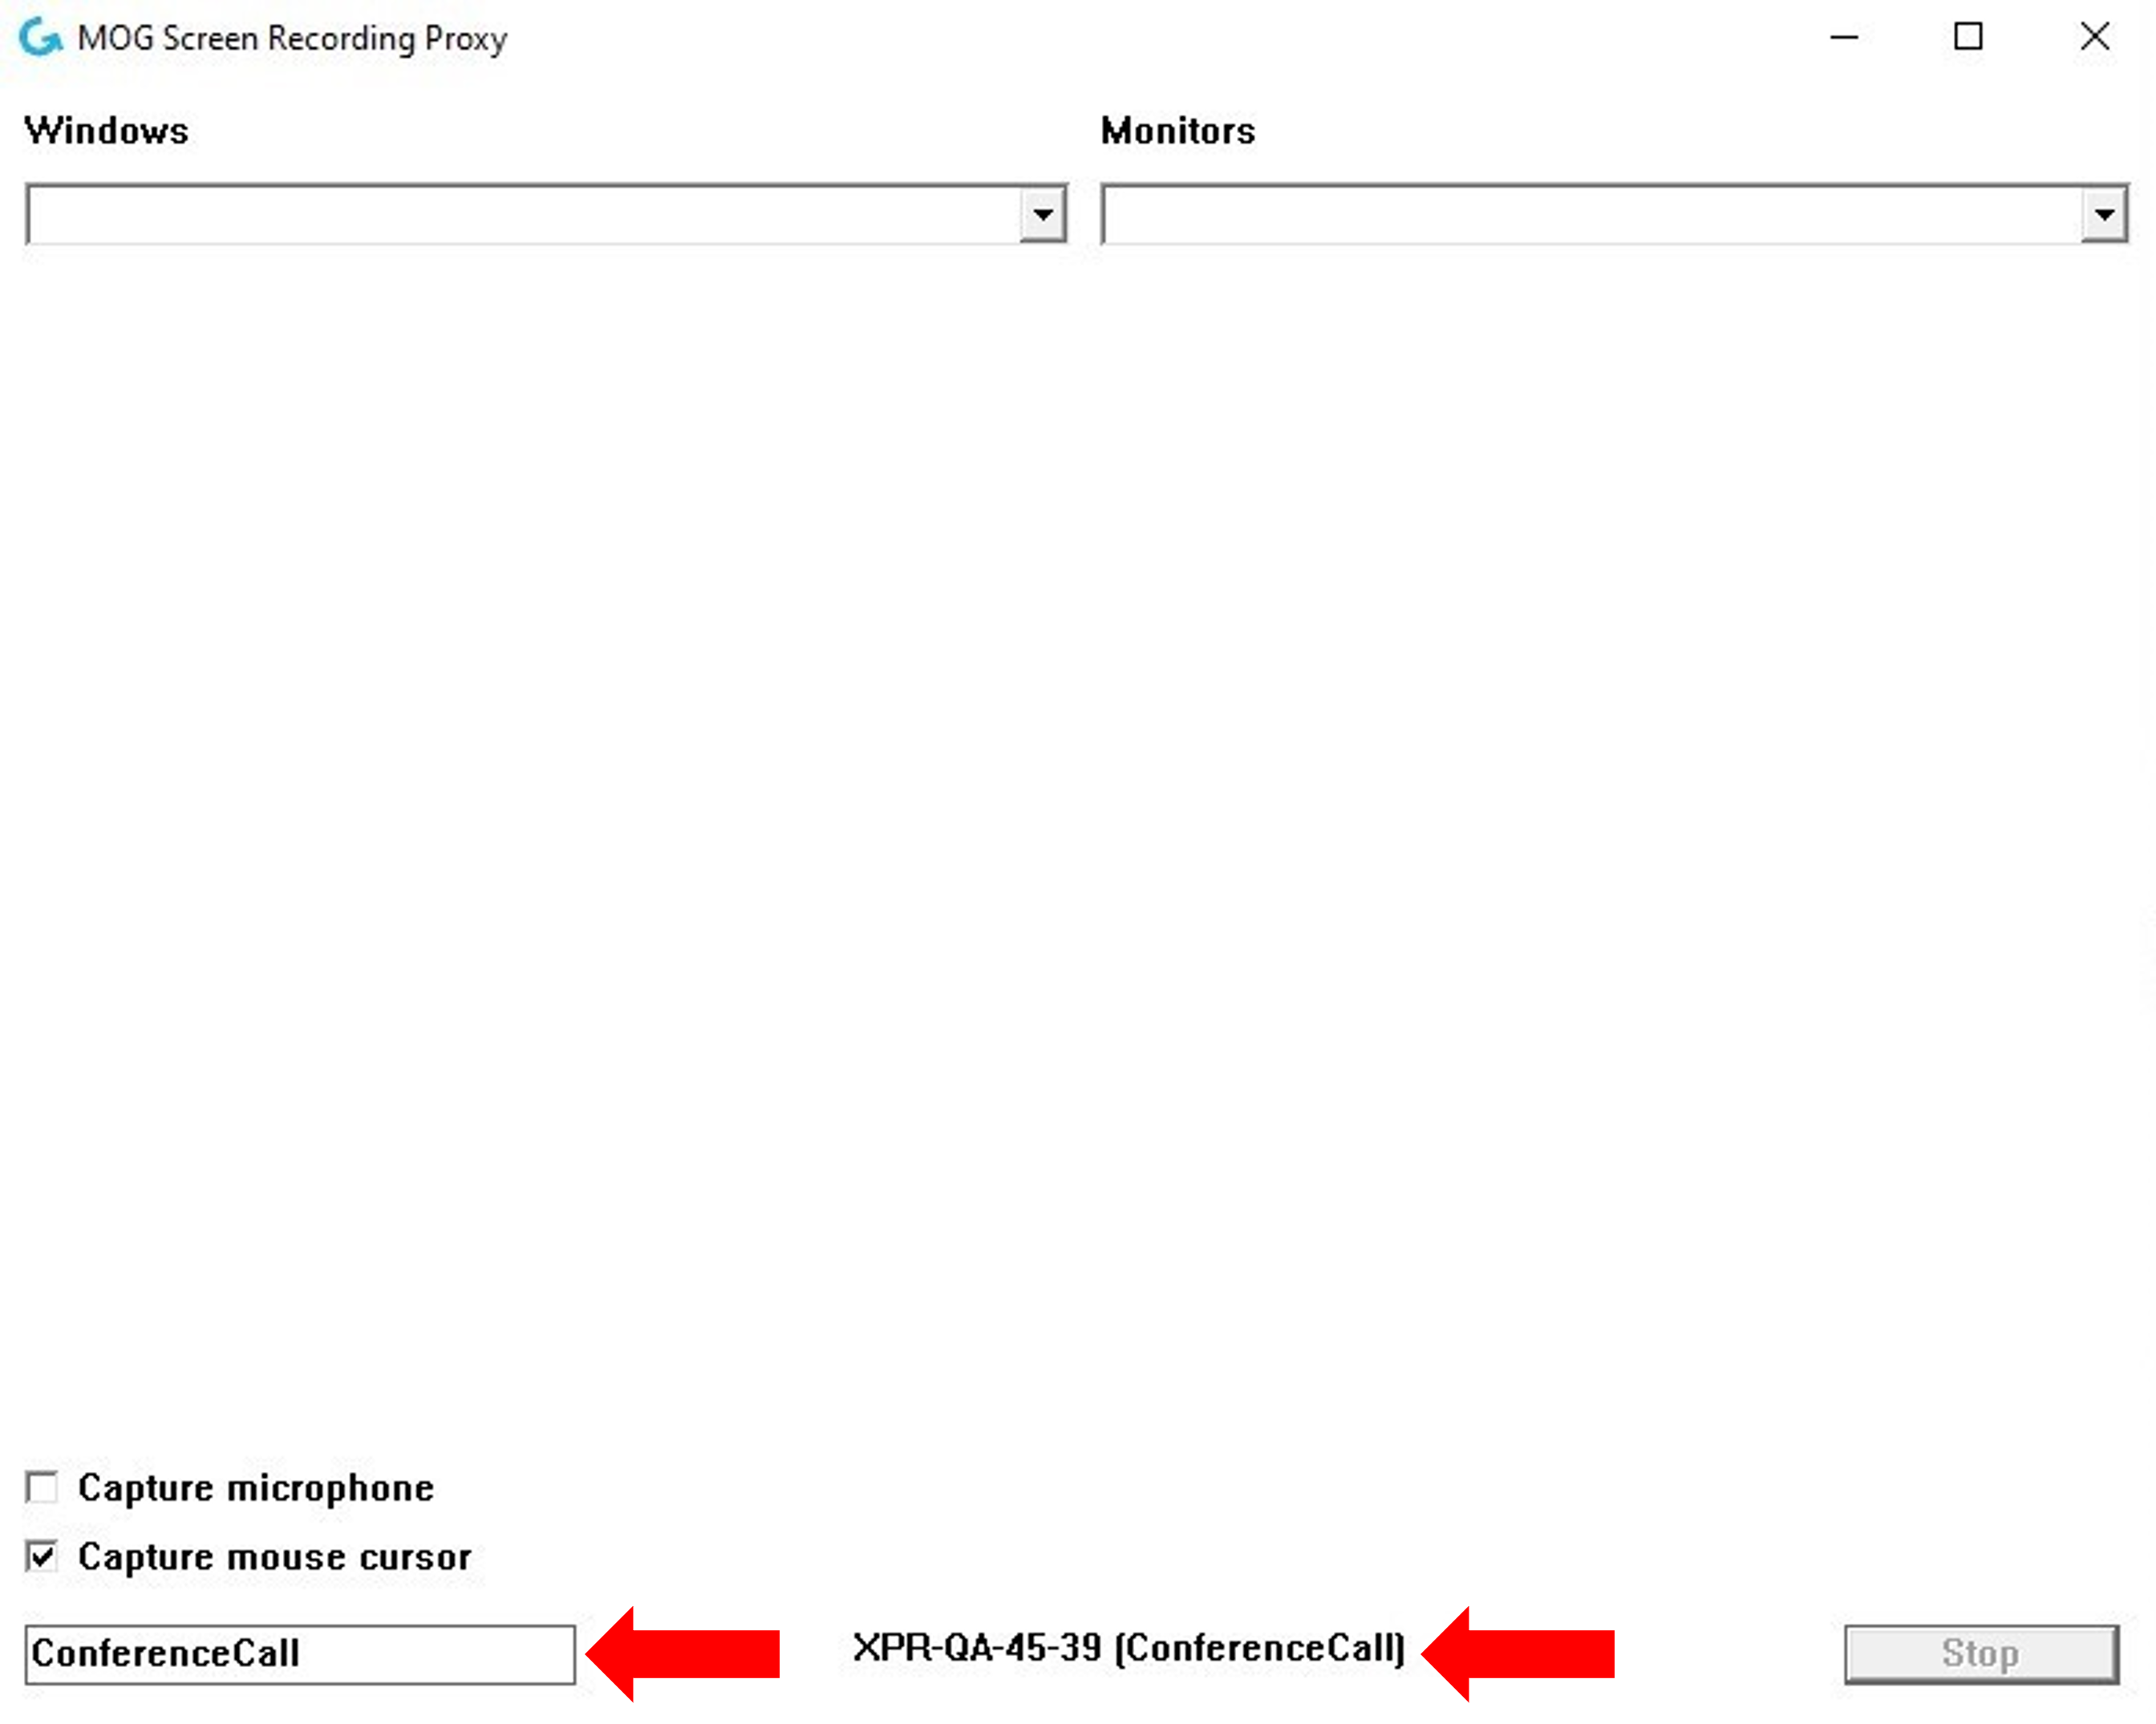
If the stream name is edited in the text box, this field will change to reflect the alteration:
¶ Starting a Screen Recording
You can choose between capturing an open window or a full-screen monitor.
¶ Window Capture
To capture just one window, click on the drop-down list in the “Windows” field and a list of windows will appear.
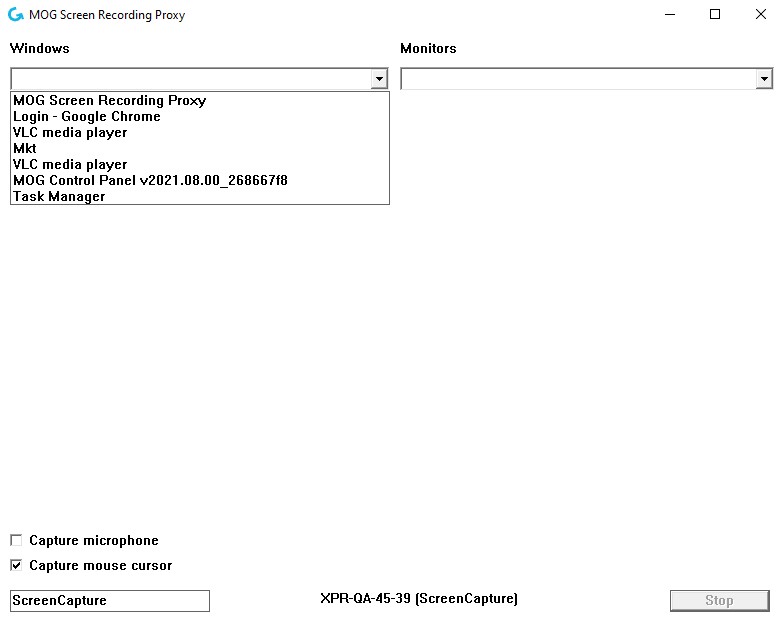
Note: minimized windows are listed but cannot be captured until they are restored.
Once a window is selected, the capture process will start immediately and a preview of the selected window will appear.
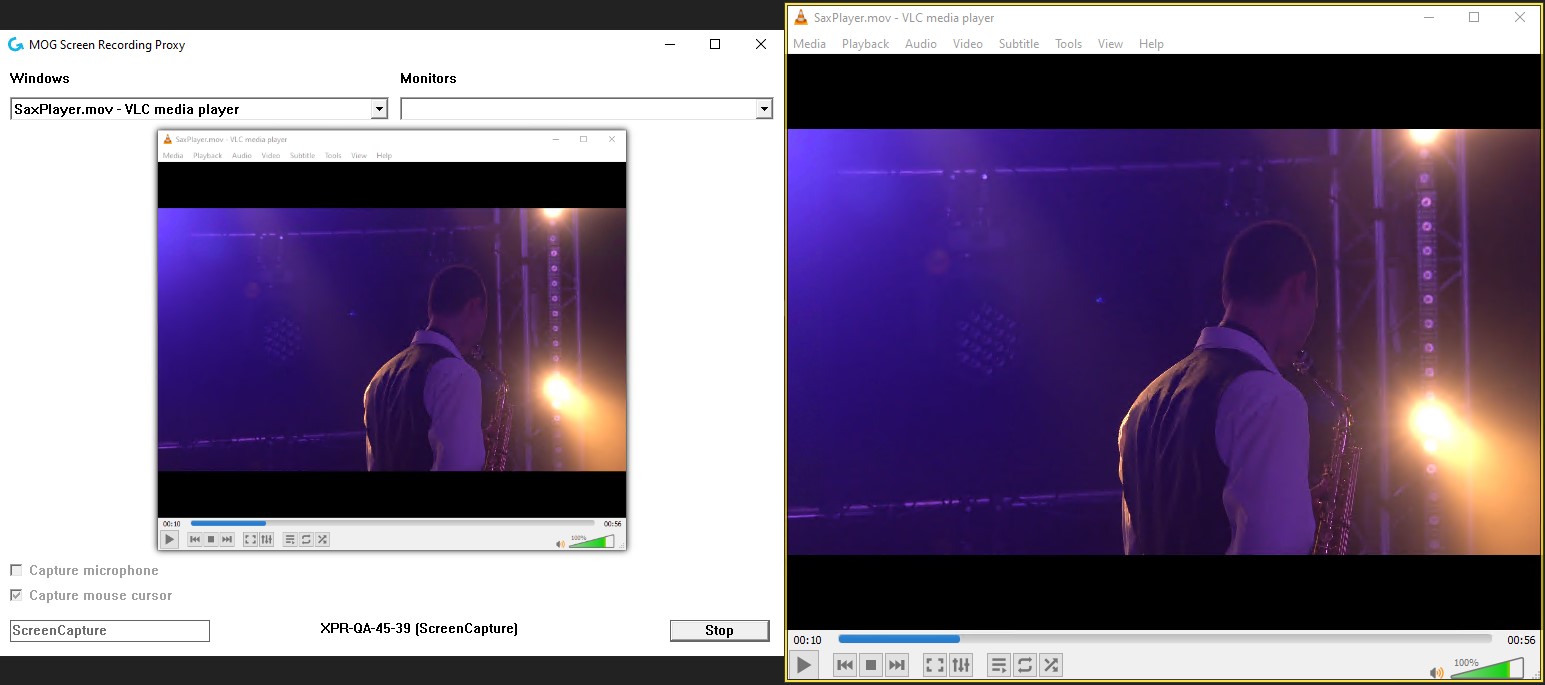
The yellow border surrounding the window indicates that it’s being captured.
To stop the streaming session, press the stop button in the lower-right corner.
¶ Full Screen Capture
To capture a full-screen monitor, click on the drop-down list in the “Monitors” field and a list of available monitors will appear.
The primary monitor is labeled (primary) in the list.
Once a monitor is selected, the capture process will start immediately and a preview of the selected monitor will appear.
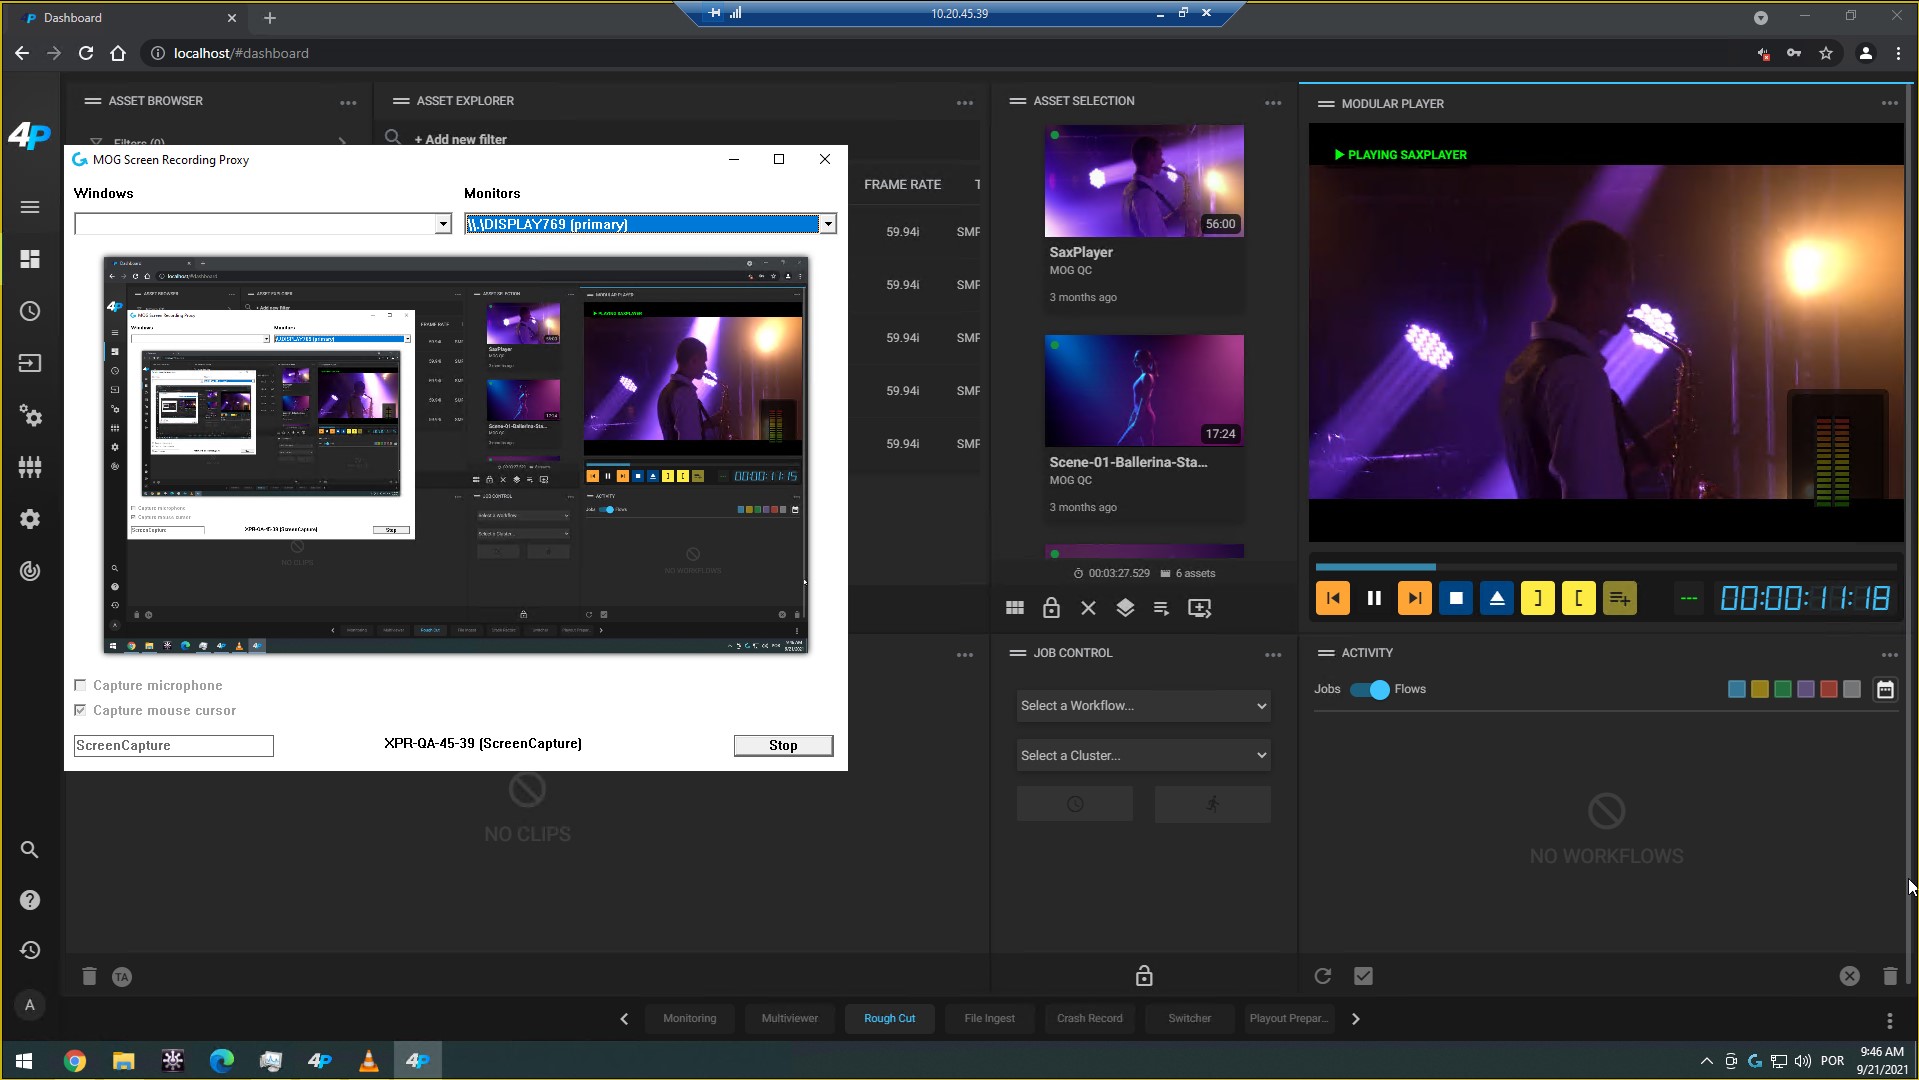
The yellow border surrounding the monitor indicates that it’s being captured.
To stop the streaming session, press the stop button in the lower-right corner.
¶ Integration with MOG products
Integrating the mCAPTURE plugin with MAM4PRO is even easier. To do it is necessary to have the
“mog.sCapture” service running and configure an NDI stream to receive the signal generated by the plugin (images below).
Services

NDI stream input
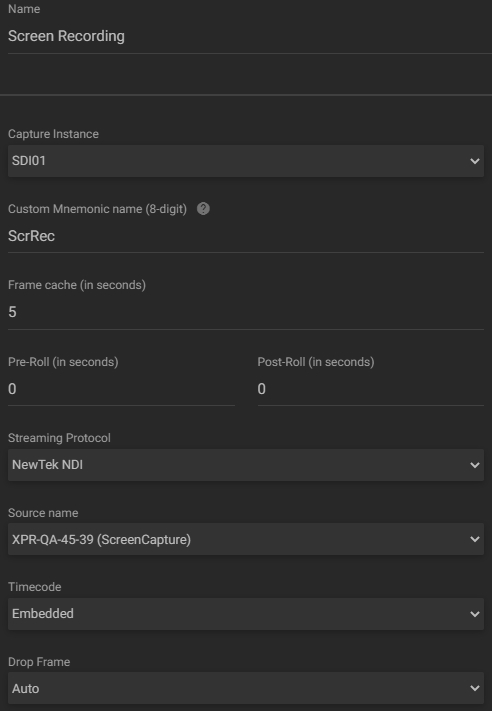
After configuring the NDI stream input, follow the procedures described in the Recording chapter selecting the configured NDI stream input as input in the “Player” widget settings.