¶ Adding a Dashboard
Revision date: 06/sep/2024
System version: 2024.07.00
There are two ways to add new dashboards. You can choose to use one of the preexisting templates and change it according to your routine or create a new one from scratch.
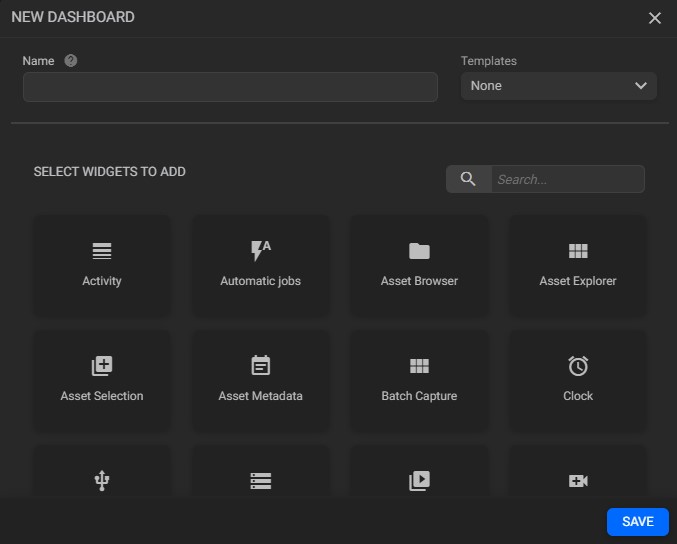
To add a new dashboard, click on the “Manage Dashboards” button ![]() in the lower right corner of the screen, and then on the “New Dashboard” button
in the lower right corner of the screen, and then on the “New Dashboard” button ![]() and a window below will appear:
and a window below will appear:

-
Name: enter the name of the new dashboard;
-
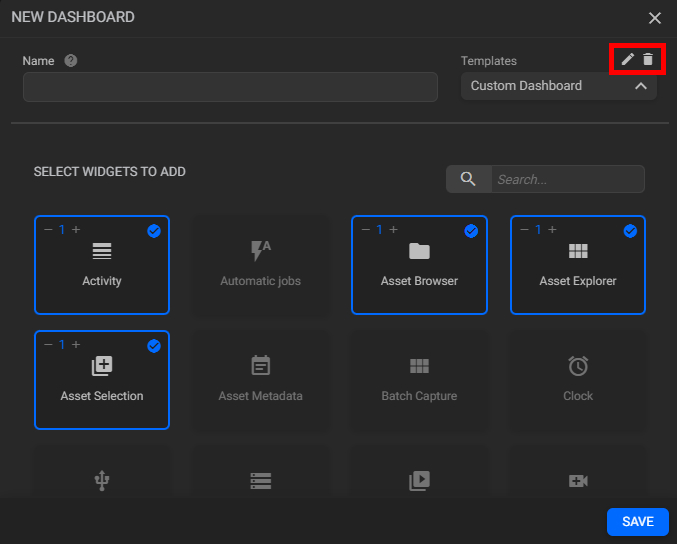
Templates: this option allows you to add a new dashboard based on one of the system’s predefined templates, or one of the custom templates created by users in your instance. Selecting a template will automatically populate the “Select Widgets to Add” area with a set of widgets configured for that model;
When selecting a user-added template, the options highlighted in the upper right corner (as shown in the image below) will allow you to rename or delete the template.

a. Rename template: after clicking this button, enter the new template name and press “Enter”;
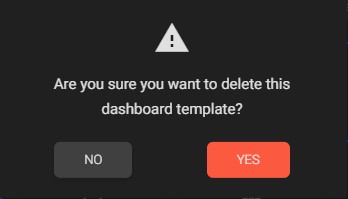
b. Delete template: click to delete the selected template. By clicking this button, the pop-up below will be shown to confirm the deletion:

Click “Yes” to delete the current template or “No” to abort the process. -
Once you have finished selecting the widgets, click the “Save” button and you will be taken to the new dashboard.
Tips:
1. It is also possible to create new dashboard templates to share with other users registered in the same instance. See how to do that here.
2. Once you have set up a Dashboard, you may want to verify that everything is working as intended, including user rules and permissions. Our User Impersonation guide can help you achieve this and enable you to provide the best possible experience for your users.