¶ Record Grid
Revision date: 31/jan/2025
MAM4PRO version: 2024.11.00
On the record grid panel, you can schedule and control multiple SDI stream recordings and monitor the job status (scheduled, in progress, completed, failed, etc.). Scheduled jobs are shown along with a user-friendly timeline view.

Note: jobs can be scheduled up to 365 days ahead, with or without recurrence and it supports Daylight Savings Time (DST).
¶ Navigation and Actions
The record grid is divided into two main sessions:

¶ Setup Menu
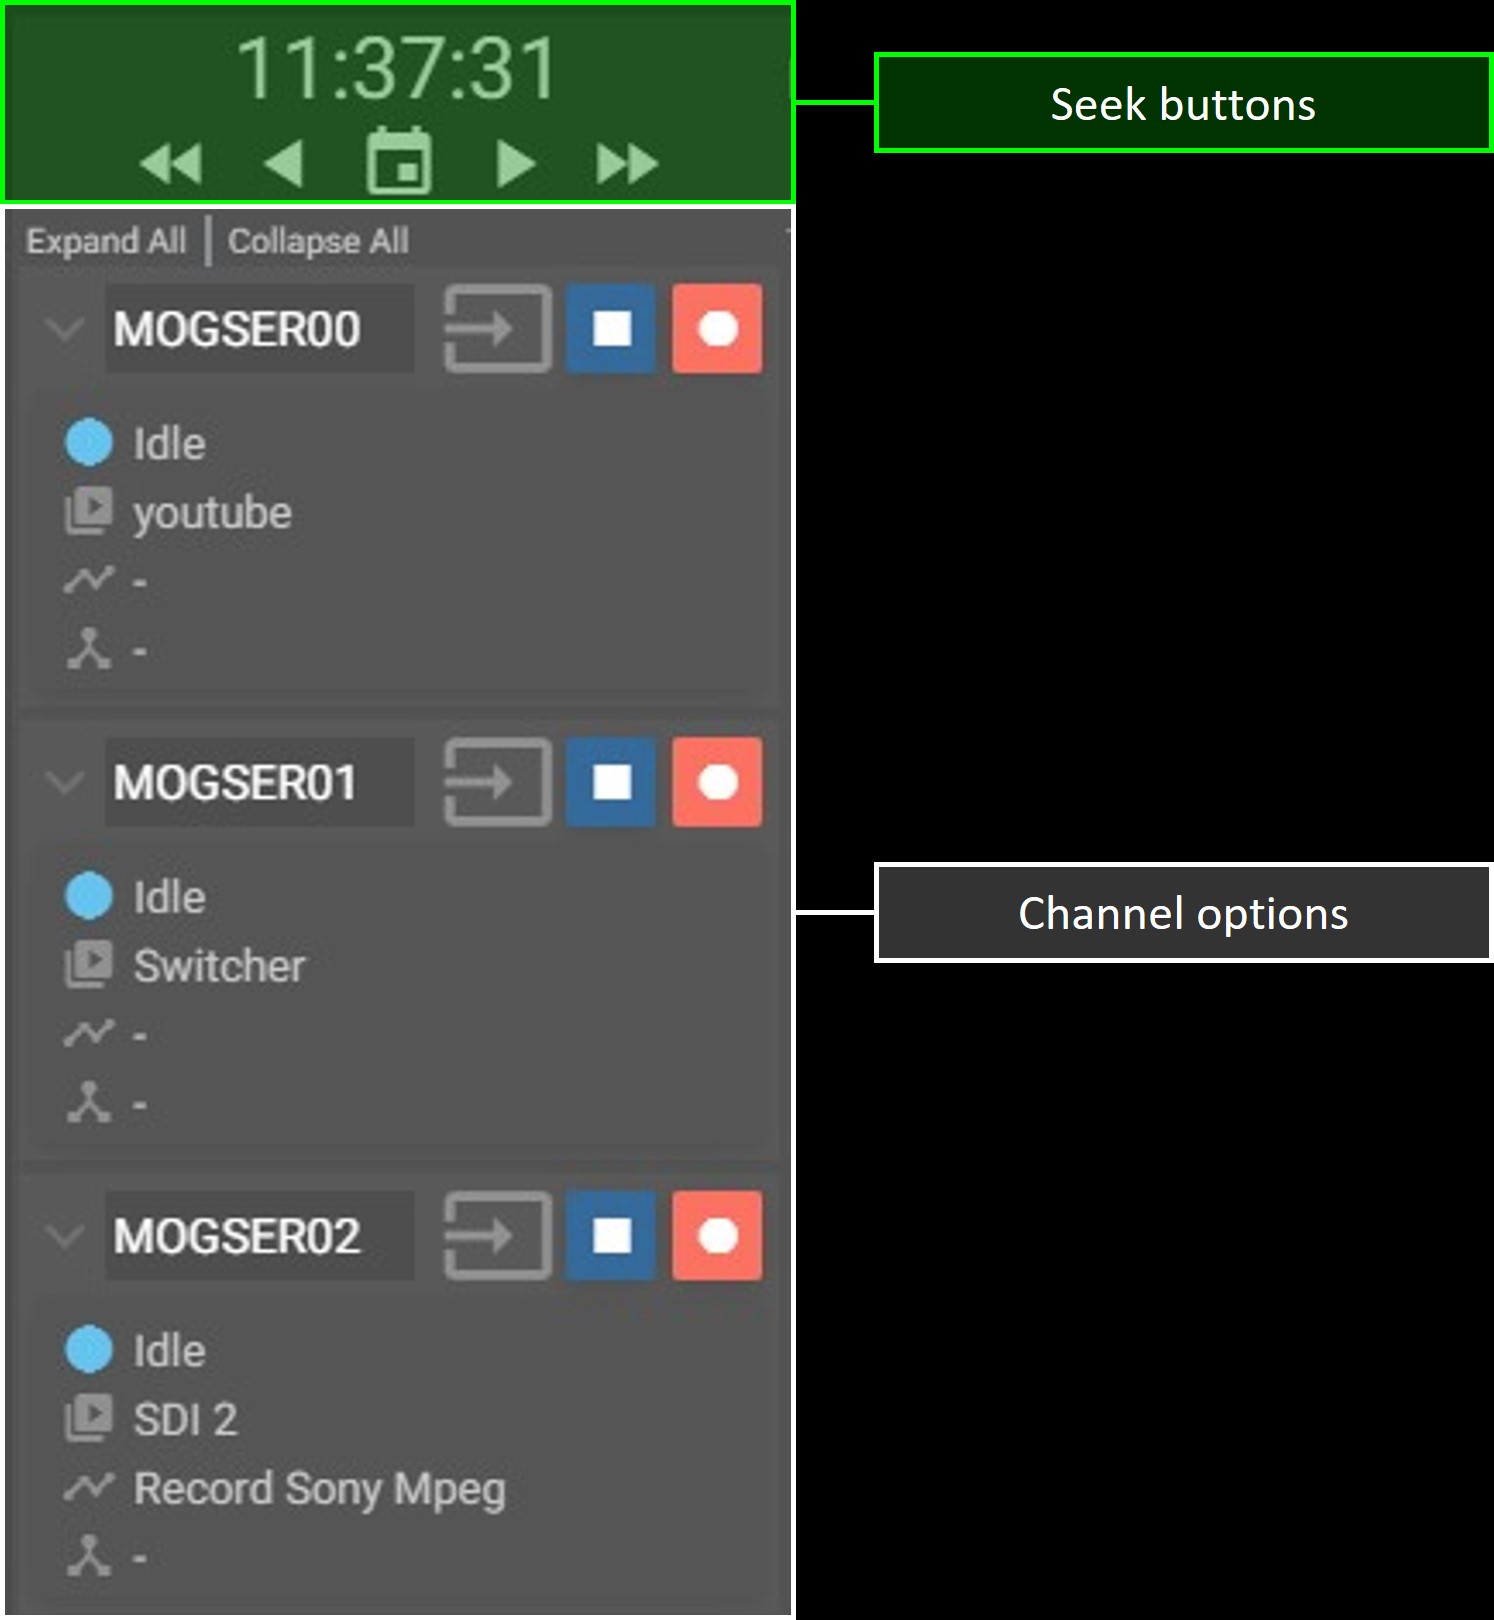
Check and manage your events in a multiview calendar.
-
Seek buttons: search for daily events. Please refer to chapter “Events Search” for more details;
-
Channel options: available in a quick view mode are a few settings related to the channel configuration.
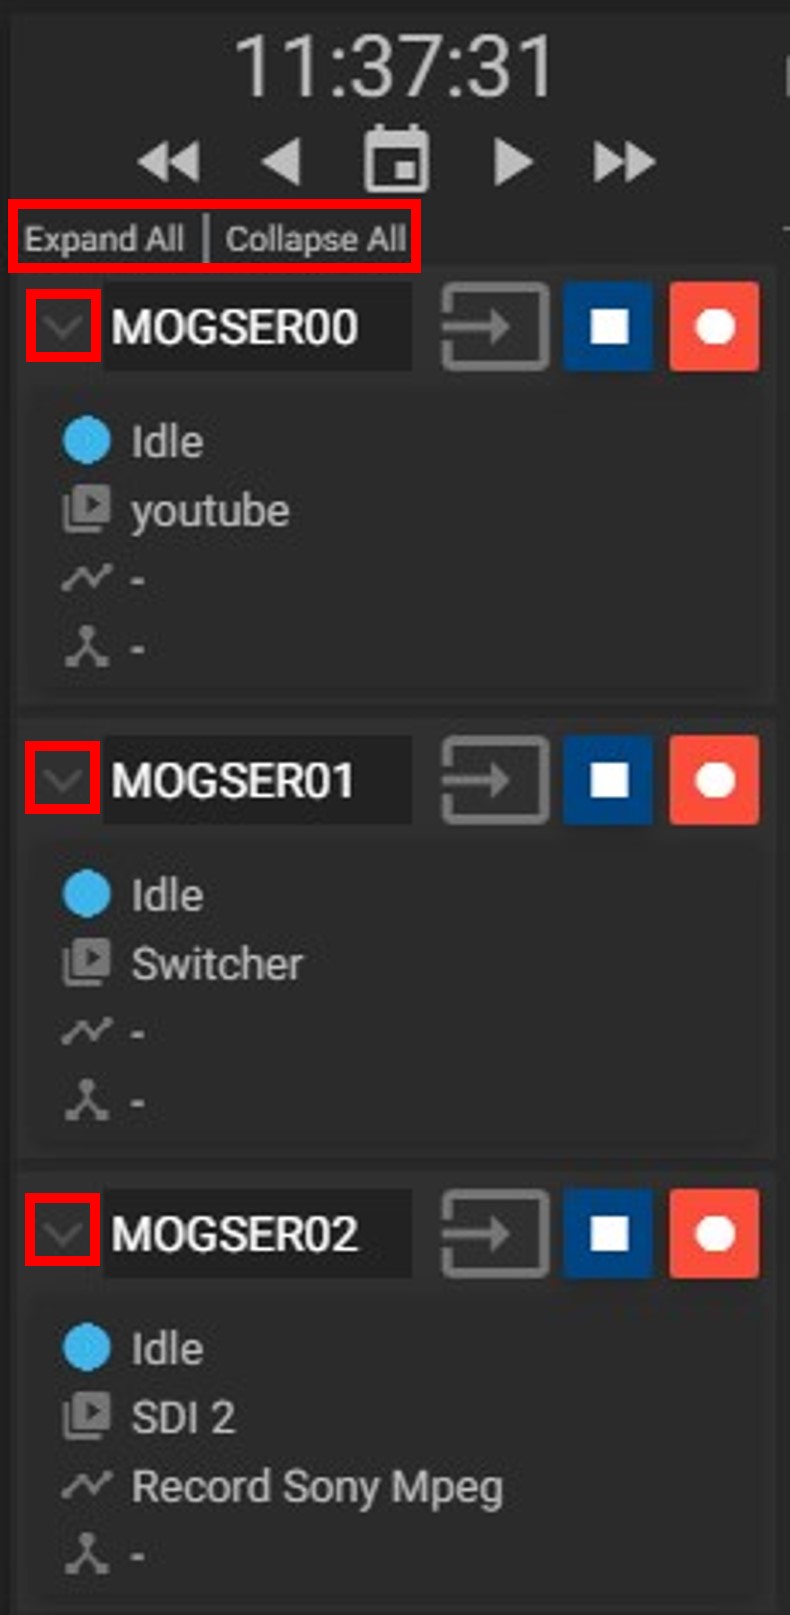
When dealing with multiple channels, this menu is expandable/collapsible to accommodate as many channels as possible in a single view:
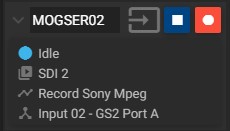
At a glance, you can view the channel status, the previously defined record input, the workflow, and the router cross-points:
a.
 Channel settings button: click to edit the selected channel settings (see below for how to do it);
b. Stop button: click to manually stop the recording operation;
c. Record button: click to manually start the recording operation.
Edit Channel Settings
Channels settings display default parameters for when a Crash or Scheduled Recording starts on the selected channel. Regular recording events can be configured to override chosen defaults.
To access the channel settings from the Record Grid panel, click on the “Channels Settings” button.
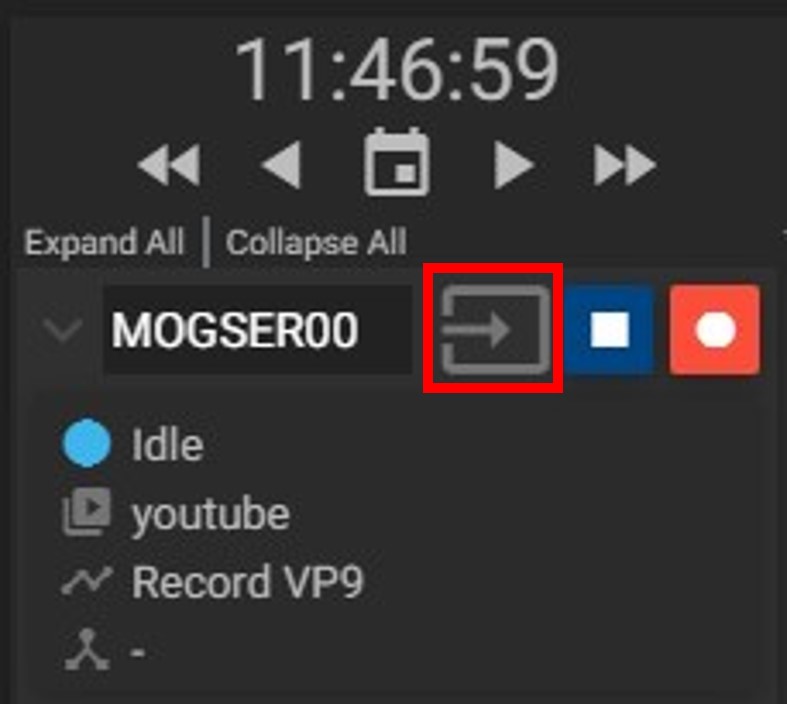
Clicking on it the panel below will open to configure the channel:
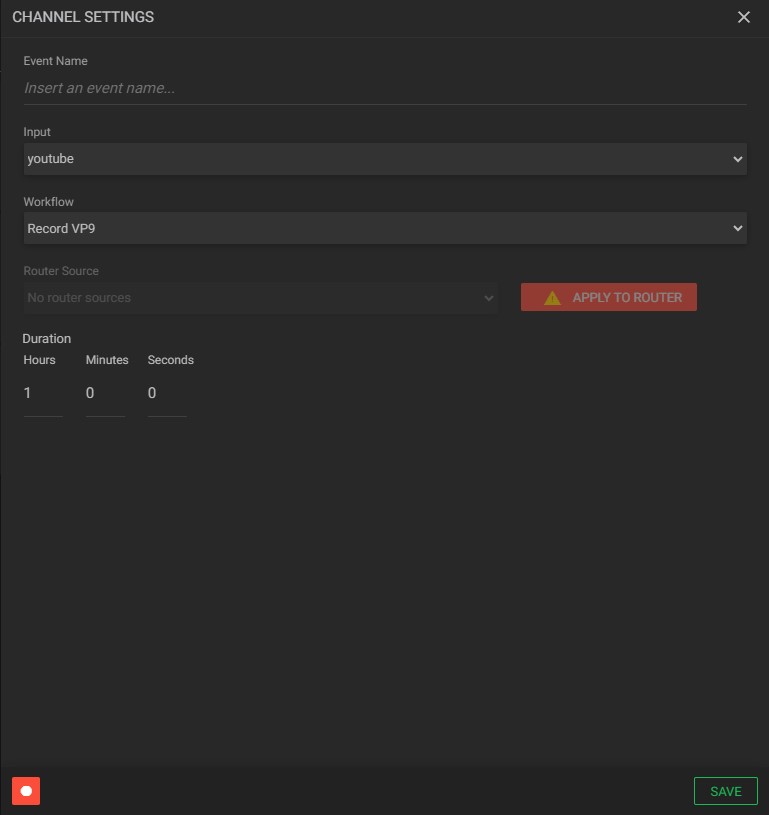
- Event Name: enter the name of the new event;
- Input: select a stream or SDI as video input (chapters “Adding Streams Input Channels” or “Adding SDI/HDMI Channels”);
- Workflow: choose a recording workflow;
- Change router cross point: enabling this option activates the Router Source selection field, allowing you to assign a cross point for this event;
- Router Source: this field is activated when the Change router cross point option is enabled, Use it to select a router source, if available. For more details, refer to the “Adding Router” page;
Notes:
- In the router source drop-down box, if you select a source, it does not change the router’s state, but merely updates the default for that channel;
- States are only applied when you click the “Apply to Router” button or when capture begins;
- When using the crosspoint router, keep in mind that changing a source may have a small latency. If necessary, the system can be pre-configured by MOG with a global latency compensation. This ensures that the router switches sources a specified number of seconds prior to the scheduled event time.
- Duration: set recording duration in hours, minutes, and seconds;
- Record button: click to immediately start/stop the record operation.
¶ Content Area
The timeline for each channel represents both the past, ongoing, and future events.

The timeline has a scale factor of 15 minutes gaps. Scroll in the timeline to enlarge the gaps for a better viewing experience or select a point in the timeline and drag it to the left and the right in accordance with the search preference.

Drag the mouse over an event to check its details.

Note:
The timeline reference indicator shows the hour of the system where you are viewing the web interface. If there is a time difference between the workstation scheduling system and the server time, there may be delays during recordings and the events representation might not correspond to the time they are actually scheduled.
Please make sure all systems (recording systems, scheduler, and the systems used to access the web interface) have a common time. A typical way to achieve this would be to set up all systems to the same NTP server.
Color Schemes
The different job types are displayed in different colors for easy recognition. Once the job is being processed, the color reflects its status (in progress, completed, failed, etc.). On the top-right corner, there is the option to change between color schemes.

|
|
||||||||||||||||||||||||
Note: all states describes the actual state of an event except for the “Canceled State”. An event is marked as canceled when the system was offline at the specified scheduled time.
¶ Events Search
Events can be viewed in the Records Grid timeline or Calendar.
To reach the created events, you can use the calendar seek buttons, which allow you to scroll up and down for 1 or 7 days, or click on the calendar icon to choose the date you want to navigate.
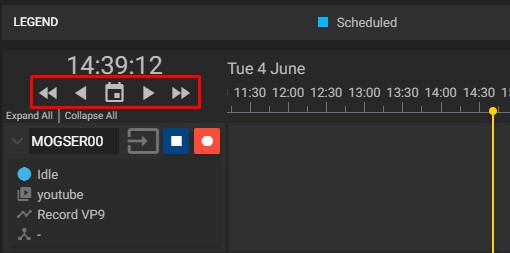
Once the event is found, you can proceed with editing or checking its current state according to the selected Schema.

¶ Add Event
Choose between a Single Channel Recording for focused monitoring or a Gang Recording for comprehensive multi-channel coverage, providing the flexibility to suit any recording needs.
¶ Single Channel Recording
To begin scheduling and setting up new events, simply double-click on the timeline of your desired channel. This intuitive action streamlines the process, enabling you to quickly and efficiently configure recordings.
A dedicated settings window will then open, tailored to the specific channel you’ve selected:
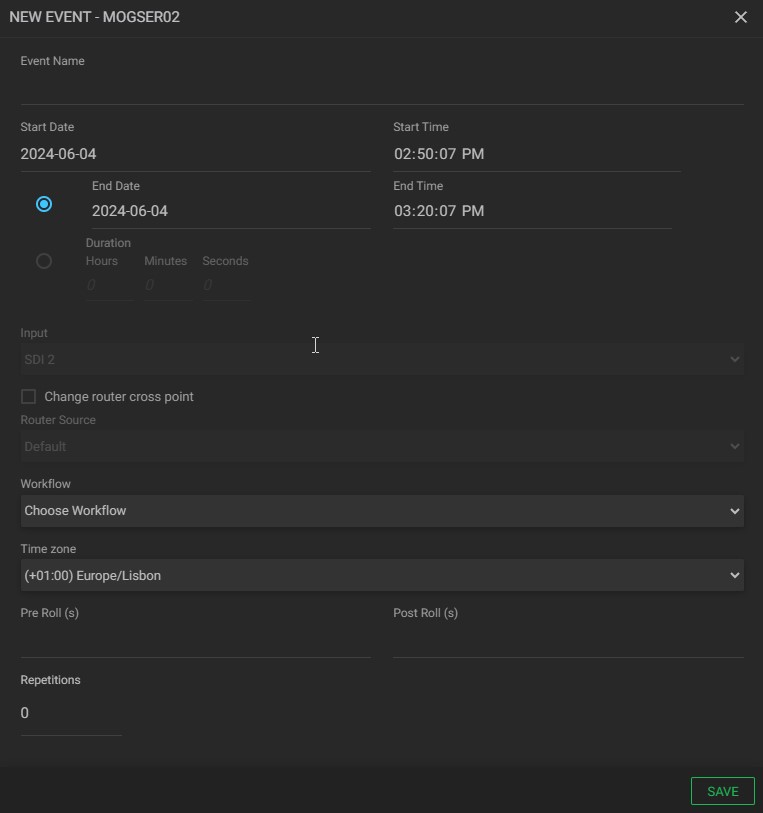
- Event Name: enter the name of the new event;
- Start date: click to select the start date of the event in the calendar that will open;
- Start time: click to select the start time of the event in the calendar that will open;
Note: select the end date and end time or the duration of the event to set its finish time.
- Input: select a stream or SDI as video input (chapters “Adding Streams Input Channels” or “Adding SDI/HDMI Channels”);
- Template: if applicable, click to select the interplay template;
- Change router cross point: enabling this option activates the Router Source selection field, allowing you to assign a cross point for this event;
- Router source: this field is activated when the Change router cross point option is enabled, Use it to select a router source, if available. For more details, refer to the “Adding Video Router” page;
- Workflow: choose a recording workflow;
- Time zone: configure the time zone;
- Pre/Post roll(s): configure the number of pre and post-roll seconds;
Note: when commuting an SDI signal there may be a delay between the router communication and MAM4PRO which could cause a capture to fail. To prevent an eventual failure a 2 second Pre-Roll is implemented by design. Changing an actual value in the Pre-Roll setting will also take the additional 2 seconds into consideration.
- Repetitions: enter the number of repetitions. If there are one or more repetitions of an event, you can configure the frequency with which it will be repeated using the “Months”, “Weeks”, “Days”, “Hours”, and “Minutes” fields;
- Trigger events: select when events will be triggered (any day, only working days, or only weekends);
- Use calendar notion: tick this option to account for time shifts (Daylight Savings Time, Time Zone shifts, etc.).
Note: input and workflow fields are shared between all repetitions of an event. Changing them will apply the changes to all repetitions in a sequence.
Note that above the “Event name” field, there is an “Add gang options”
button. Clicking this button changes the event type to Gang record and displays the “Gang instance” area on the right, where you can select which channels will be part of the gang record.
¶ Gang Recording
Add gang recording events directly from the record grid to streamline setup, enabling quick, simultaneous configuration across multiple channels. This unified approach saves time and ensures efficient, comprehensive coverage. To start, simply click the “Gang Record” button at the bottom right of the screen:
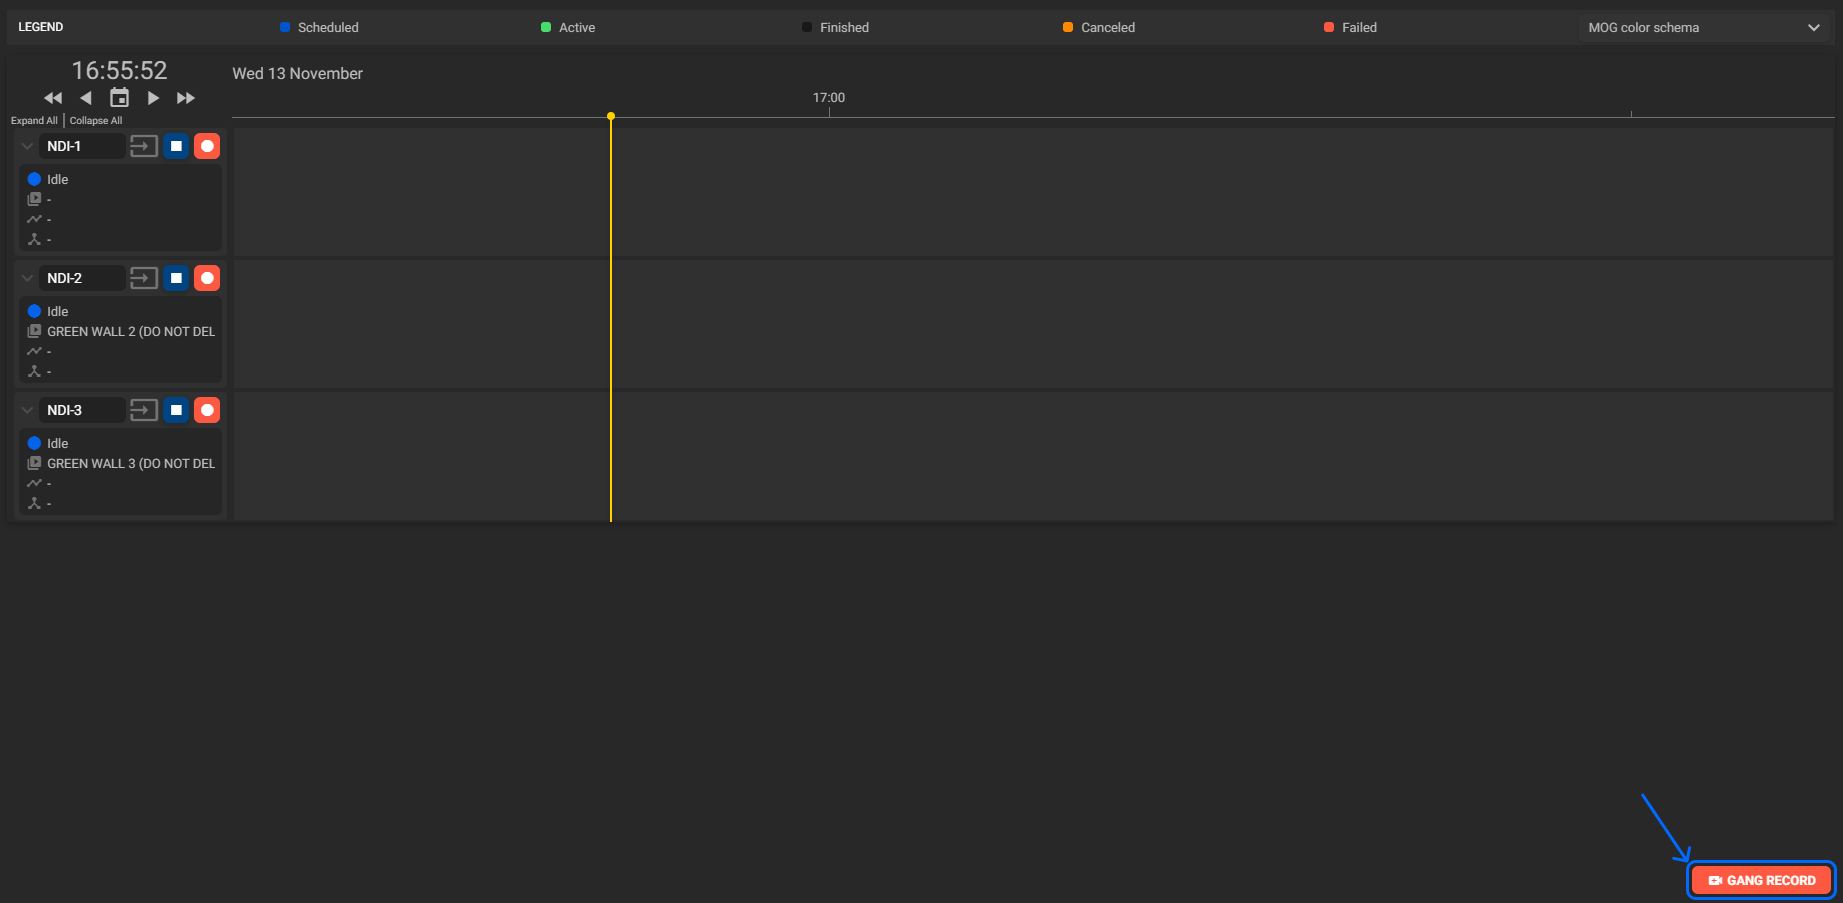
After that, a dedicated settings window will open, allowing you to configure the gang recording event:
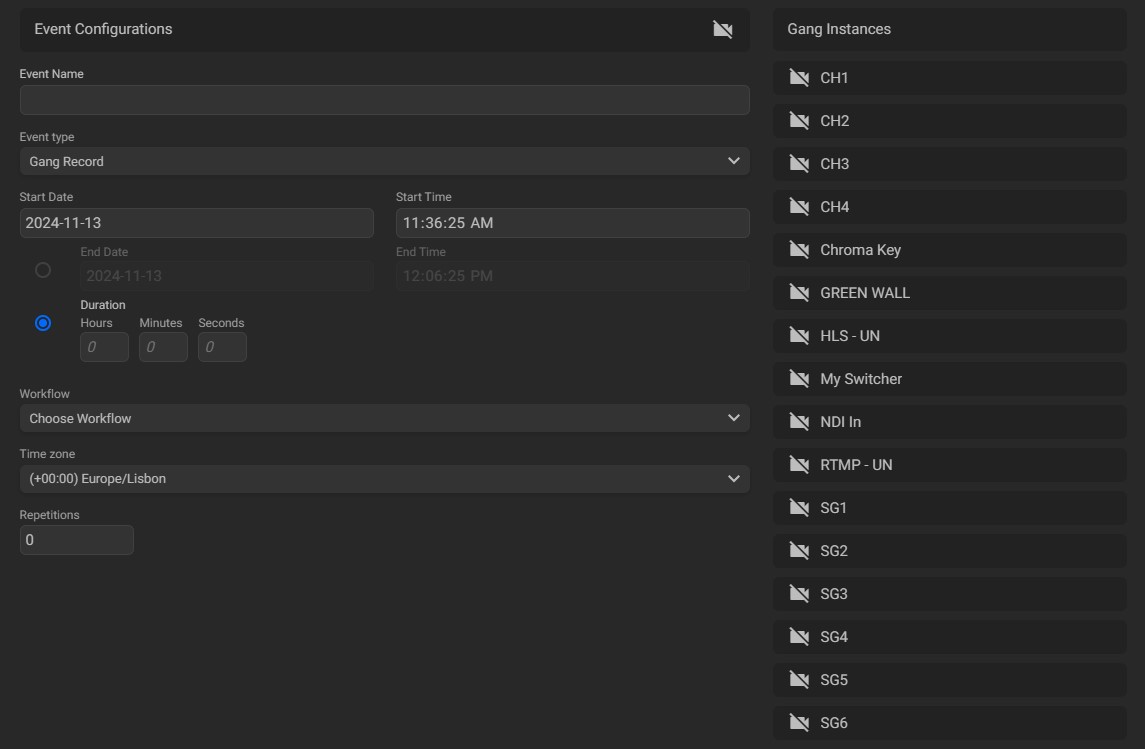
- Event Name: enter the name of the new event;
- Start date: click to select the start date of the event in the calendar that will open;
- Start time: click to choose the start time of the event;
Note: select the end date and end time or the duration of the event to set its finish time.
- Workflow: choose a recording workflow;
- Metadata user fields: fill in the required metadata fields before executing workflows. The fields shown in this area will differ based on the metadata profile selected for each workflow;
- Time zone: configure the time zone;
- Repetitions: enter the number of repetitions. If there are one or more repetitions of an event, you can configure the frequency with which it will be repeated using the “Months”, “Weeks”, “Days”, “Hours”, and “Minutes” fields;
- Trigger events: select when events will be triggered (any day, only working days, or only weekends);
- Use calendar notion: tick this option to account for time shifts (Daylight Savings Time, Time Zone shifts, etc.);
- Gang instances: on the right side, choose the channels that will be part of the gang record by clicking on them.
Note that above the “Event Name” field, you’ll find a “Remove Gang Options”
button. Clicking this button removes the channels listed in the “Gang Instance” area, switching the event type to a Single Channel Recording.
¶ Edit Event
It is possible to edit a sequence of events or just one occurrence.
To start editing simply double-click on the chosen event and change the fields, as indicated in the chapter “Add Event”.

For information on the fields available for editing, please refer to chapter “Edit Event”.
¶ Delete Event
-
Click on the event to be deleted and click on the delete button in the upper right corner;

-
The confirmation message below will be displayed:

-
Click “Yes” to confirm the deletion or “No” to cancel.
If the selected event is part of a sequence of repetitions, the screen below will be presented: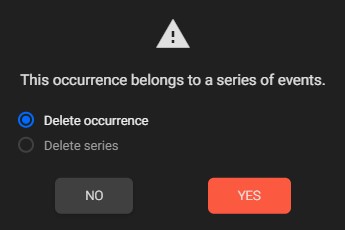
Select the desired option and click “Yes” to confirm the deletion or “No” to cancel.
Upon deletion of an event or series of events, it will be completely deleted and no history will be retained even if it has already occurred.
¶ AirSpeed Integration
The 4PRO mediaSCHEDULER offers integration with AirSpeed. The following requirements must be assured for this work:
- Add the AirSpeed service. For information on how to configure it, please refer to chapter “Integrating 3rd Parties Services”;
- Add SDI input channel linking the service created for AirSpeed as a capture type. For information on how to configure it, please refer to chapter “Adding SDI/HDMI Channels”;
- After the above configuration, the AirSpeed channel will be available for creating recording events.
¶ Interplay Check-in Confirmation
After a recording ends, the event state will be set to finish.
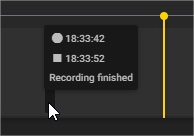
In the background, a process will validate the check-in of the media that was performed by Airspeed into Interplay.
A notification will be shown just as soon as the operation is complete, and an Interplay check-in confirmation will be displayed.
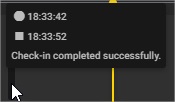
In a multiple repetition workflow, a simple counter will be appended to the clip name that is used for the check-in into Interplay. For instance, in an event with 20 repetitions, the fifth repetition will have “.05” appended to its clip name.
¶ Differences Between 4PRO mPLAN with mREC and with AirSpeed
- When recording with mREC, on 4PRO mPLAN, the workflow profile contains a recording configuration;
- When recording with AirSpeed the Airspeed recording template contains a recording configuration;
- When using an AirSpeed device to record, the user previously must select on AirSpeed the recording template to be used;
- When using mREC, the workflow profile can be selected in the event scheduled at the time of configuration;
- Interplay check-in with mREC device is preset on the workflow profile being used for the event, no changes are needed at event configuration;
- Interplay check-in on an AirSpeed device will be done by the AirSpeed yet at the event configuration it’s needed to configure the interplay destination folder and clip name.
