¶ Playout Grid
In the playout grid, you can schedule and control multiple playout services and monitor the job status.
¶ Navigation and Actions
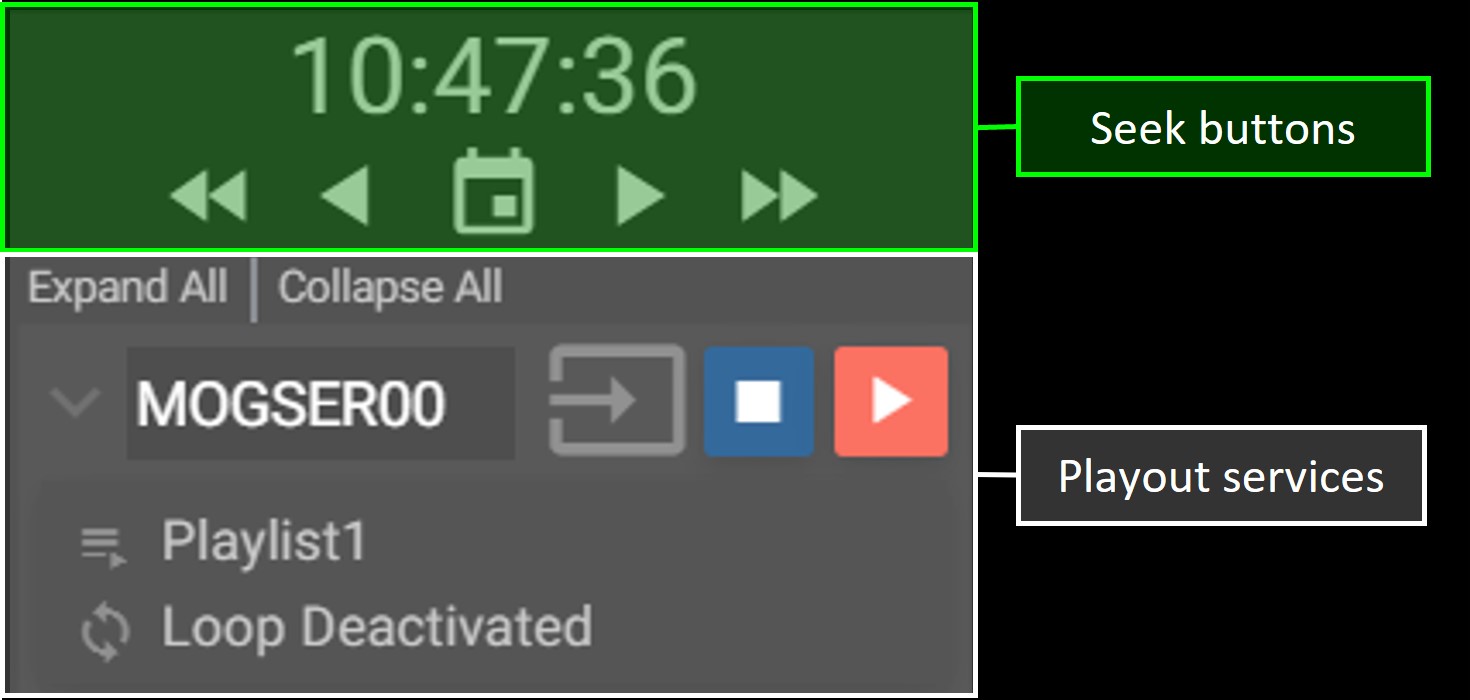
The playout grid is divided into two main sessions:

¶ Setup Menu
Check and manage your events in a multiview calendar.
-
Seek buttons: search for daily events. Please refer to chapter “Events Search” for more details;
-
Playout services: available in a quick view mode are a few settings related to the channel configuration.
When dealing with multiple channels, this menu is expandable/collapsible to accommodate as many channels as possible in a single view: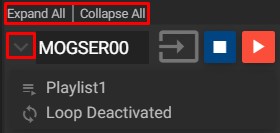
At a glance, you can view previously set playlist and whether the loop option is enabled or not.
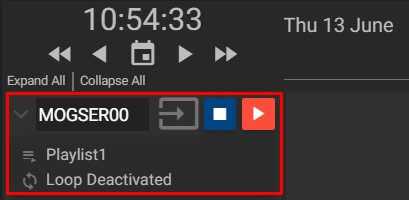
a.
 Channel settings button: click to edit the selected playout channel settings (see below for how to do it);
b. Stop button: click to manually stop the playout operation;
c. Play button: click to manually start the playout operation.
Edit Channel Settings
To access the channel settings from the Playout Grid panel, click on the “Channels Settings” button.
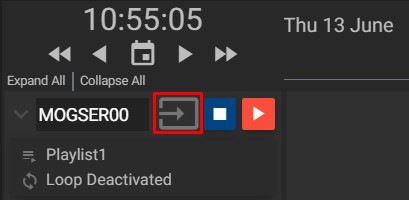
Clicking on it the panel below will open to configure the channel:

- Playout service: click to select from the available playout instances;
- Loop: select the “Loop” option, if you want the clip or clip list, to loop;
- Clip list: select a playlist created in the “Playlist Builder” or “Playout Control” widgets.
¶ Content Area
The content area provides functionality that is common to the record grid module, please refer to chapter “Content Area”.
¶ Events Search
Events can be viewed in the Playout Grid timeline or Calendar.
Searching for events in Playout Grid is similar to Record Grid. Please refer to chapter “Events Search” to learn more about it.
¶ Add Event
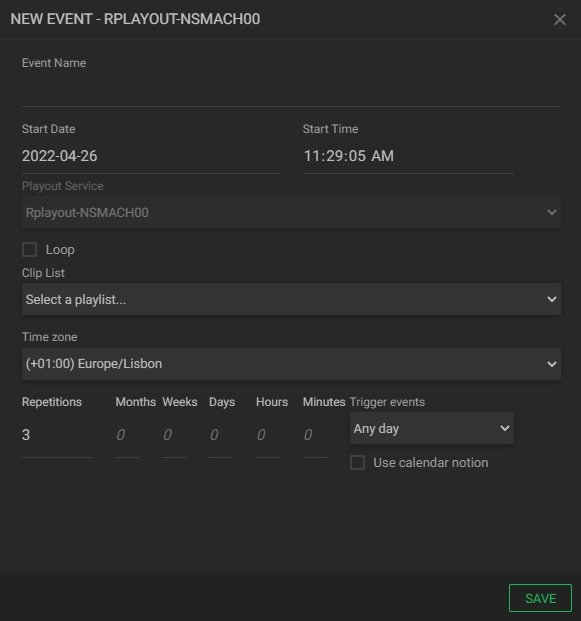
To configure the playout scheduler and start creating new events, double-click on the timeline of the service you want to add the event.
A new window will open and its appearance and available settings will vary according to the previously configured settings.
-
Event Name: enter the name of the new event;
-
Start Date: click to select the start date of the event in the calendar that will open;
-
Start Time: click to select the start time of the event in the calendar that will open;
The end of the event will be defined by the duration of the selected playlist:
Looped playlists or playlists with live inputs without duration will be displayed with a yellow bar to the right as a visual warning that they have no final duration time:

-
Loop: select the “Loop” option, if you want the clip or clip list, to loop;
-
Clip list: select a playlist created in the “Playlist Builder” or “Playout Control” widgets;
-
Time zone: click to select the time zone;
-
Repetitions: enter the number of repetitions. If there are one or more repetitions of an event, you can configure the frequency with which it will be repeated using the “Months”, “Weeks”, “Days”, “Hours”, and “Minutes” fields;
-
Trigger events: select when events will be triggered (any day, only working days, or only weekends);
-
Use calendar notion: tick this option to account for time shifts (Daylight Savings Time, Time Zone shifts, etc.).
Note: a playlist is shared between all repetitions of an event. Changing it will apply the changes to all repetitions in a sequence.
¶ Edit Event
It is possible to edit a sequence of events or just one occurrence.
To start editing simply double-click on the chosen event and change the fields, as indicated in the chapter “Add Event”.
¶ Delete Event
-
Click on the event to be deleted and click on the delete button in the upper right corner;

-
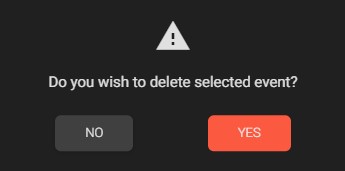
The confirmation message below will be displayed:
-
Click “Yes” to confirm the deletion or “No” to cancel.
If the selected event is part of a sequence of repetitions, the screen below will be presented: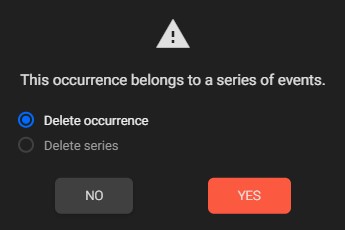
Select the desired option and click “Yes” to confirm the deletion or “No” to cancel.
Upon deletion of an event or series of events, it will be completely deleted and no history will be retained even if it has already occurred.