¶ Setting up a Live Stream with MAM4PRO Integration
Revision date: 08/apr/2022
MAM4PRO version: 2022.03.00
Vizzi version: 1.12.0
Embark on a seamless Live Stream journey with MOG’s all-encompassing solutions, covering every step from generation to transmission using the powerful MAM4PRO and further distribution in a content platform with Vizzi. This guide is the key to unlocking a streamlined and highly efficient Live Stream experience.
¶ Generating a Live Stream in MAM4PRO
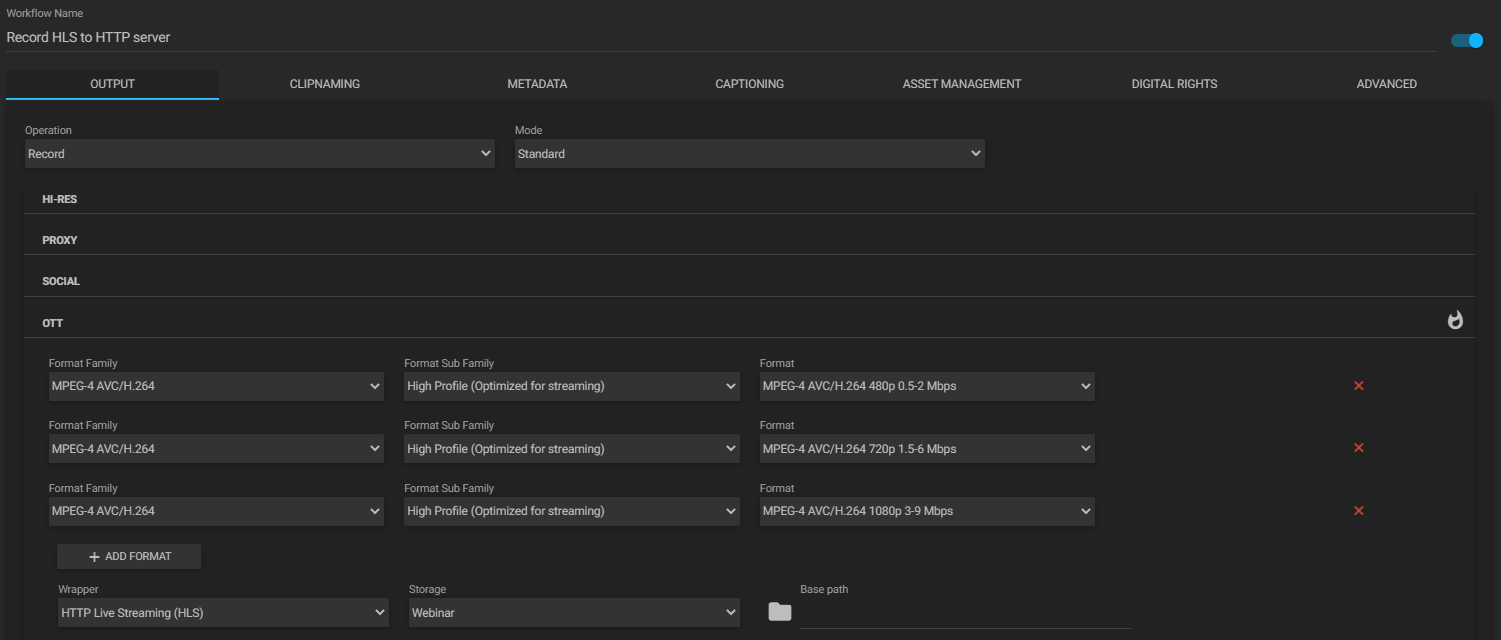
First, add a recording workflow in the “Workflows > Workflow Profiles” menu with the resolutions you want to generate. In the “Storage” and “Base path” fields, configure the location where your HTTP server will look for the HLS “.m3u8” files and their “.ts” segments:
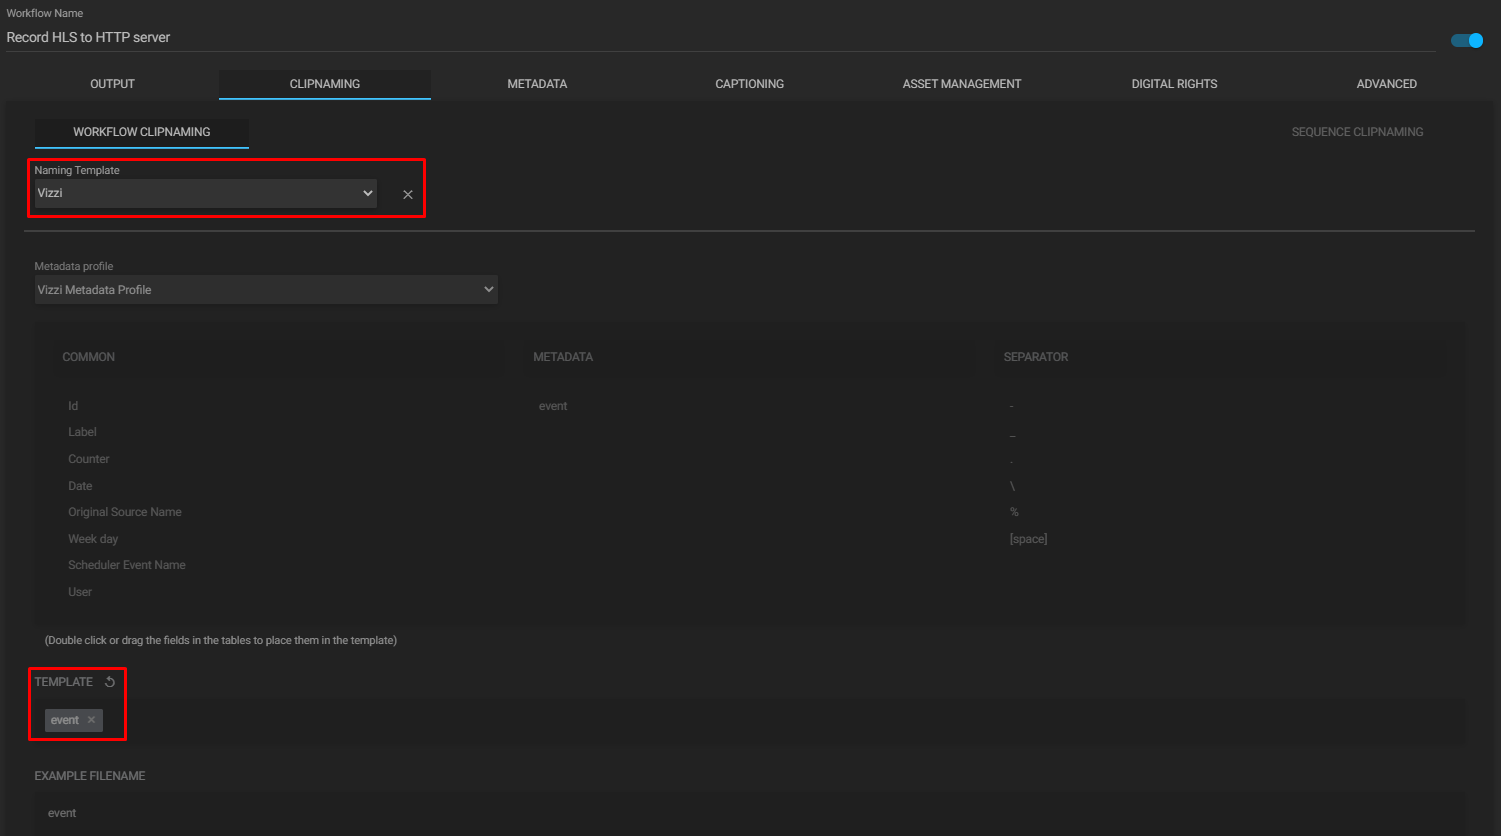
In our example, in the “Clipnaming” tab, we selected a previously created clip naming rule that will apply the “event” naming to the files. This means that there will be one “event.m3u8” file and multiple “event.ts” segments, for each resolution.
Go to the Dashboard and in the Player widget, select the created workflow and click the “Record” button:
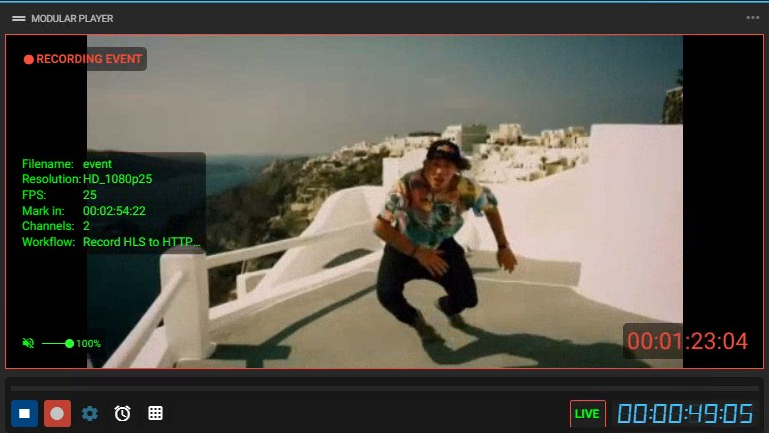
When you start recording, the stream will have started. Now it’s time to configure Vizzi to receive this stream.
¶ Configuring Live Stream in Vizzi
First, go to the “Live Streaming” menu and click the “CREATE” button at the top right of the screen, and in the “GENERAL” tab, fill in the information about the content:
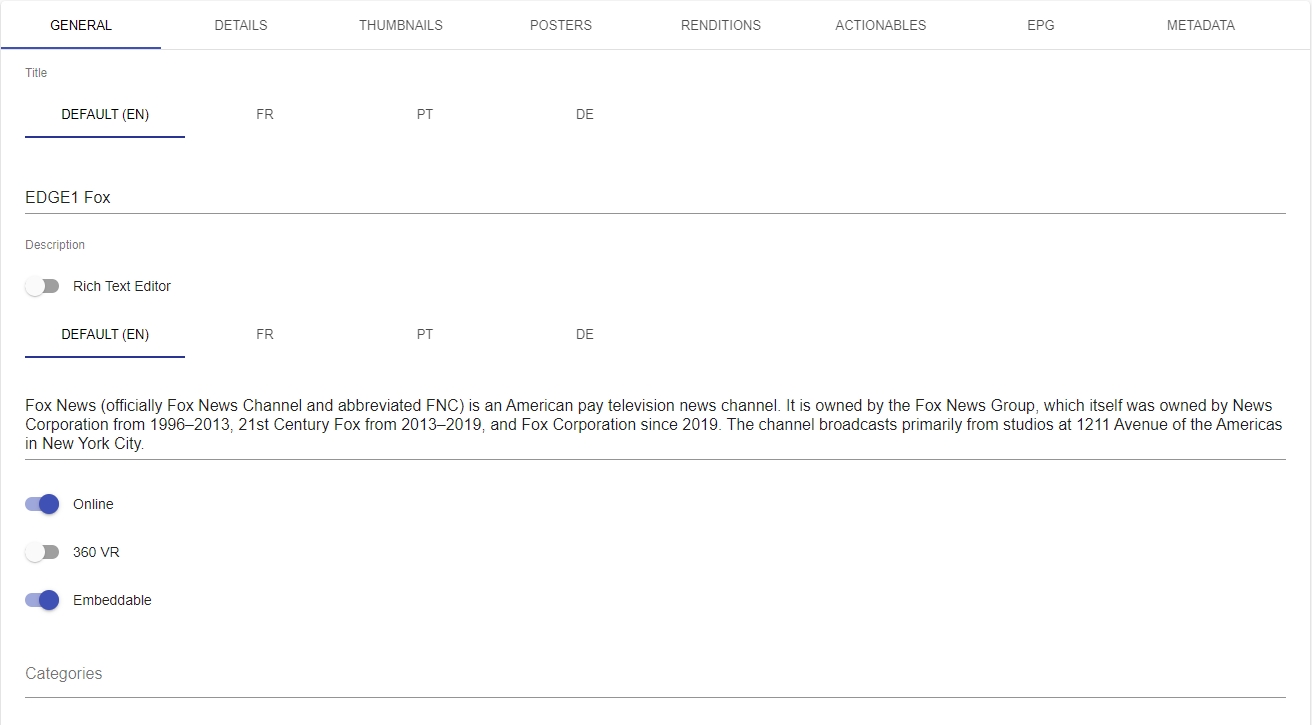
To make the live viewable on the frontend, that is, by the end-user, check the “Online” option. If the content is virtual reality, check the “360 VR” option and if you want the content to be available for embedding on third-party websites, check the “Embeddable” option.
In the “RENDITIONS” tab, configure the default render URL, mime, and aspect ratio:
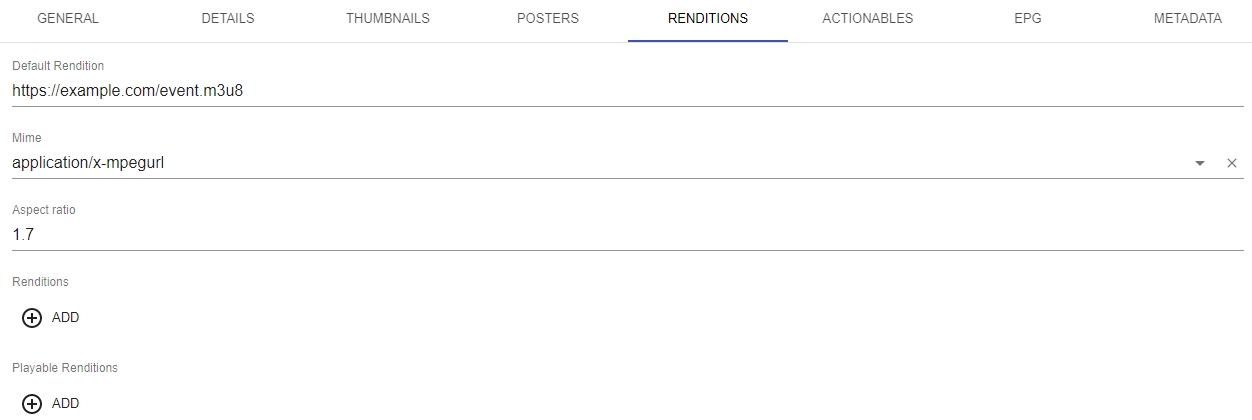
The default URL is the HLS link pointing to the “event.m3u8” file that was generated by MAM4PRO.
If you want to add another alternative quality to the video, click the “ADD” button (below the “Renditions” field) or if you want to add another video play format, click the “ADD” button (below the “Playable Renditions” field).
These were the mandatory tabs for setting up a live stream on Vizzi and the ones presented below are completely optional.
In the “DETAILS” tab, you can configure the day and time of the start and end of the exhibition. In addition, in the “Preview” field, it is possible to add a previously added VOD or Live, which will work as a preview, if this content is included in a paid product.

Notes:
- Leave the "Start" and "End" fields blank if you want Live to always be available for exhibition on the frontend;
- If the content is subject to parental control, check the "Require Parental Pin" option, causing the video to be viewed only after the pin has been inserted.
If you want to add thumbnails and posters go to the corresponding tabs, click the “ADD” button and enter the URL of the image in the “URL” field or click the gray box to select an image:
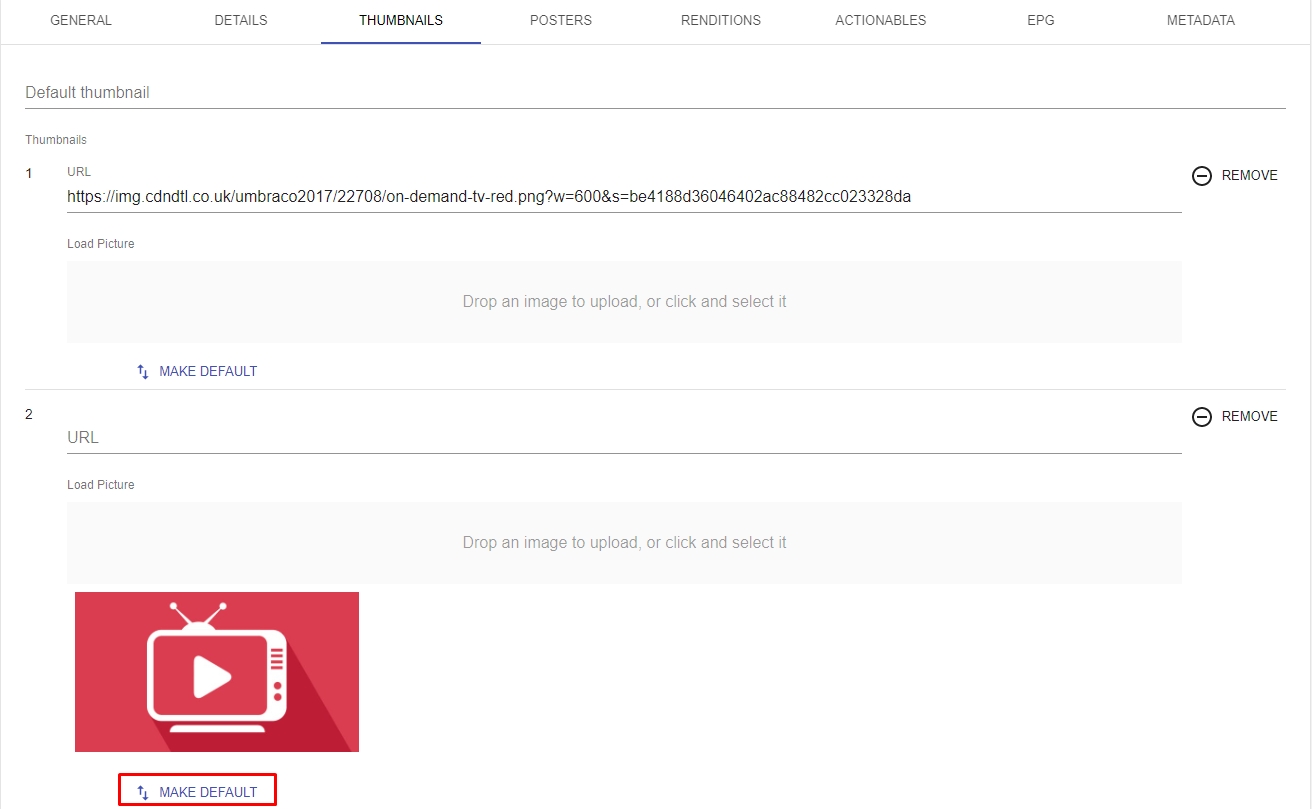
After the images are added, click the “MAKE DEFAULT” button to set the default image.
In the “ACTIONABLES” tab, one or more previously created actionables can be assigned to be triggered along with the VOD:

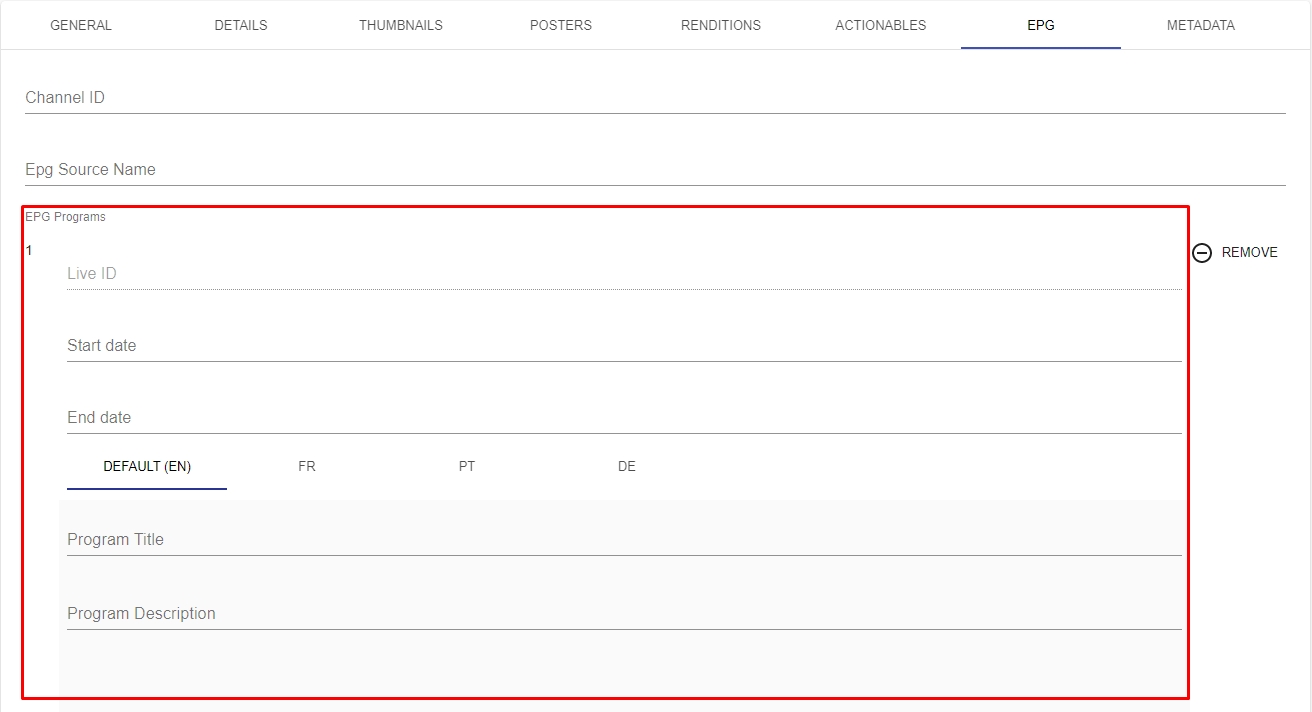
In the “EPG” tab, you can configure the Electronic Program Guide (EPG) for the live stream channel. It is possible to choose to automatically complete EPG programs through a periodic background process or to configure them manually.
For the automatic filling process, you need to have an EPG created earlier in the EPG Source module. Then fill the “Channel ID” field with an ID that must match the one defined in the EPG source, and in the “EPG Source Name” field, select a previously created EPG.

For the manual process, click the “ADD” button (below the “EPG Programs” field), then select the start and end date and time, and fill in the “Program Title” and “Program Description” fields.
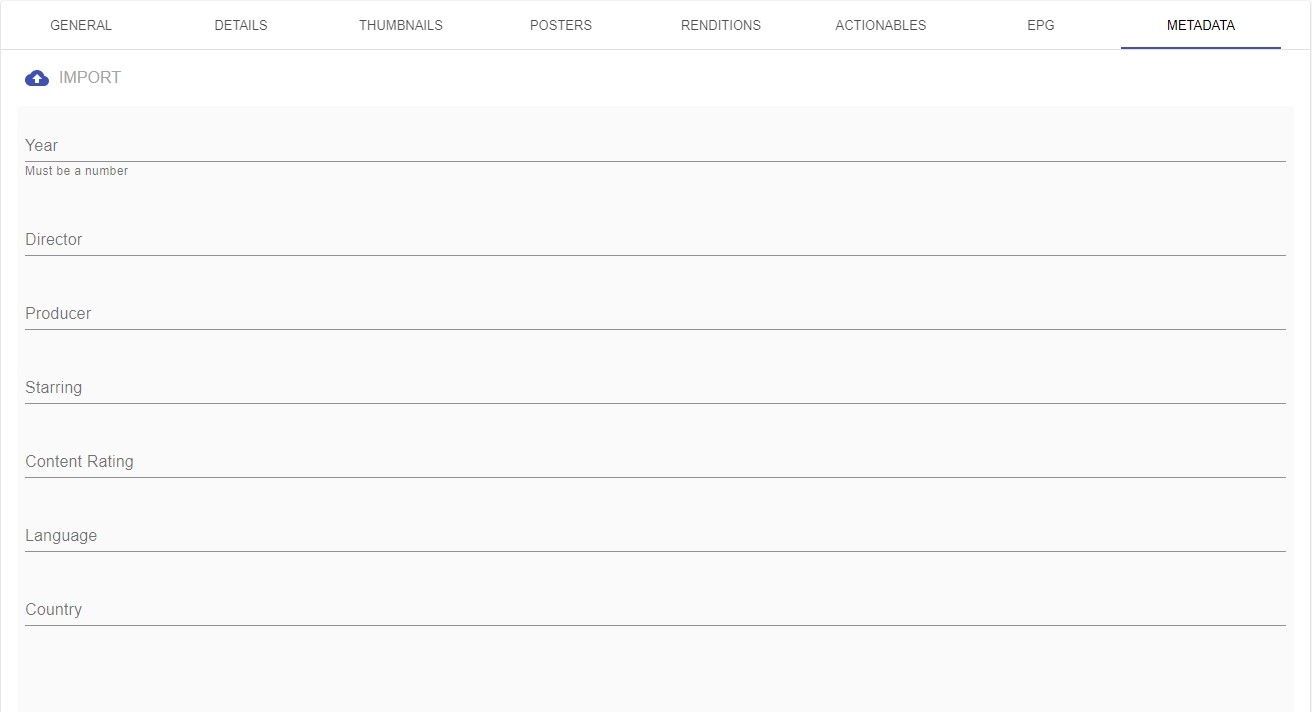
If applicable, on the “Metadata” tab, fill in the live stream metadata information:
Once this is done, click the “SAVE AND SHOW” button and you are good to go.
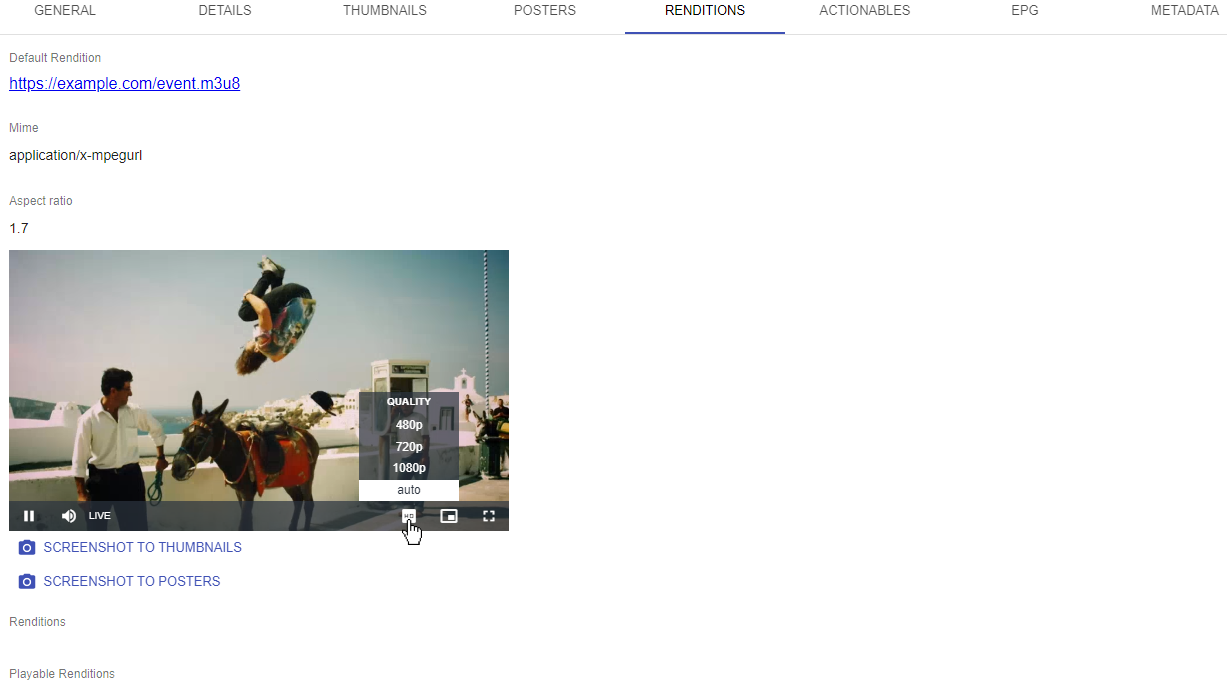
In the image above, note that when playing the live stream, the word “LIVE” appears in the control bar (bottom of the player), and when clicking on the “Quality” button, all generated resolutions will appear for selection.
Note: for Live to be present in the frontend, it must be included in an online collection and a product.
For more details on how to configure a Live Stream, please refer to chapter Live Streaming.
Elevate your streaming capabilities with MOG’s innovative and integrated solutions.