¶ Watch Together Add-on with Screen Share and Chat
Revision date: 16/nov/2023
Vizzi version: 1.14.0
Fully committed to providing our customers with a content platform that adds value to their business, Vizzi offers a variety of add-ons that aim to enhance the experience of frontend users, in addition to the native and powerful features already offered.
We are thrilled to introduce the Watch Together add-on with Screen Share and Chat, the ultimate tool for enhancing audience engagement and making your events unforgettable!
With the ability to create multiple events, share a playlist, and chat with your selected audience, Watch Together adds a new level of interactivity that will keep your attendees captivated and participating.
Whether hosting a business meeting, social gathering, or any other event, Watch Together is perfect to create a memorable experience for all.
Below, let’s take a look at how to perform this.
¶ Configuring a Virtual Screen
To begin, create a Virtual Screen and specify the owner, co-owners, and event Template in the Details tab:
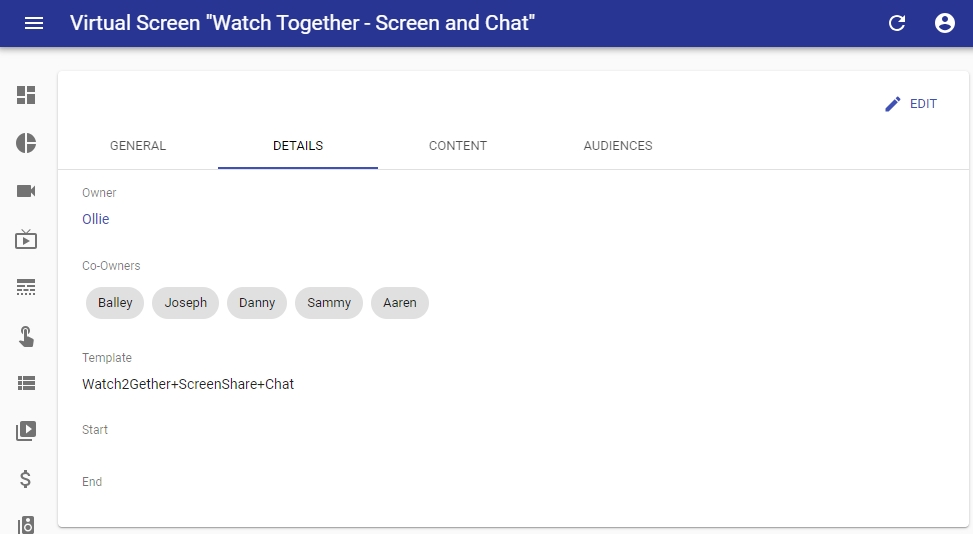
Note: MOG provides the template name. In this guide, we will use the “Watch2Gether+ScreenShare+Chat” template.
In the Content tab, select the Collections you want to include in the virtual screen.
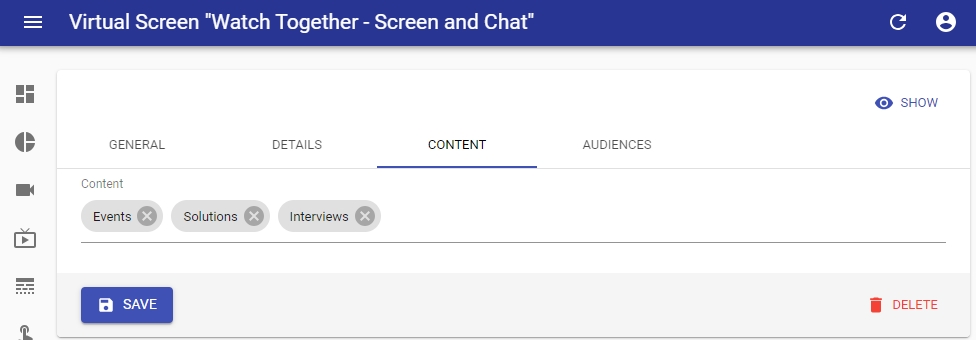
It is important to note that when you specify the content in this section, only the selected content will be displayed on the virtual screen. If you leave it empty, any content within the content catalog can be used, as specified in the virtual screen URL. To learn how to set up a URL, please visit this page.
¶ Access to Virtual Screens
To access virtual screens, you can either navigate directly to a URL within your browser, but only if you’ve logged in previously in another tab, or use the Go To actionable feature in the Vizzi white-label frontend web app.
To access the virtual screen through an actionable, you first need to create the actionable using the Virtual Screen URL:
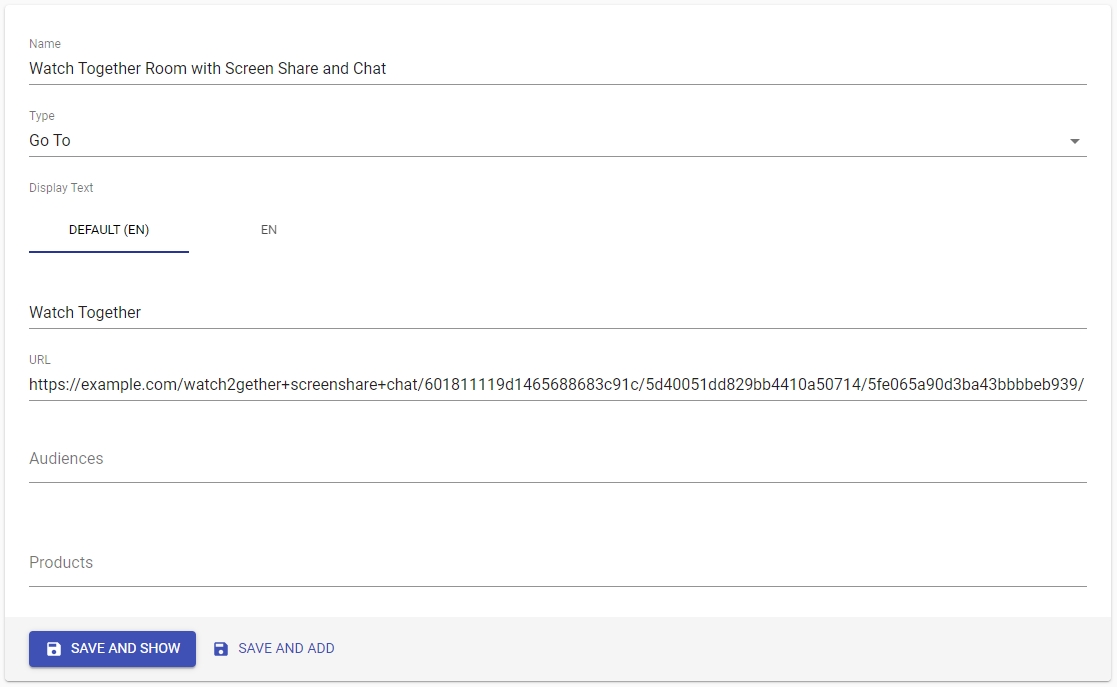
After that, link it with the content you want to access by clicking the “Edit” button on the chosen content under the “VODs” or “Live Streaming” menu:
| VOD |  |
| Live |  |
When you’re editing the content, go to the “Actionables” tab and select the previously created Actionable:
| VOD |  |
| Live |  |
¶ Access to Frontend
Accessing the frontend does not require logging in, except for accessing content meant for specific audiences. If you are not logged in, you can only access free online content.
If you choose the “Remember me” option while logging in, you can open the virtual screen in a different tab. However, if you do not select this option, you must open the virtual screen in the same tab where you logged in.
To learn how to log in to the system, please visit this page.
Note: to access a virtual screen as an owner or audience (if the screen has an audience), you must first log in to the frontend.
¶ Virtual Screen Operation
Once the actionable has been associated, you can access the virtual screen by clicking on the Actionable button on the video page:
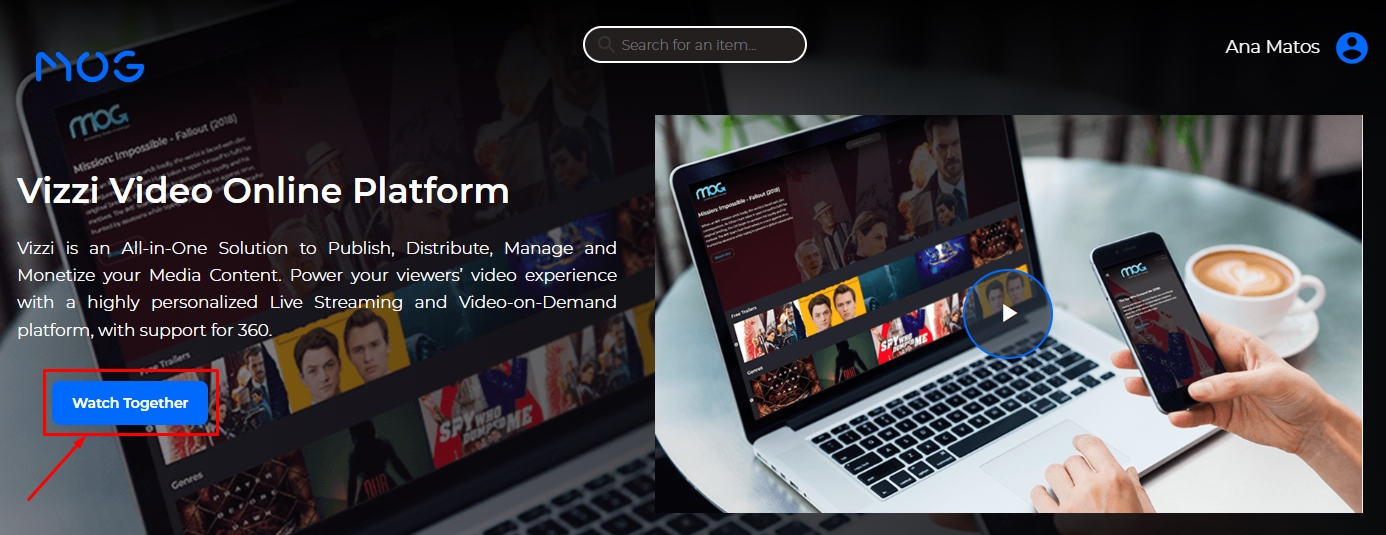
Check below the two possible views - Owner and Co-owners and Audience - and their respective characteristics.
¶ Virtual Screen Owner and Co-owners
To access a virtual screen as an owner or co-owner, you must first log in to the frontend. Once you are logged in, you shall see the following:
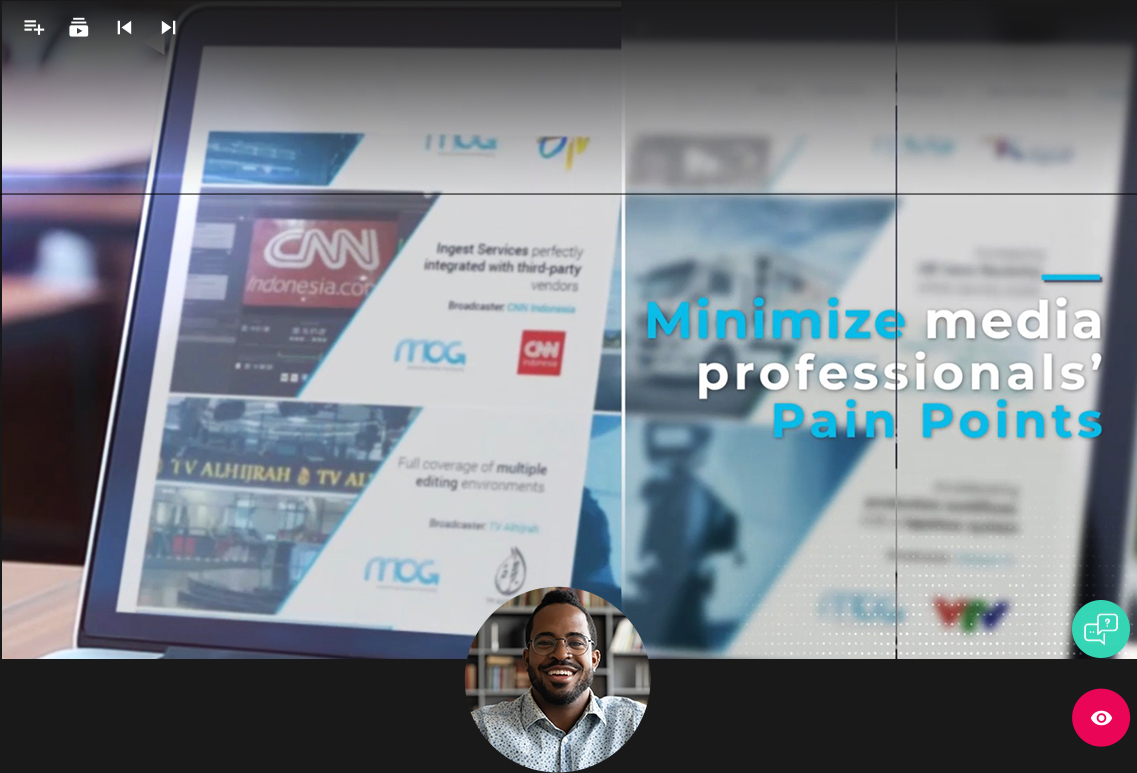
At the top and bottom of the screen, there are the following controls (from left to right):
-
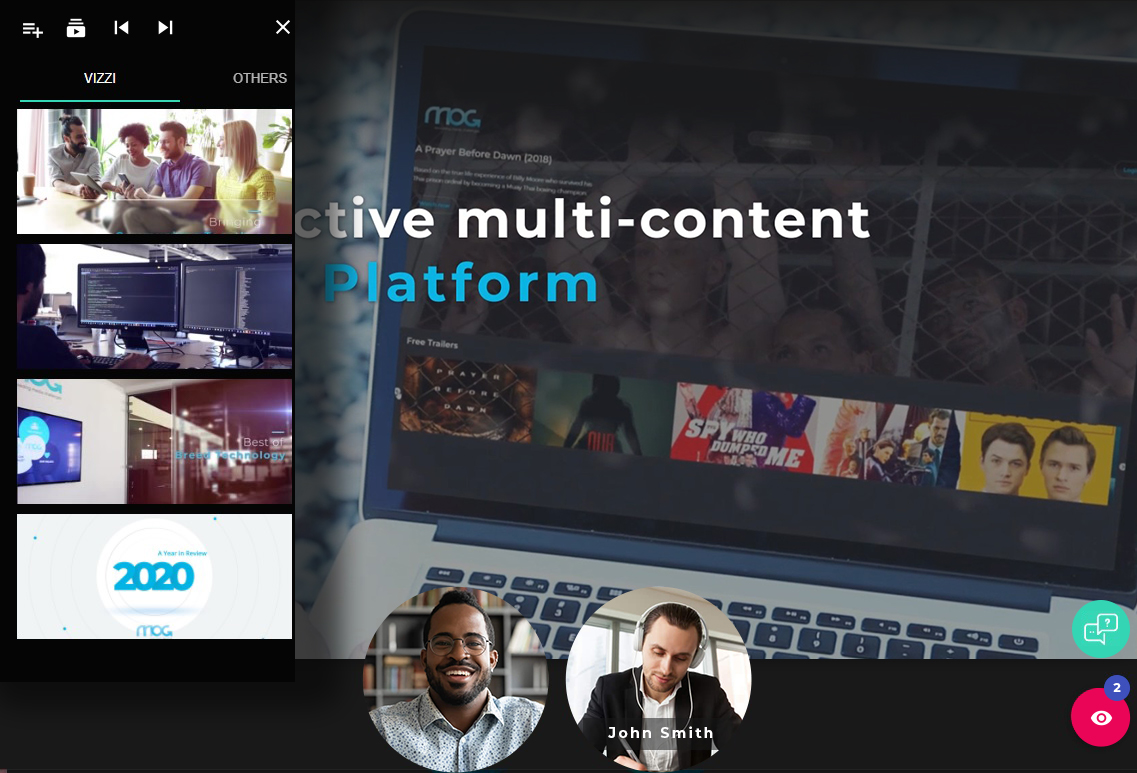
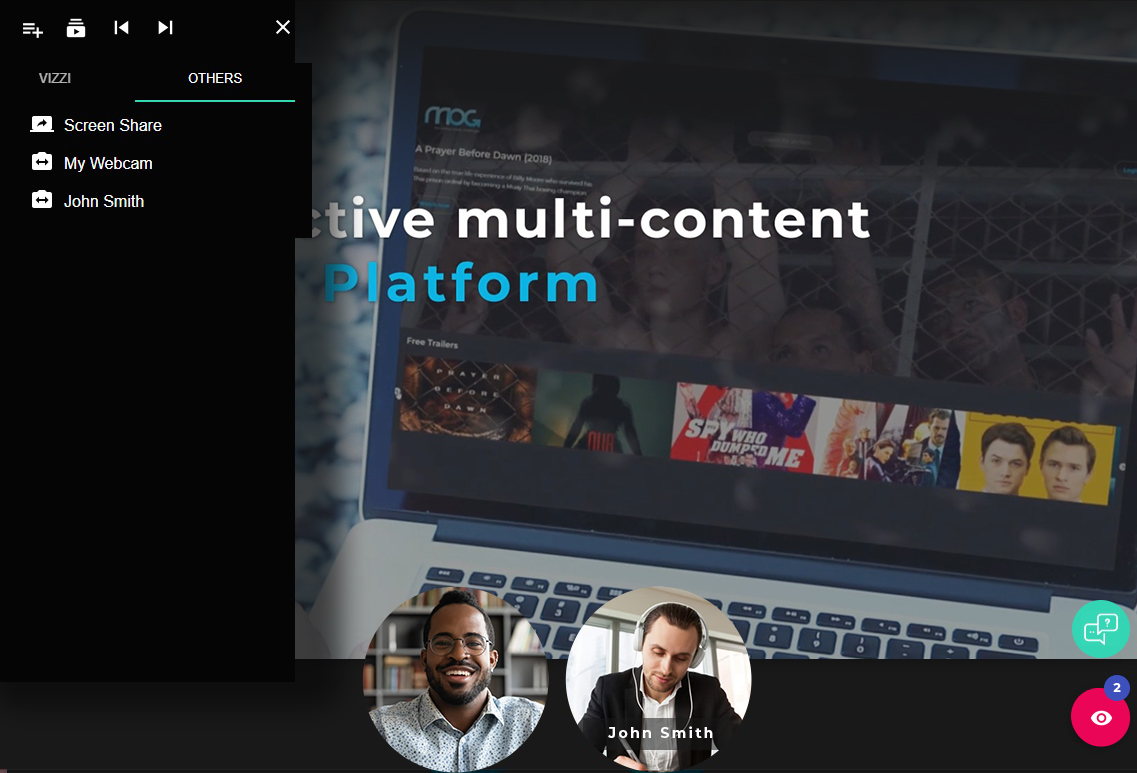
 Add content to the virtual screen: two tabs are displayed when you click this button. The “VIZZI” tab shows the videos belonging to the backend, and the “OTHERS” tab shows the screen-sharing options;
VIZZI: this tab shows the available content that can be displayed on the Virtual Screen. To add a video to the queue, click and drag to the center of the screen:
OTHERS: In this tab is possible to share the screen and the webcam of the room owner, as well as the cameras of the participants present:
-
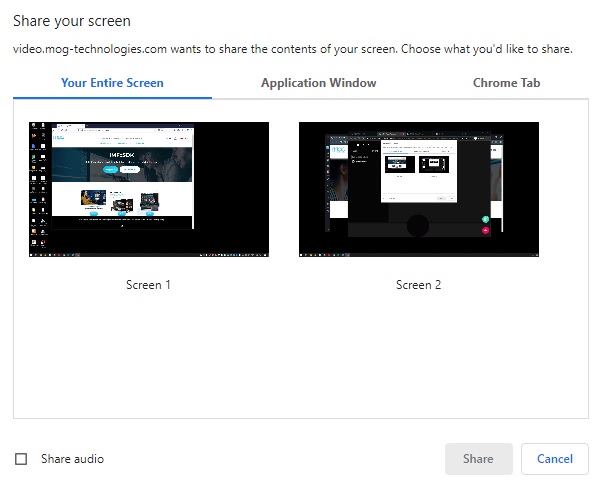
Screen Share: when selecting this option, a window will open with the options for sharing the owner’s screen;
Note: the following sharing procedures are for Google Chrome, for other browsers, the procedures may be different.
-
Share the entire screen: this tab allows you to configure the sharing of all content on the owner's screen. If there is more than one monitor connected to the computer, choose which one you want to share and click the "Share" button;
-
Share application window: this tab allows you to configure the sharing of the content of a specific application. Select the application and click the "Share" button;
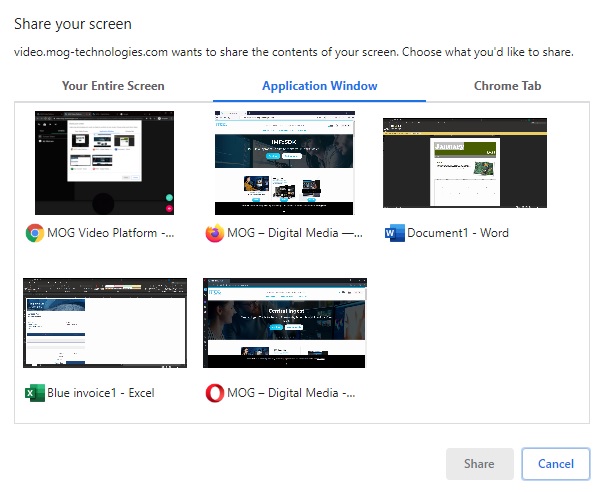
-
Share Chrome tab: this tab allows you to share only one Chrome tab. Select which one you want to share and click the "Share" button;
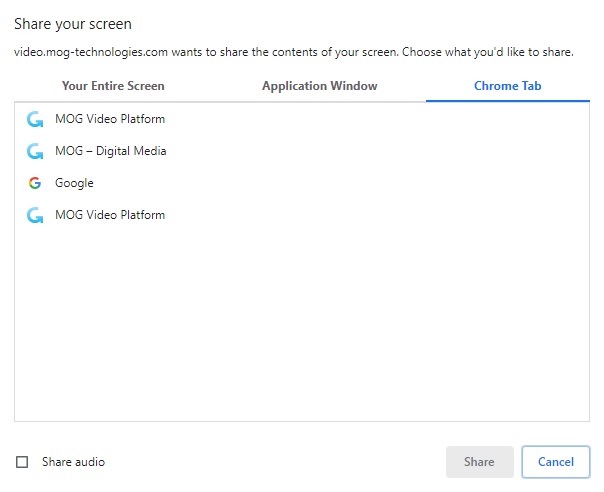
Note: in any of the above options, if you want to also share the screen audio, select the "Share audio" option in the bottom left corner of the screen.
-
-
My Webcam: click to share your webcam;
-
Audience Webcam: below the owner webcam option will appear the list of customers with their webcams connected. To share the webcam of one of them, click on it;
-
-
 Content queue: shows the contents queued for display. Contents can be added (by drag-and-drop) or removed (by clicking the delete button to the right of the content);
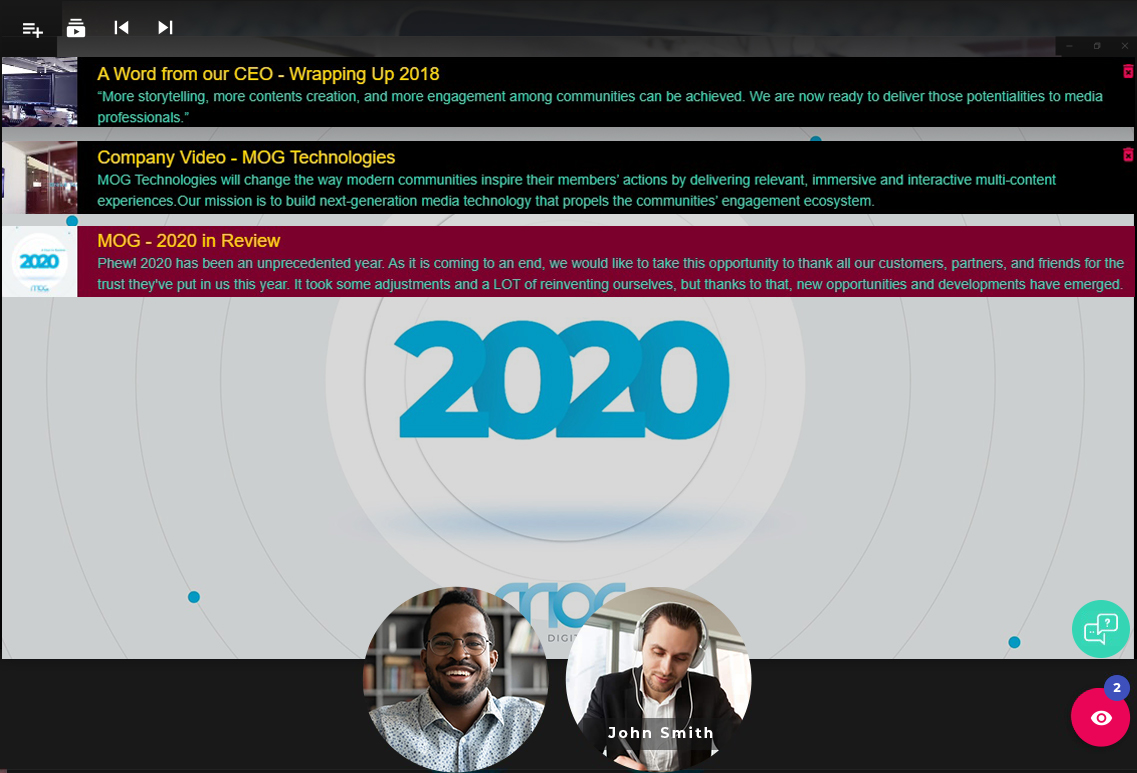
-
 Previous content: displays content prior to current in the queue;
 -
 Next content: displays content next to the current in the queue;
 -
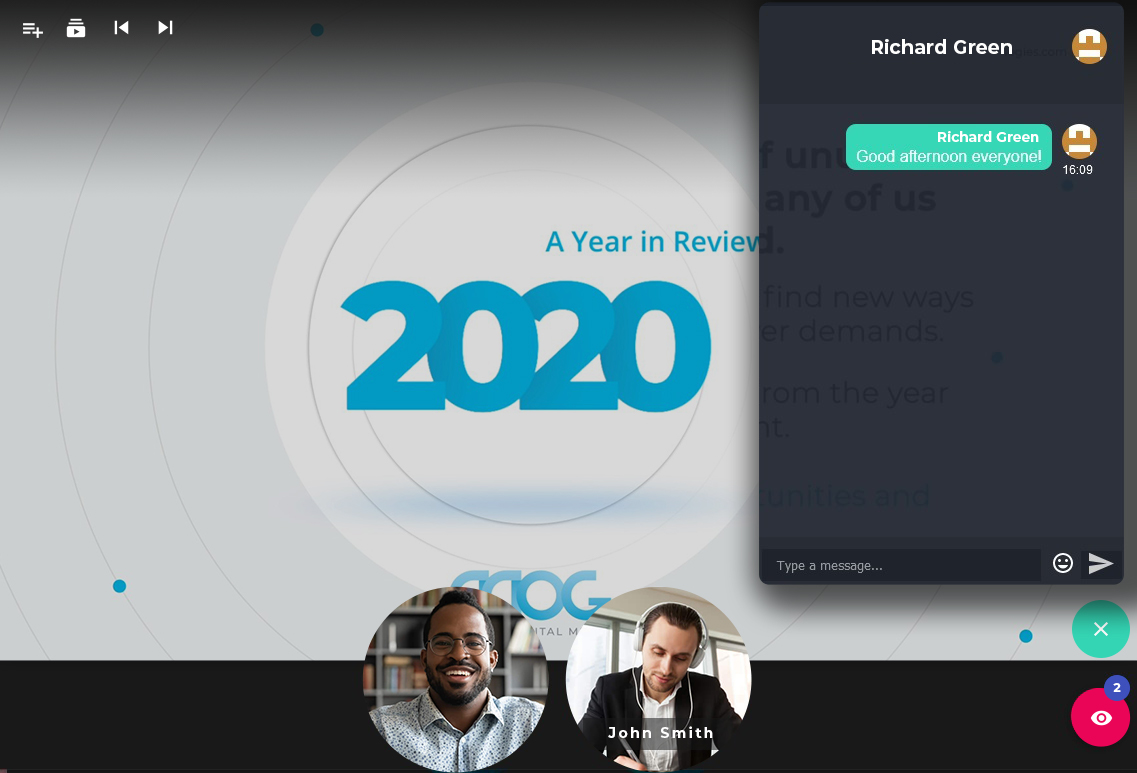
Spectator image and control: in the bottom center of the screen, it is possible to view the viewers' camera. By hovering over participants’ videos, you can enable or disable your camera and enable or disable your and other participants' audio:

-
 Watchers: this button shows the current number of users who entered without sharing the camera (bottom right corner of the screen). By clicking on this button, the list of watchers will be presented, as in the image below:
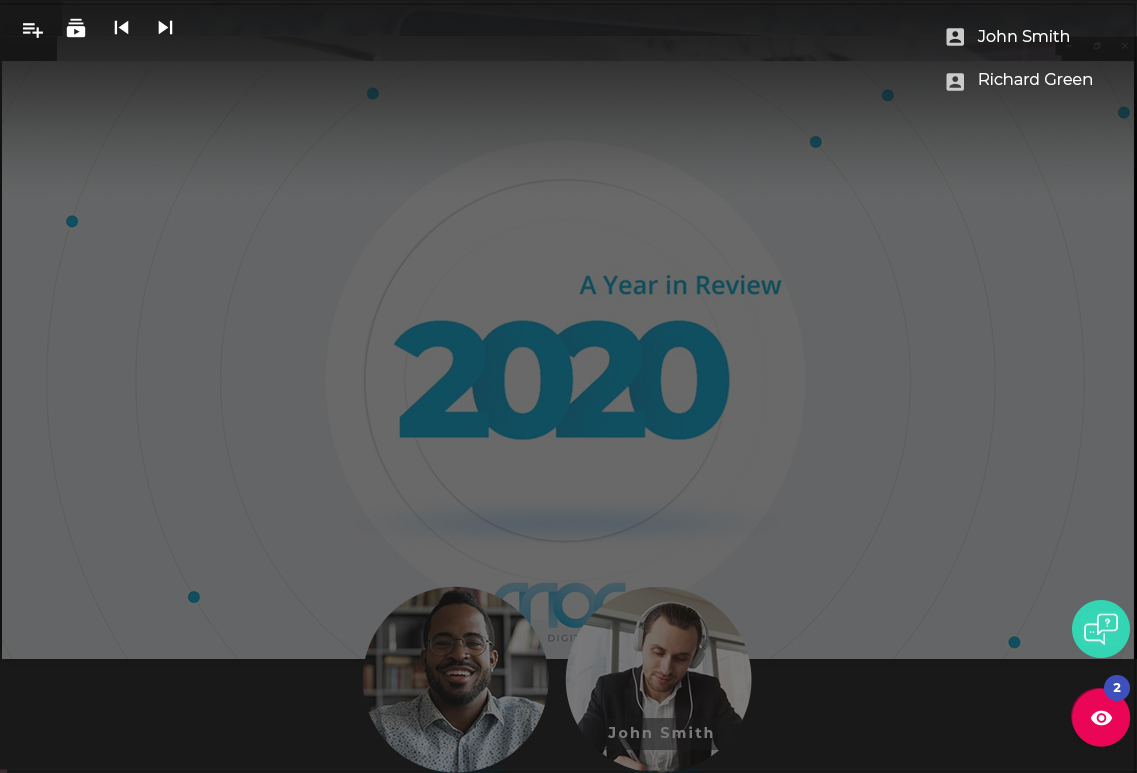
-
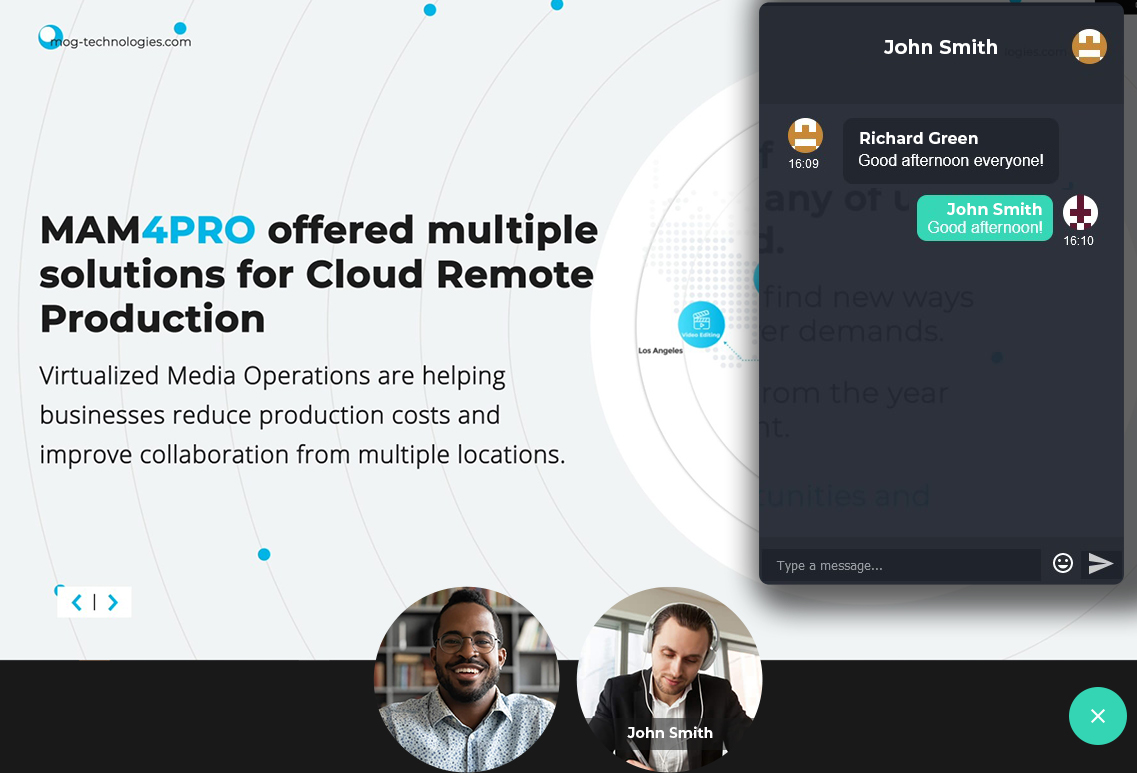
 Chat button: click to start a conversation with all users on the virtual screen:
-
¶ Virtual Screen Audience
The audience can access the content whether or not they are logged in to the frontend. However, if the virtual screen is set up for a specific target audience, only the people who belong to that group will be able to view it. To do so, the client must log in to the frontend beforehand.
Audiences who are not logged in must enter a name and click “GET ME IN” to access the virtual screen:
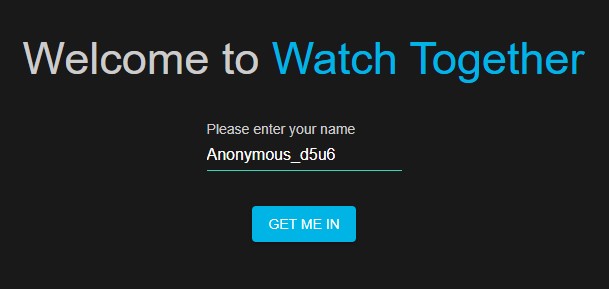
To access the virtual screen, please enter a name and click on the “GET ME IN” button.
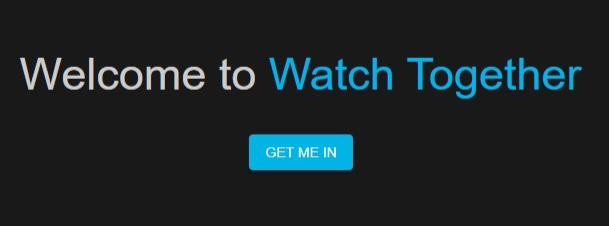
Audiences who are already logged in can click “GET ME IN” to access the virtual screen:
When entering a virtual screen, the audience shall see the following:
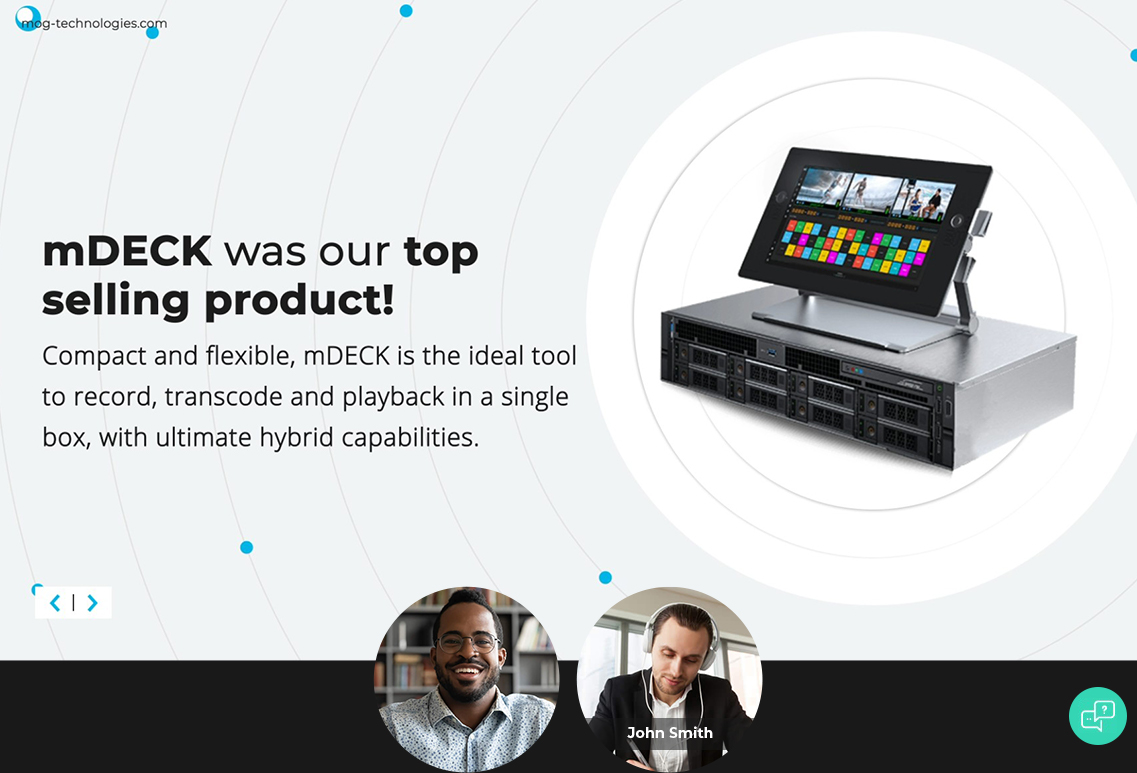
- Spectator image and control: in the bottom center of the screen, it is possible to view the viewers’ camera. By hovering over participants’ videos, you can enable or disable your camera and enable or disable your and other participants’ audio.

 Chat button: click to start a conversation with all users on the virtual screen:
Note: Vizzi offers a white-label frontend, which means that it is highly customizable with each client’s branding and business models. Therefore, the information and layouts presented here may vary.
Start using Watch Together today and take your events to the next level!