¶ Priority Levels
Revision date: 16/may/2024
Software version: 2024.04.00_4e663f36_dev
The compatible products with this feature are MAM4PRO, mDECK, and mCODER.
In the production environment, organization and efficiency are required for a faster distribution of content.
Thus, we’re happy to announce that, with our products, you can better distribute your work and increase the productivity of your environment by taking advantage of our new Priority Levels.
Let’s see how to take advantage of it:
Video Tutorial Instructions
Step-by-step Instructions
Before anything else, it’s important you understand there are four different priority levels, each with its own labeling: Low (![]() ); Medium, which is the default mode and as such has no symbol; High (
); Medium, which is the default mode and as such has no symbol; High (![]() ); and Critical (
); and Critical (![]() ).
).

In addition, be aware that this feature is only applicable to Ingest operations. As we’ll only define our priority levels on its appropriate widget, feel free to create a new Ingest workflow as usual, or use an already existing one.
¶ Manual Operation
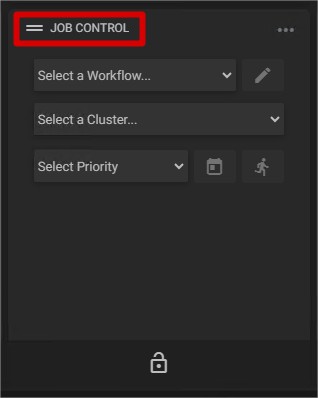
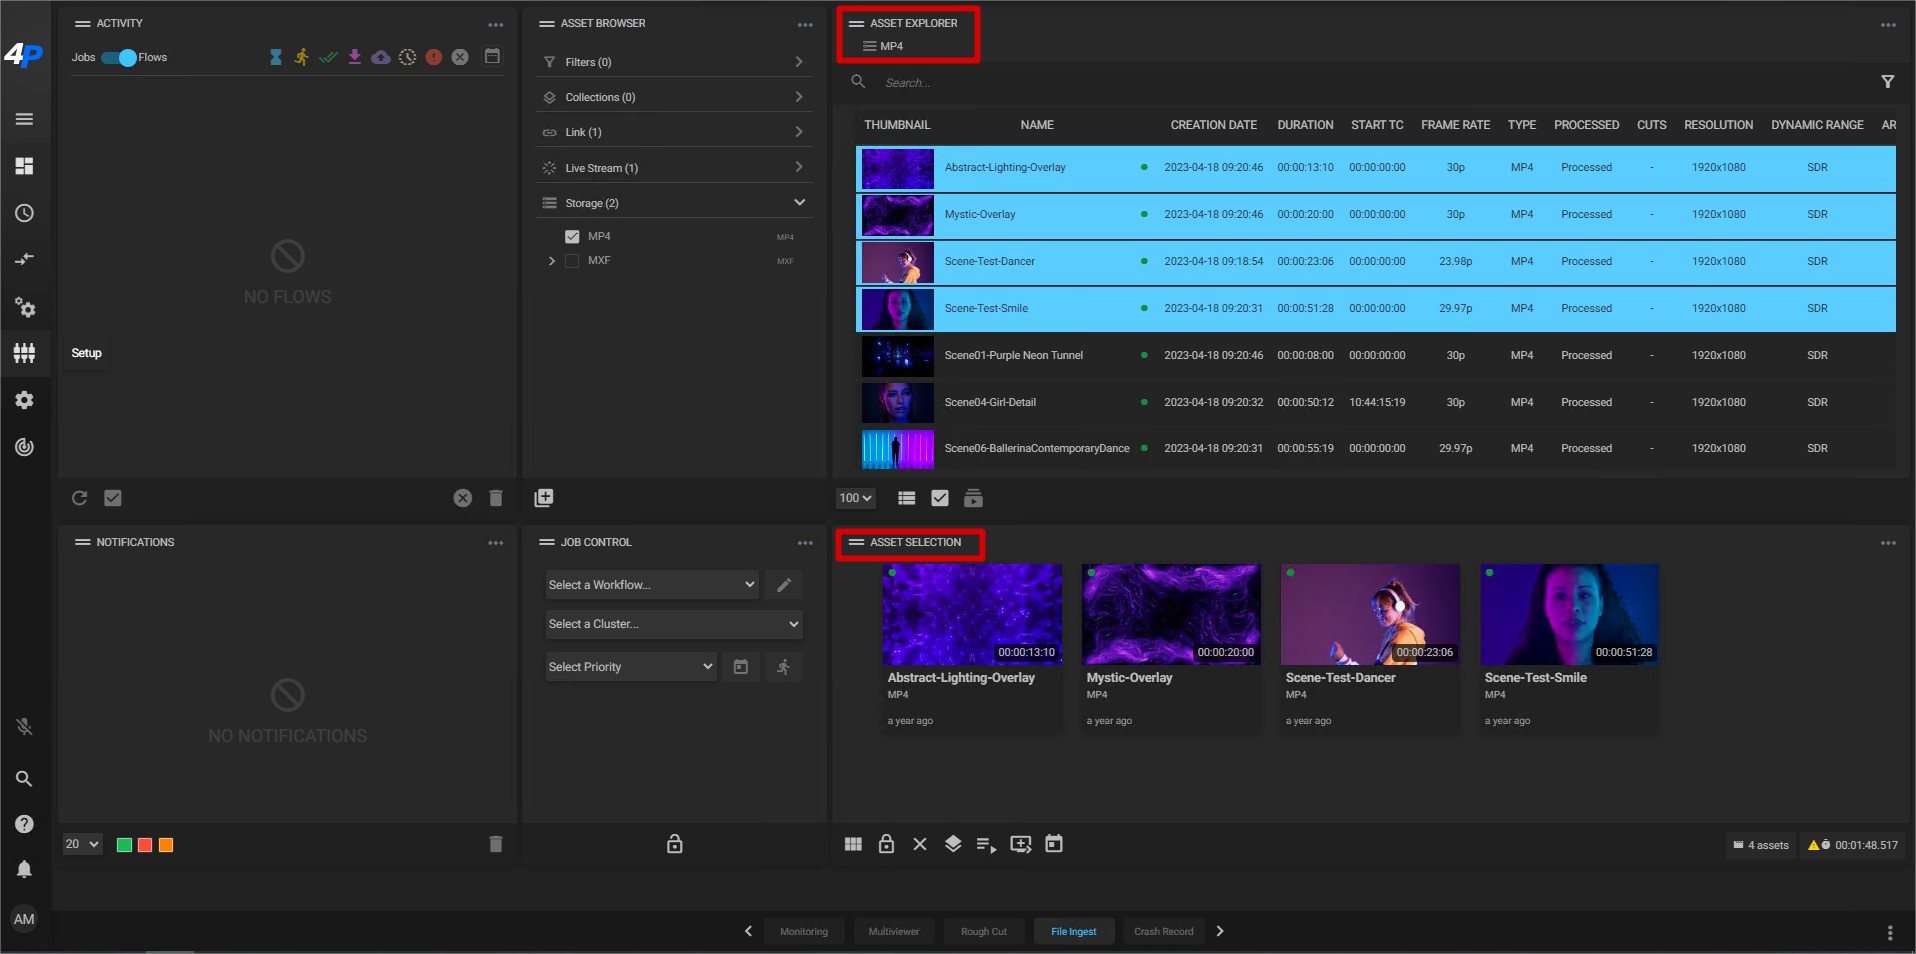
With your configured Ingest operation, go to your Dashboard. Here, if you don’t have it already, add a Job Control widget. Then, on Asset Explorer, select all the assets you wish to transcode:
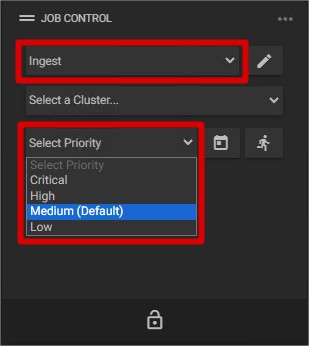
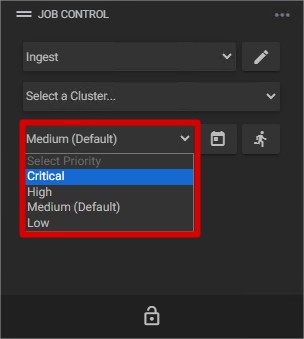
Now, on the Job Control Widget, select your desired workflow. Below, notice a new field called “Select priority”. Here, choose between the Low, Medium (default), High or Critical levels for the operation. In this case, we ran with Medium.
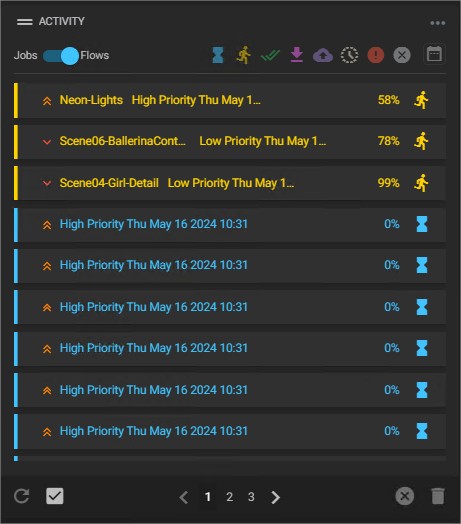
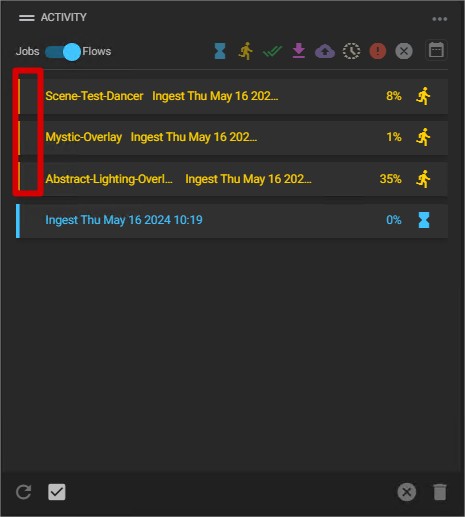
The priority levels are displayed on the Activity widget. As mentioned above, the Medium level won’t show any symbols.
Let’s now try and run the same operation but with a Critical level. You don’t need to stop your previous workflow.
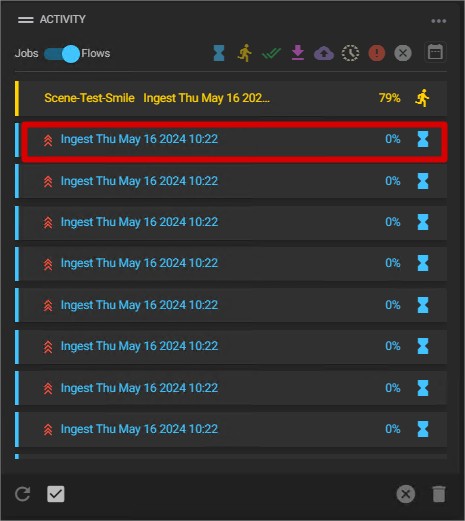
Since there’s now a Critical job running, the assets with a lower priority that had begun transcoding will complete the job, but the remaining ones will stay on hold until the Critical assets have successfully ran the operation.
¶ Automatic Operation
For the automatic operation, we’ll recur to automatic jobs (either static or dynamic), configuring one for each of the priorities we wish to apply. You can do that directly on the Dashboard by adding an Automatic Job widget.
Please take note that it isn’t possible to alter a job’s priority level after it has begun.
For the sake of discernment, we created a Low job for MP4 files, and a High job for MXF files, but you can configure them for all formats of media supported by our solutions.
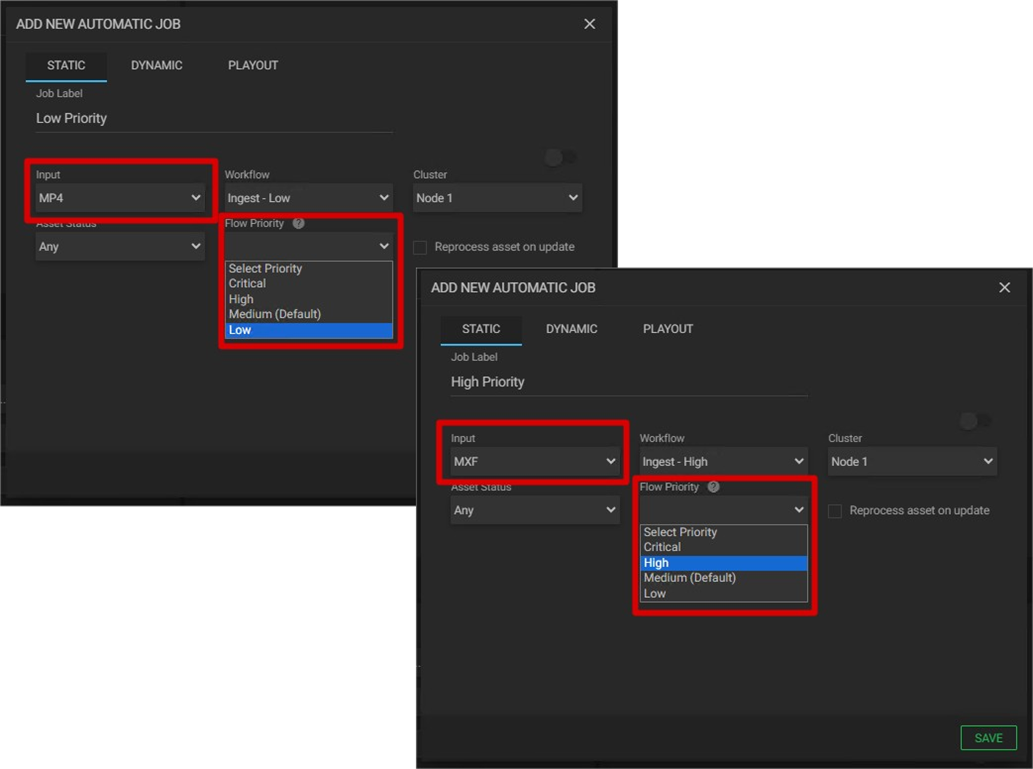
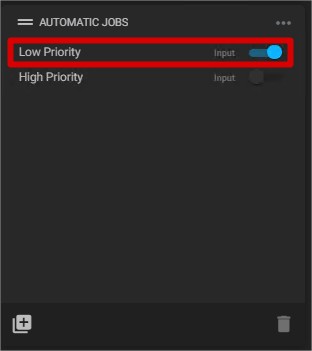
Once again, select your desired assets. Now, go to the Automatic Jobs widget and activate the lower priority job first – let’s apply it to MP4 files.
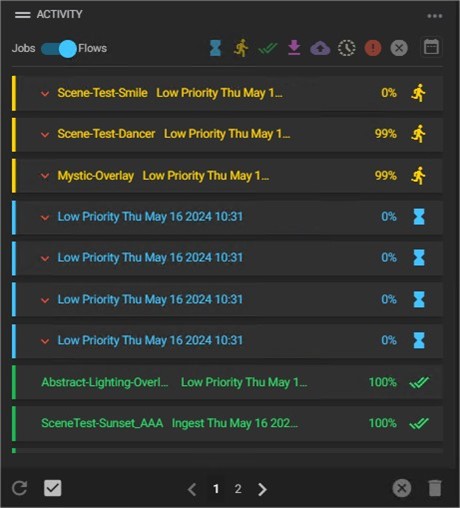
Whilst this job is running, activate the higher priority job, this time to our MXF files.
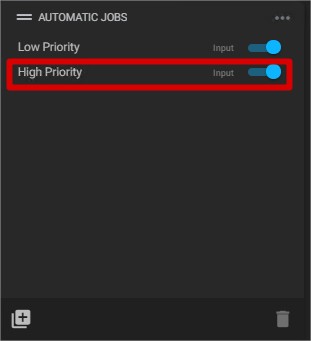
Once again, since we have a High level job against a Low level one, the High priority job will be prioritized. Our current MP4 assets with a low priority will finish the operation, but the remaining will be on hold until the High priority MXF assets complete their operation.
