¶ Graphic Burnt-in: Relative and Absolute Positions
Revision date: 05/apr/2024
MAM4PRO version: 2024.03.00_a7535f83_rc8
The compatible products with this feature are MAM4PRO, mDECK, mPORT, and mCODER.
We are thrilled to share a significant enhancement to your graphic experience with our applications.
It’s essential to personalize our content before delivering it to an audience, and with this new feature, you’ll be able to do so efficiently, ensuring that your day-to-day tasks are even simpler with our solid solutions.
Let’s see how to take advantage of it:
Video Tutorial Instructions
Step-by-step Instructions
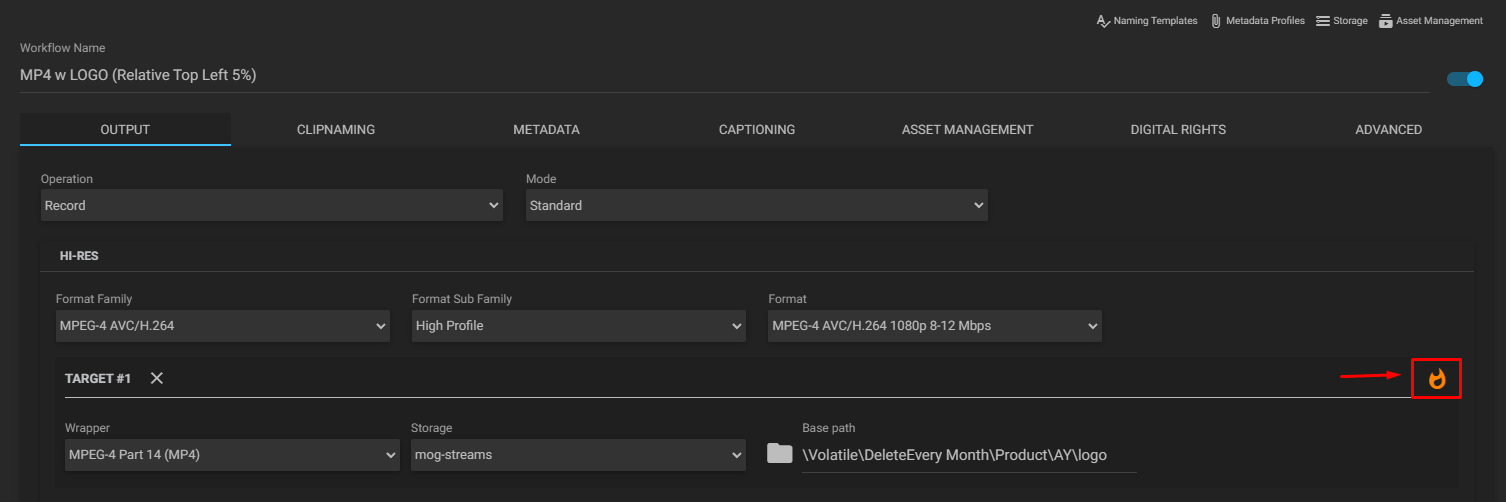
To burn a customized graphic in your content, access your MAM4PRO interface and go to the “Workflows” menu. Here, create a Record (or Ingest) Workflow, with your preferred configurations, making sure that the Burnt-in Timecode (BITC) icon is activated - it should appear in orange, as shown below:
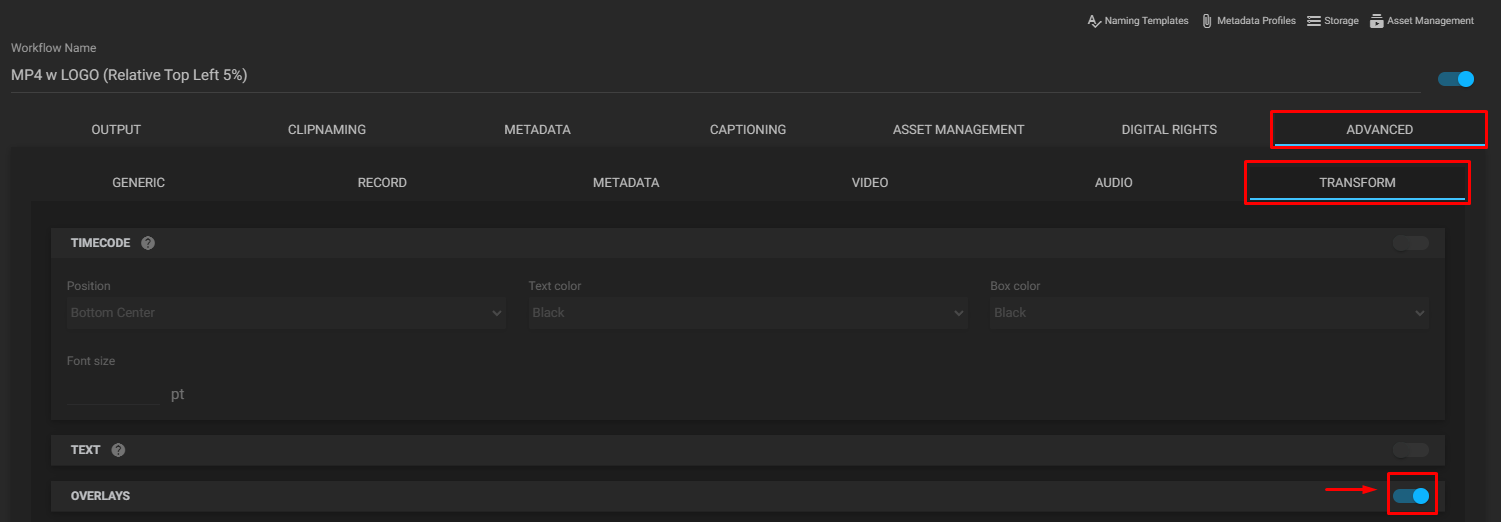
Then, go to the “Advanced” tab and select “Transform” which is the subsection where you can find all graphic-related configurations. There, click on the “Overlays” switch to activate it:
Now that we have activated the “Overlays” section, we must configure it. To do it, select your Storage Server and the path where your desired graphic file (.png) is located. Please, make sure to mark its Behavior as Freeze:

¶ Relative Position
With the Overlay activated and selected, let’s see how to use the Relative Position option. First, select the Graphic’s Position and Size in percentage:
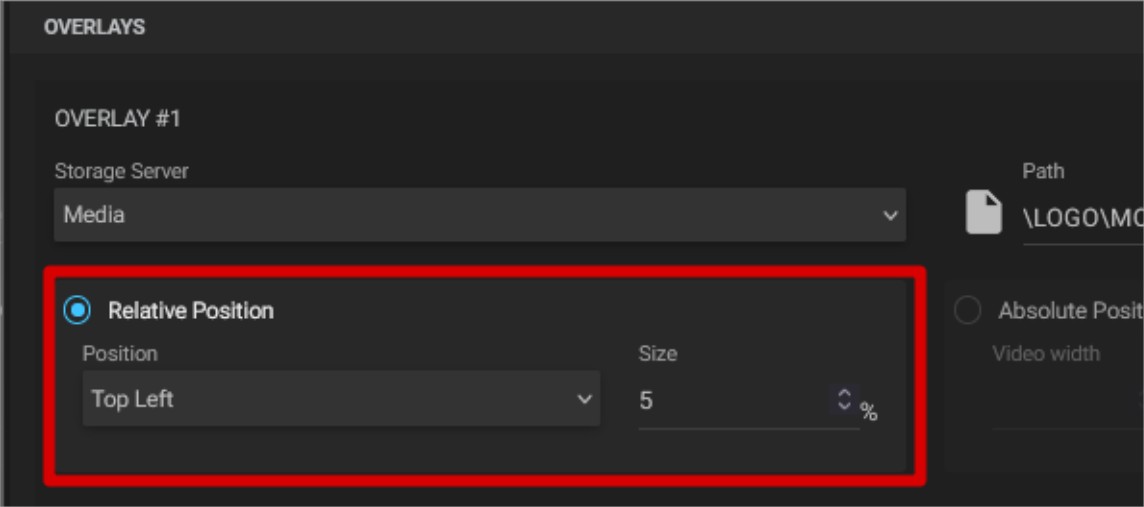
The configuration part is done! Save your workflow, go back to your “Dashboard”, and start recording/transcoding.
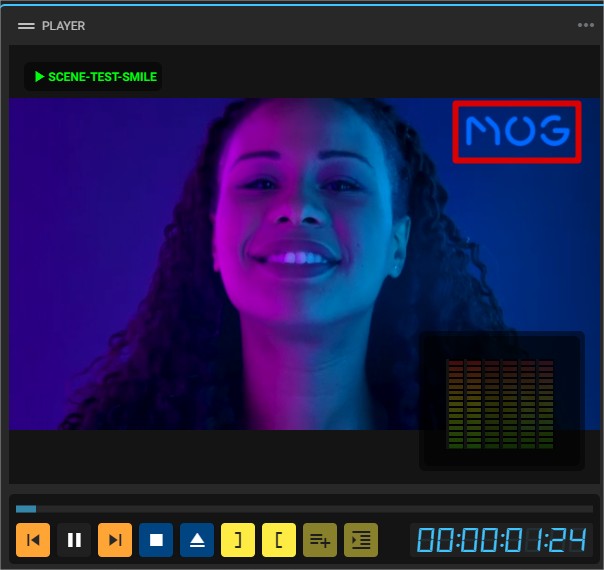
Next, all we need to do is view the final result by opening the recorded file and playback it to check the Graphic Burnt-in:
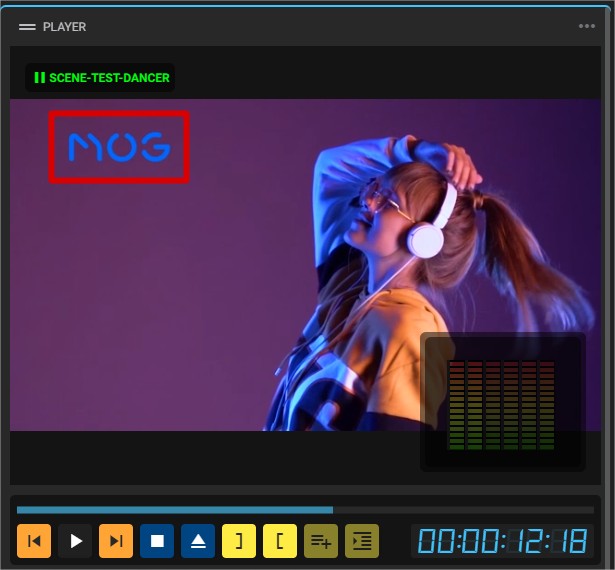
Our graphic file is in the desired position! Repeat this process until you are satisfied with the final result. Feel free to experiment with the different Relative Positions as well.
¶ Absolute Position
Moving on to the Absolute Positions option, we must first refer to a graphic editor to help us find the exact size and position of the .png file (e.g.: Pixlr). This facilitates the process:

Using a template with the same resolution of the video (in this case 1920x1080 pixels), we created a Safe Area, calculating 90%x90% of our resolution pixels:
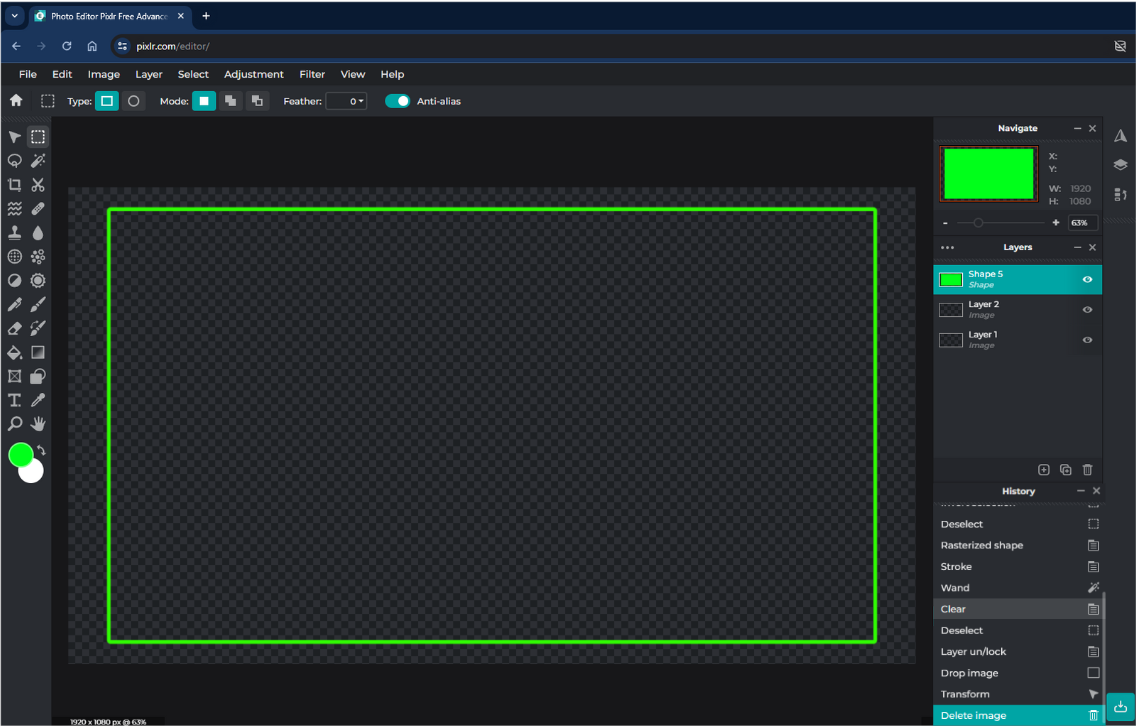
Add your desired graphic file into it and resize and position it as you wish:
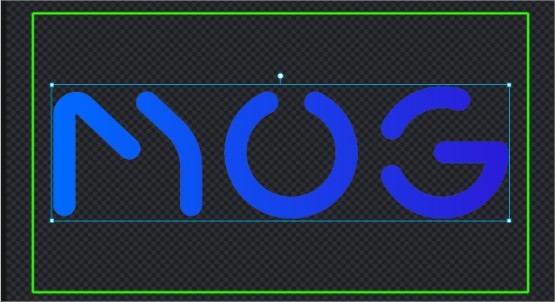
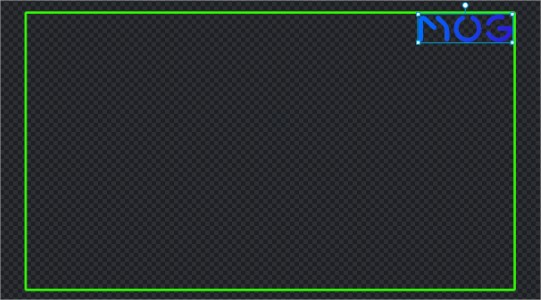
Check the Position and Size of your graphic on the template. Then, go back to your Workflow Profile and type in your Absolute Position settings:


Like on Relative Position, save the Workflow and run it back on the “Dashboard”. Playback the resulting file to check the position of your graphic Burnt-in file.
