¶ Asset Selection
Revision date: 09/aug/2024
Software version: 2024.06.00
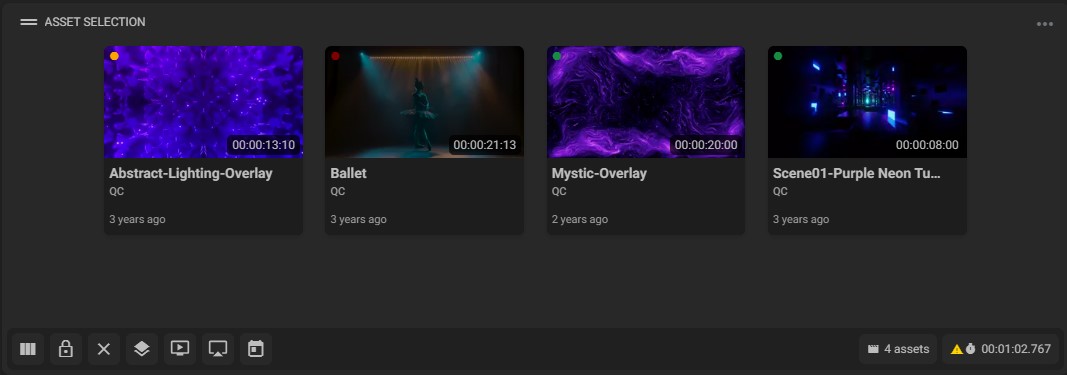
The “Asset Selection” widget displays all assets that have been selected in the Asset Explorer widget. It is also used to visualize which assets are to be ingested/played.
Tip: dragging an asset from the “Asset Selection” to the “Job Control” will start the previously selected workflow and to the “Player” will start its preview.
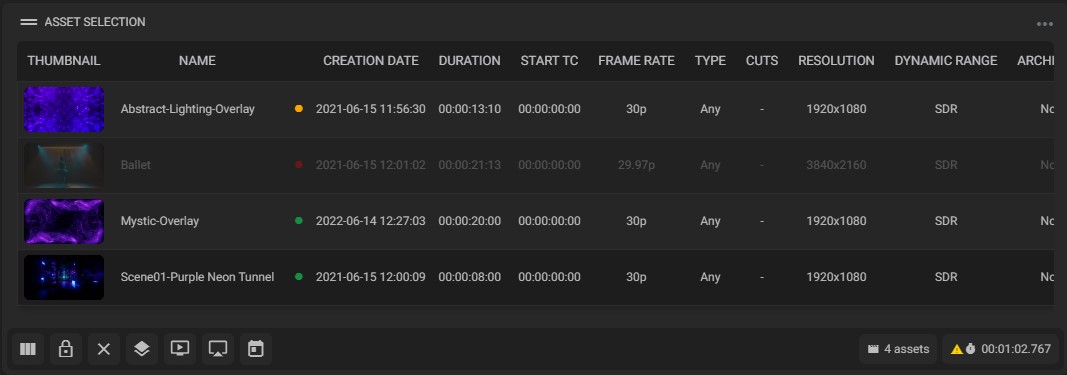
It can be displayed in a grid or list. See below how to change the display mode.
Grid View
List View
As with the Asset Explorer widget, you can also check the status of the asset in the Asset Selection widget.
Availability indicators can be:
- Green circle: both high-res and low-res proxy media are available online;
- Red circle: high-res and/or proxy media are missing, or asset is archived;
- Orange circle: low-res proxy media is available online and the high-res media is offline or archived;
 : the asset is an online live stream;
 : the live stream is offline.
Note: to update the status of an asset that is a live stream, simply select it.
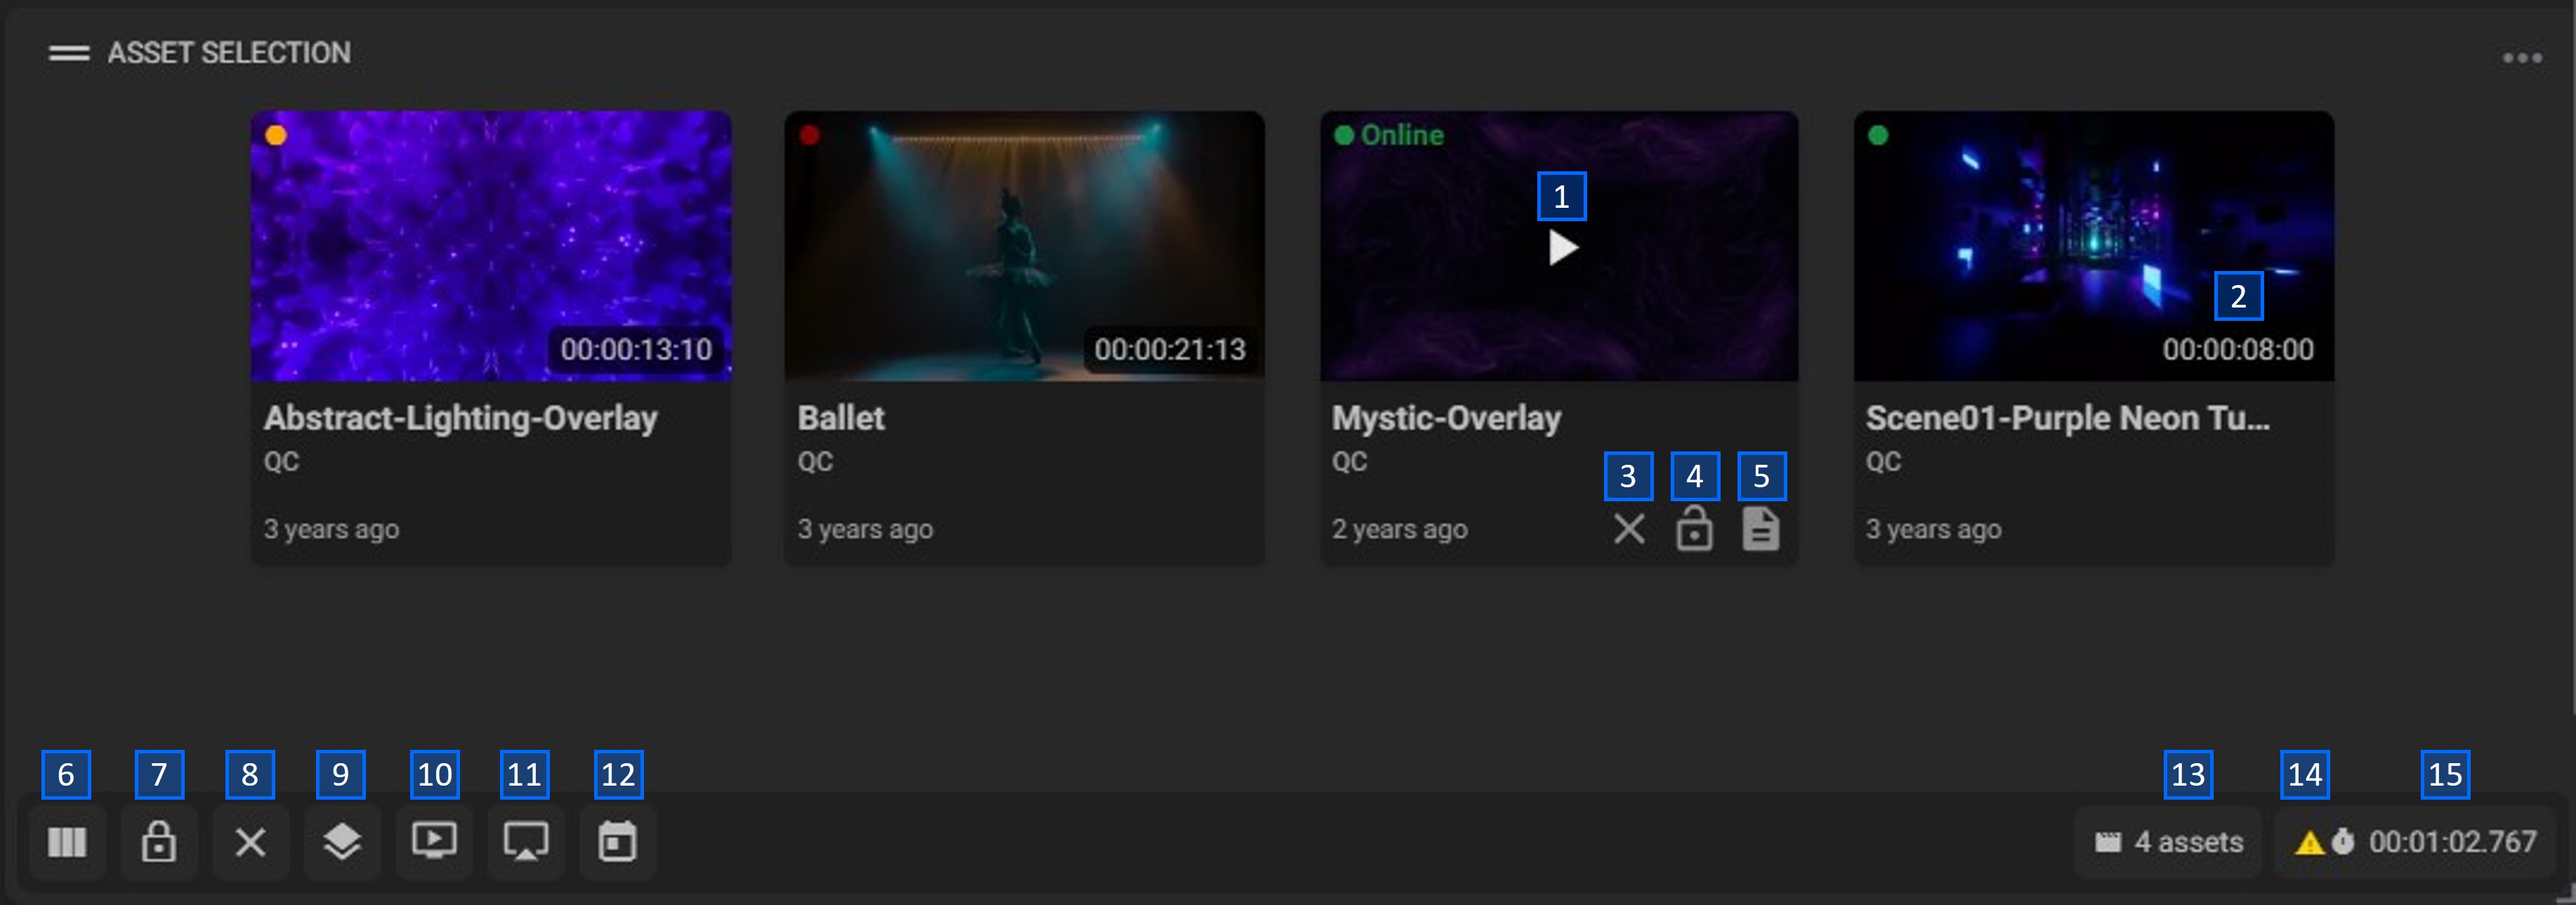
This widget’s options are:
-
Play: if a player is configured on the dashboard, click this button to play the asset;
-
Duration: shows the total asset duration;
-
Remove: click to remove the asset from the selection;
-
Lock/Unlock: click to lock/unlock the asset to the selection list. When locked, an asset cannot be removed from the list;
-
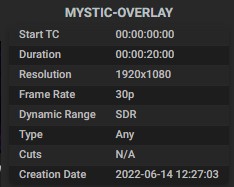
Info: hover the mouse to see detailed information about the asset;
- Change view: click to alternate between "Grid" and "List" views. After clicking this a pop-up below will appear to set up the mode view:
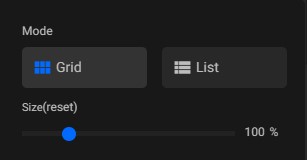
- Mode: click to change the view between grid or list view;
- Size: in the box, drag the circle to the right and left to respectively increase or decrease the size of contents.
- (reset): click to reset the view size to 100%.
- Lock/Unlock all: click to lock/unlock all assets on the selection list;
- Remove all: click to clear the asset selection list;
-
Manage assets collections: when clicking on this icon, a new pop-up will appear. This pop-up allows you to check-in or check-out assets in a collection;
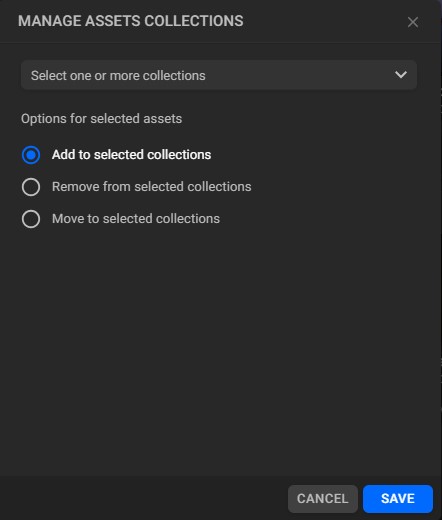
- Select one or more collections: click to select one or more collections for which assets will be added or removed;
- Add to selected collections: click to add assets to selected collections;
- Remove from selected collections: click to remove assets from selected collections.
- Playback options: by clicking this button you can choose how to play the selected assets:
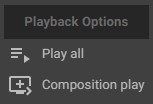
- Play all: click to play all selected assets in succession. When pressing this button, an options menu will open, allowing you to play all the assets directly through the Player itself or add them to a playlist on the Playout Control widget;
- Composition play: click to play, up to 9 assets, all at the same time on the same viewer.
- Add to playout control: by clicking this button, you can add or edit a playlist with the current asset selection directly in the Playout Control widget:
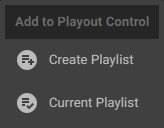
- Create playlist: click to create a new playlist with all selected assets;
- Current playlist: click to add the assets in the Asset Selection widget to the playlist currently selected in Playout Control.
Schedule assets: schedules the playback of the selected assets. By clicking this button, the following form will be displayed for configuring the event:
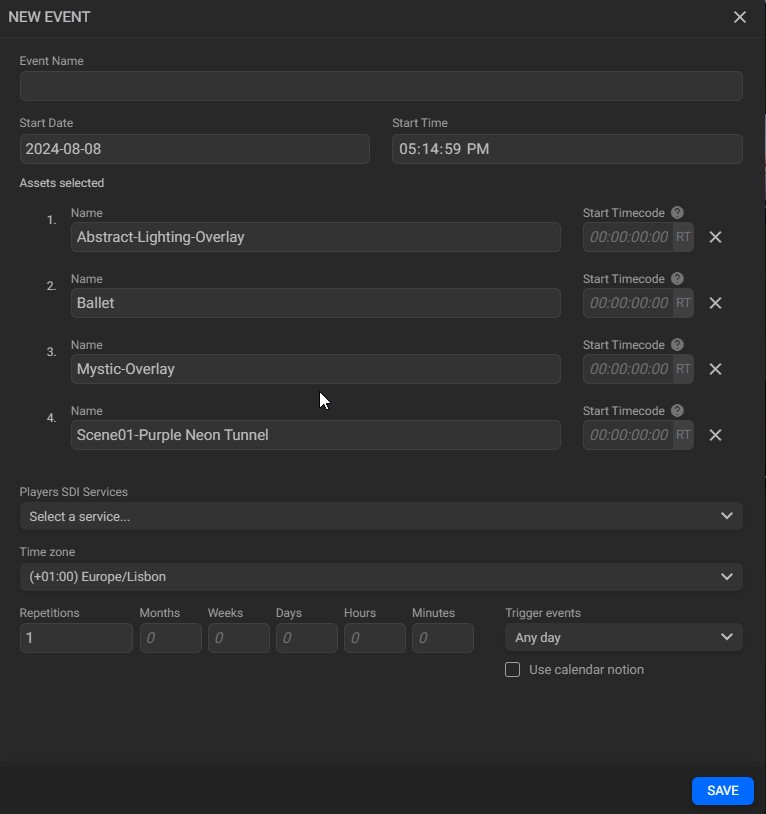
Configure the event by filling in the fields below:
- Event name: enter the name of the new event;
- Start date: click to select the start date of the event in the calendar that will open;
- Start time: click to select the start time of the event in the calendar that will open;
- Asset selected name: shows the asset name. Click on this field to edit its name;
- Asset selected start timecode: shows the asset’s playback start timecode. Click on this field to edit it;
- Players SDI Services: select the player service that will be used to play the asset;
- Time zone: click to select the time zone;
- Repetitions: enter the number of repetitions. If there are one or more repetitions of an event, you can configure the frequency with which it will be repeated using the “Months”, “Weeks”, “Days”, “Hours”, and “Minutes” fields;
- Trigger events: select when events will be triggered (any day, only working days, or only weekends);
- Use calendar notion: tick this option to account for time shifts (Daylight Savings Time, Time Zone shifts, etc.).
Note: a playlist is shared between all repetitions of an event. Changing it will apply the changes to all repetitions in a sequence.
Note: you will be able to edit the events created through the Calendar module. Please see page “Edit Event" for how.
- Asset number: shows the number of selected assets;
- Multiple rates warning: when the selected assets have different rates, a warning icon is shown informing that the system is unable to display the duration in frames;
- Total duration: shows the total duration sum of all selected assets in frames (HH:MM:SS:FF). If the chosen assets have different frame rates, the "Total duration" will be shown in milliseconds (HH:MM:SS.ssss)
Notes:
- When playing an asset by pressing the "Play" button, if multiple players are available, the asset will be played on the currently selected player. The player selected is the one with a blue horizontal bar at the top of the widget;
- When in touch mode, it is possible to move an asset from the asset selection. To do this, long-click on an asset and move it anywhere;
- Drag an asset from the "Asset Selection" to the "Player" will reproduce the asset.
¶ Widget Settings
There is also an extra “Settings” window. To access it, in the upper right corner of the widget, click on the “Options” menu and then on “Settings”.
The “Columns” tab allows you to choose which asset metadata to display and where to position the action options that are highlighted with a yellow border.
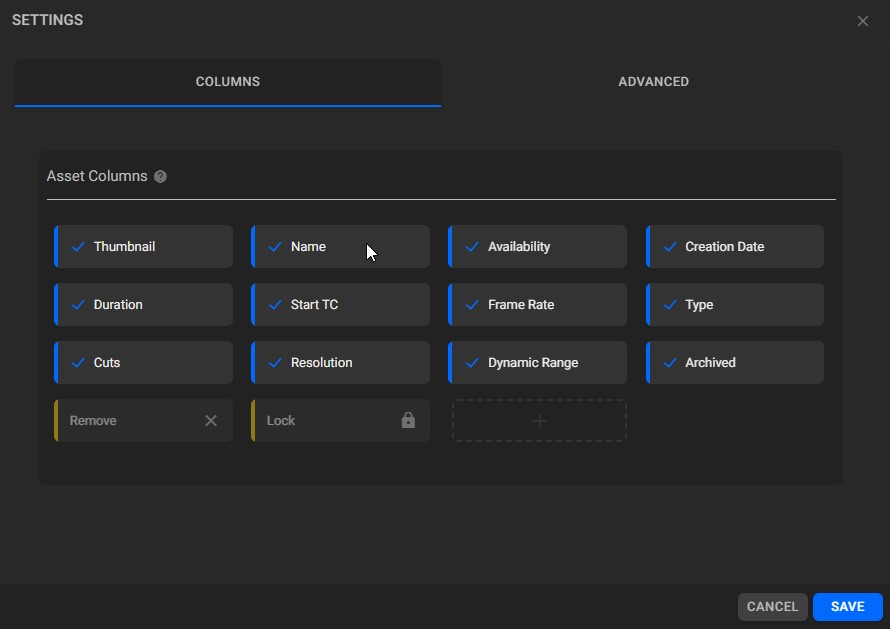
You can change the order of columns by clicking on the column boxes and dragging to the desired position.
The “Remove” action allows you to remove assets from the asset selection and the “Lock” option blocks assets in the list.
The “Advanced” tab presents the following options:
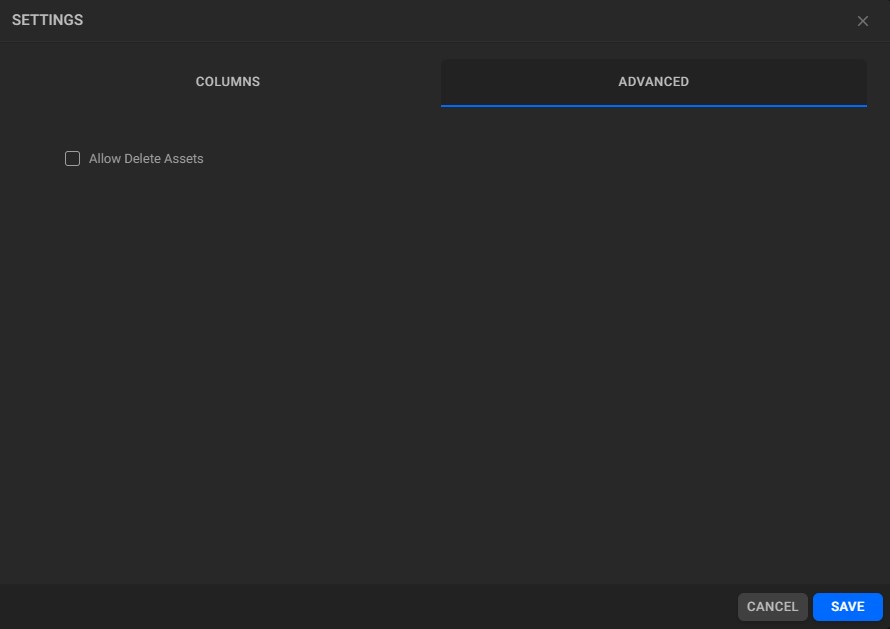
- Allow delete assets: if selected, it will present a button in the lower right corner of the widget that will allow the permanent deletion of the asset. This option does not allow deleting AVID Clips.
