¶ Configuring Virtual Screens
Revision date: 10/aug/2022
Vizzi version: 1.12.0
With Vizzi’s virtual screens, you can create rooms to make your content available centrally while interacting with the public. This way, viewers will feel even more involved and right in the middle of the action.
Let’s see below how to perform this.
¶ Configuration
To add a virtual screen, go to the “Virtual Screens” menu and click the “CREATE” button at the top right of the screen, and in the “GENERAL” tab, fill in the “Name” and “Description”:
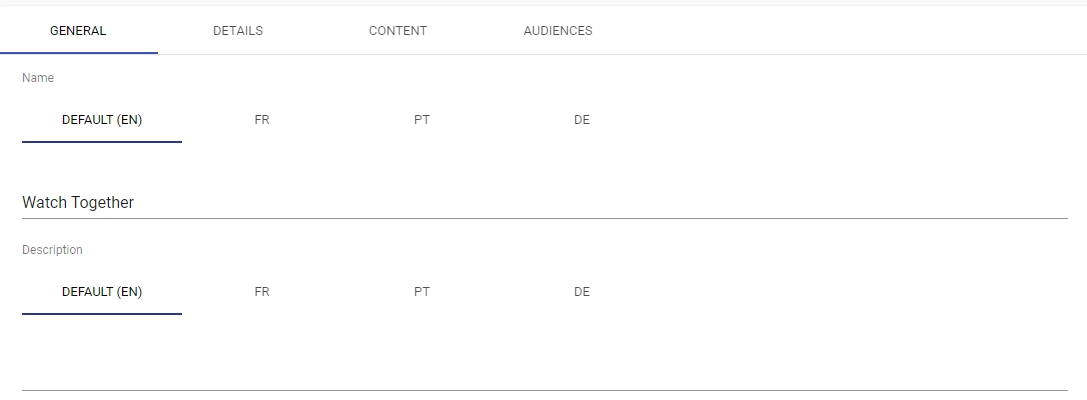
Then, on the “DETAILS” tab, insert the template name provided by MOG:

If you want, in the “Owner” field, you can select a previously created customer that will have control over the virtual screen, and you can specify a day and time for virtual screen availability, in the “Start” and “End” fields.
After that, in the “CONTENT” tab, select on the “Content” field what collections belong to this virtual screen:

If applicable, select in the “AUDIENCES” tab a previously created audience that should have access to the virtual screen:

Leaving it empty will allow any user to have access. In this way, specifying audiences will limit access to users belonging to that audience.
¶ Accessing a Virtual Screen
Access to virtual screens is done either directly by navigating to a URL within a browser (only when the login is previously performed in another browser tab) or by using “Go To” actionable that are presented in the frontend.
Check how to add an actionable here. When creating it, enter the URL according to the structure explained here.
If accessed by an actionable, remember to associate the actionable with the intended VOD or Live by editing one of them and adding it to the Actionable tab:
¶ VOD

¶ Live

Note: a collection holding the chosen VOD or Live should be previously configured in the virtual screen content list.
After associating the actionable, when opening the video in the frontend you will see the Actionable button:
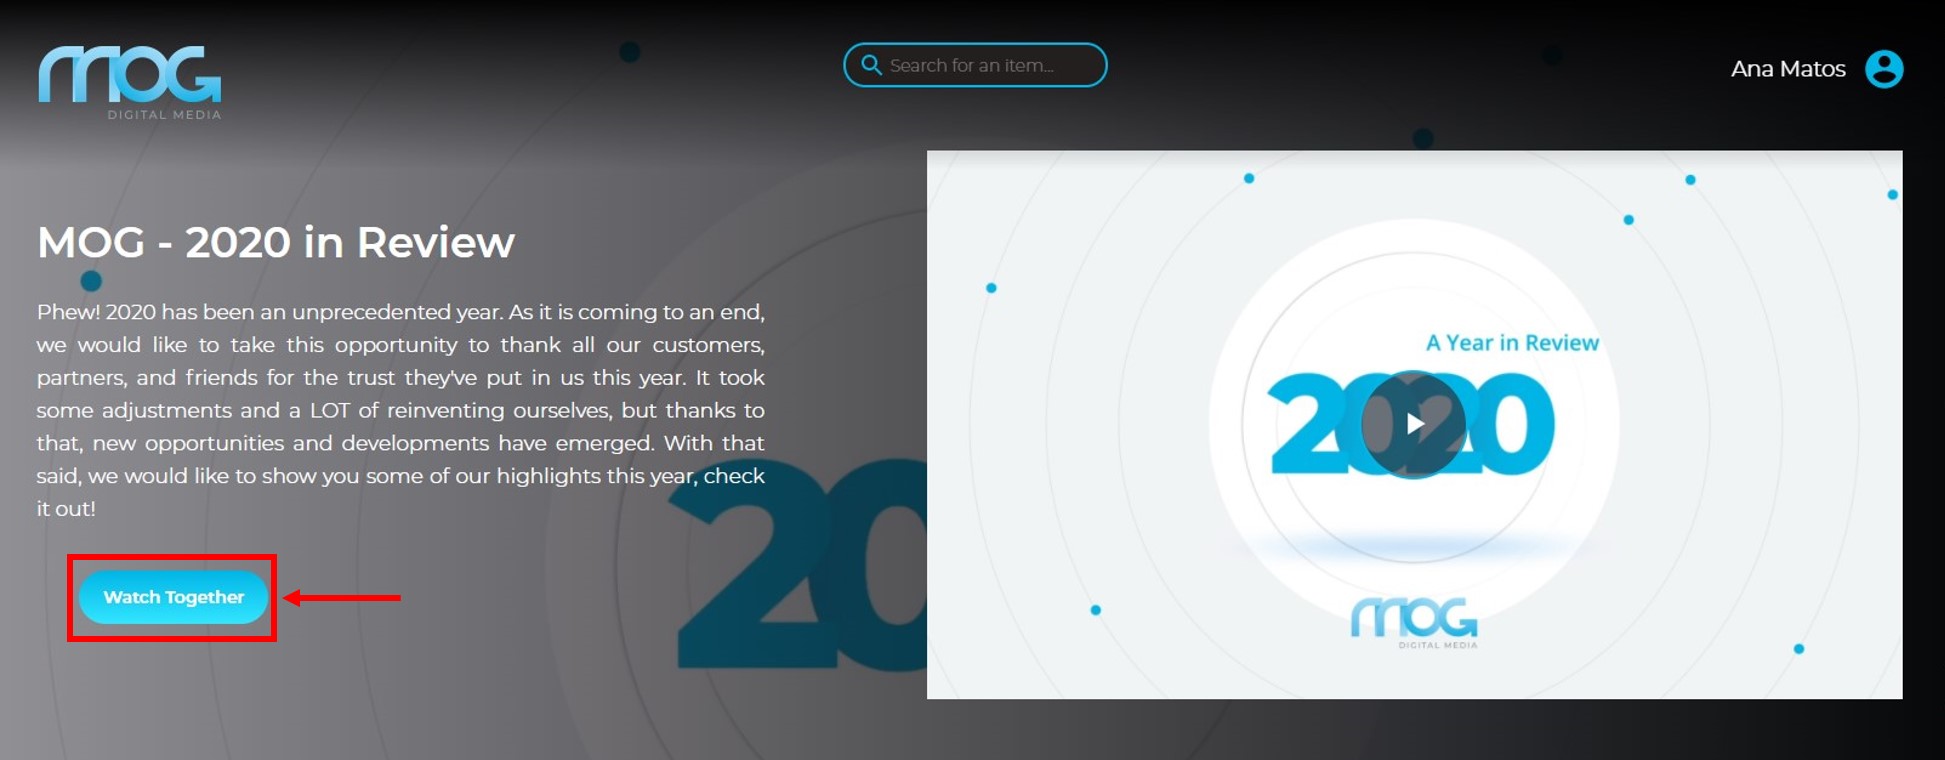
Click on it to navigate to the virtual screen.
¶ Viewing Profiles
If you are logged into the frontend with a virtual room owner account, your screen will look like this:
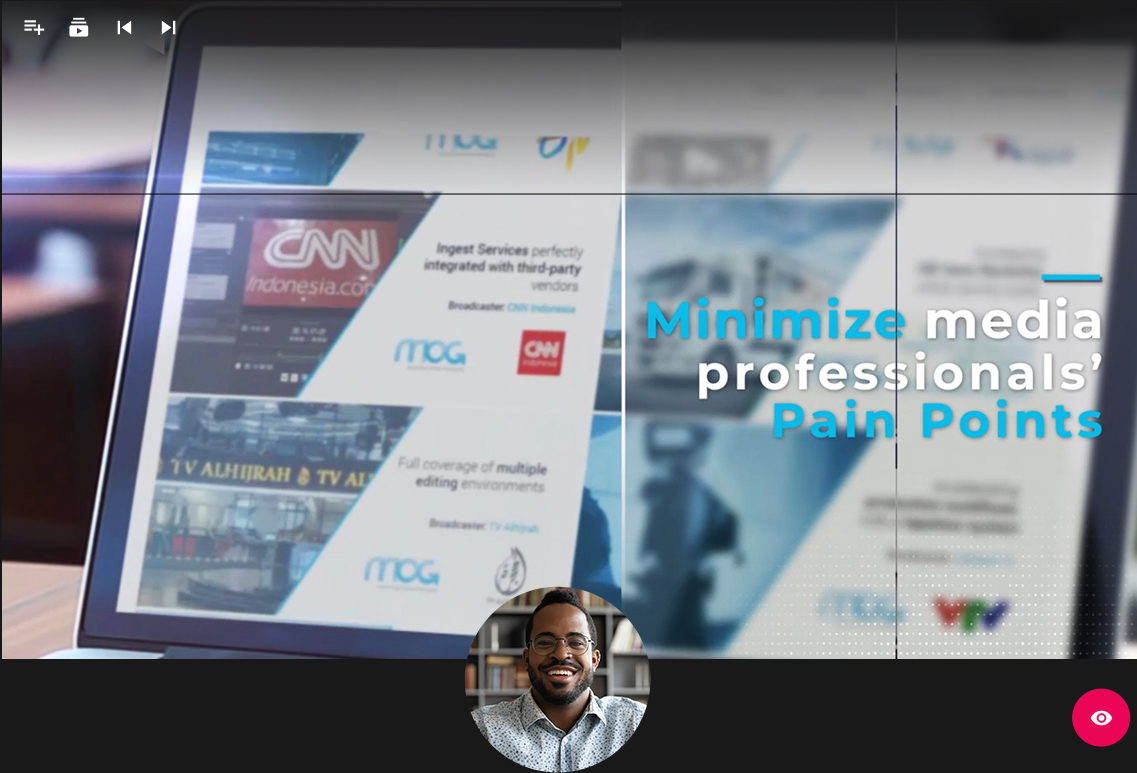
In this view, you will see the following controls (from top left to bottom right):
- Add content to the virtual screen: shows the content that can be displayed on the virtual screen. To add a video to the queue, click and drag it to the center of the screen:
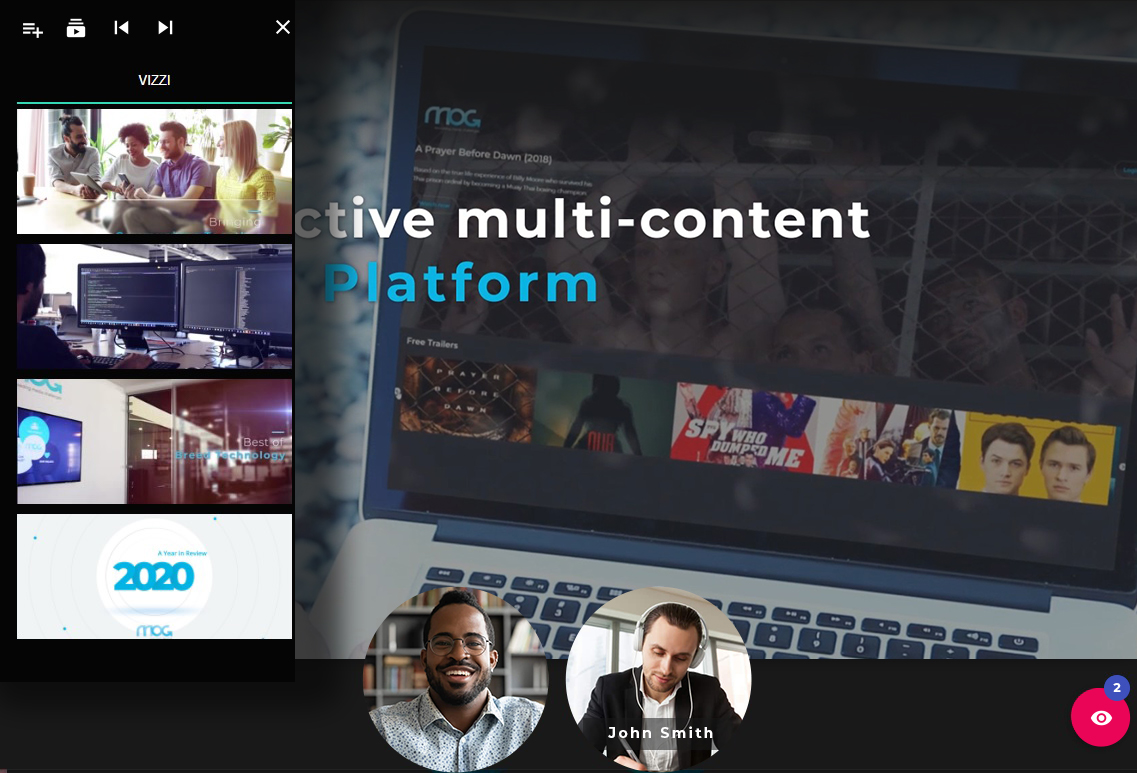
- Content queue: shows the contents queued for display. Contents can be added (by drag-and-drop) or removed (by clicking the delete button to the right of the content);
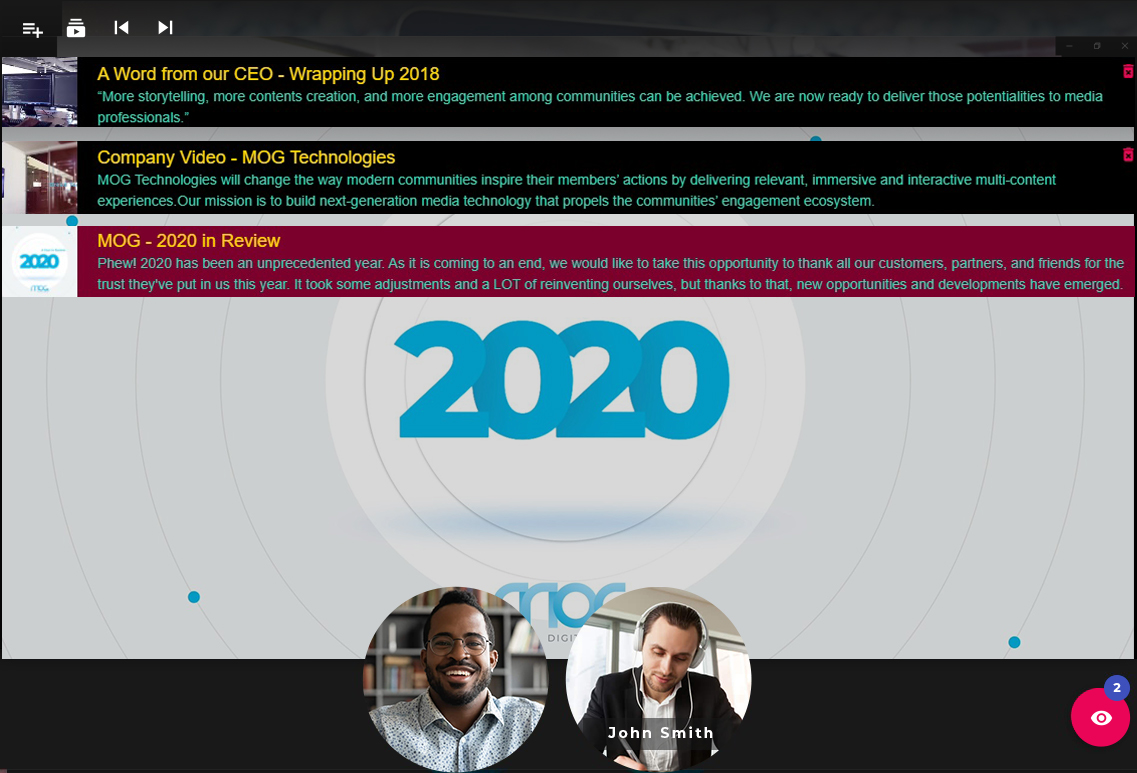
- Previous content: click to switch to content prior to current in the queue:
- Next content: click to switch to the next content in the queue;
- Spectator image and control: in the bottom center of the screen, it is possible to view the viewers’ camera. By hovering over participants’ videos, you can enable or disable your camera and enable or disable your and other participants’ audio;
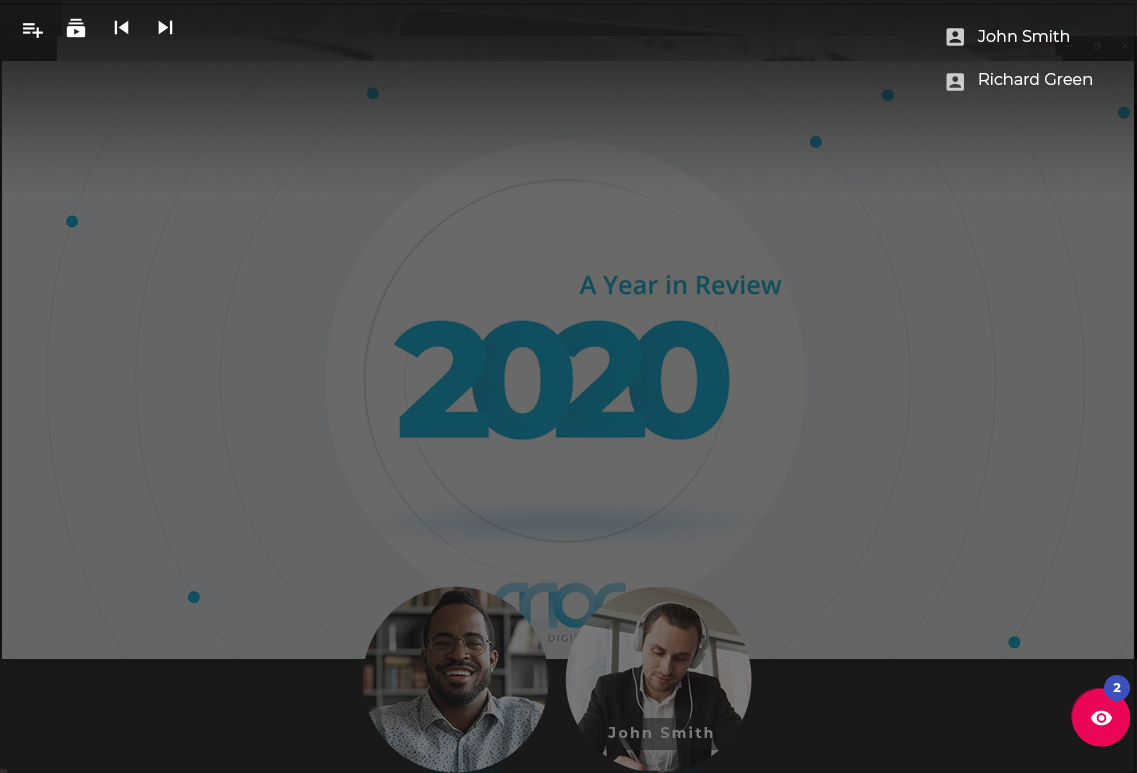
- Watchers: this button shows the current number of users who entered without sharing the camera (bottom right corner of the screen). By clicking on this button, the list of watchers will be presented, as in the image below:
If you are logged into the frontend with an audience account, your screen will look like this:

At the bottom center of the screen, you can view the viewers’ camera. By hovering over participants’ videos, you can turn your camera on or off, and mute or unmute yourself and other participants.
Note: for the audience, access is allowed whether logged in to the frontend or not, but if the virtual screen has been configured for a specific target audience, only those who are part of the public will be allowed to view and, for this, the client must be previously logged in to the frontend.
For more details, please refer to Virtual Screens page.