¶ Creating a VOD
Revision date: 25/mar/2022
Vizzi version: 1.12.0
There are 3 ways of adding VODs to Vizzi:
- Manually, by uploading the video file, allowing Vizzi to generate information, thumbnails, posters, and different video qualities automatically in the background;
- Manually, by typing all video quality links and setting thumbnails and posters;
- A VOD can be uploaded and configured automatically, by using the Vizzi Core API. This can be done by any 3rd party service or in our case by an existing integration with MAM4PRO.
Here, we will focus on the 2nd approach.
¶ Let’s see how to perform this
First, go to the “VODs” menu and click the “CREATE” button at the top right of the screen, and in the “GENERAL” tab, fill in the information about the content
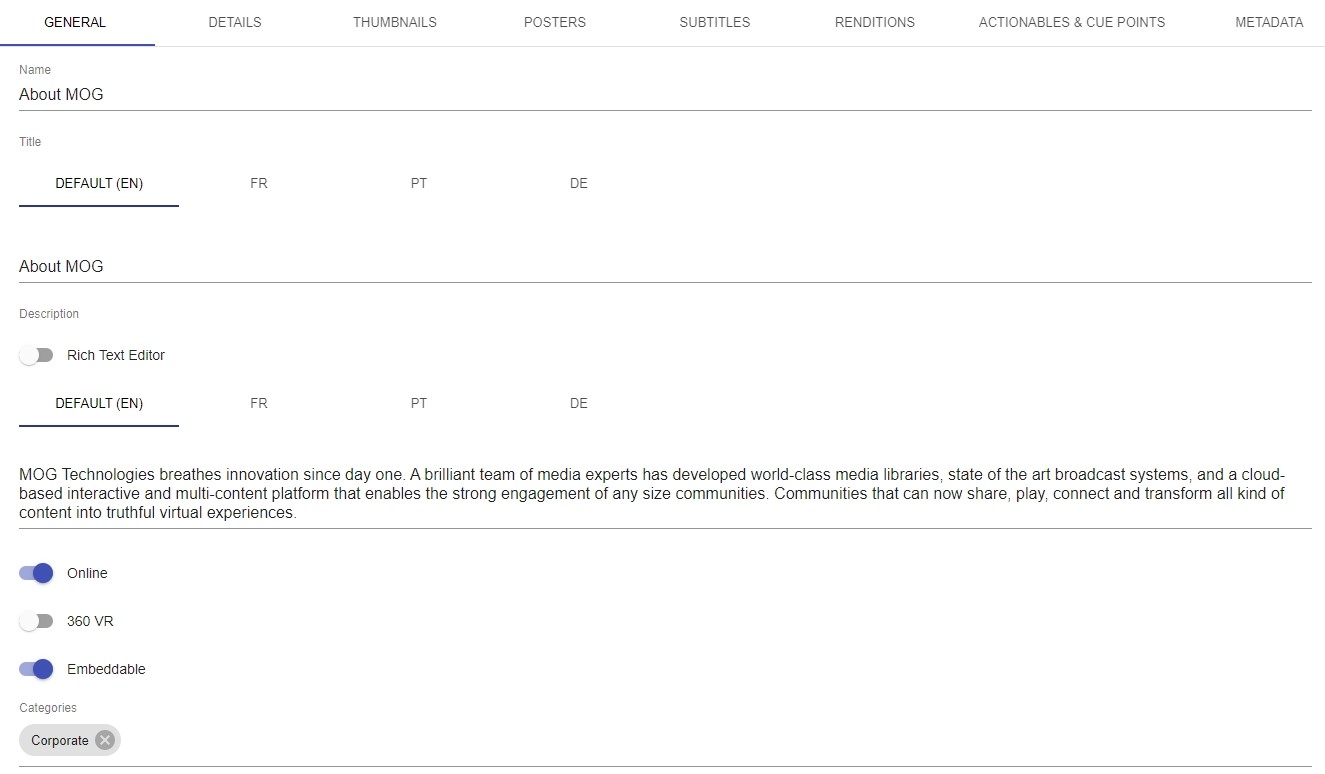
To make the media viewable on the frontend, that is, by the end-user, check the “Online” option. If the content is virtual reality, check the “360 VR” option and if you want the content to be available for embedding on third-party websites, check the “Embeddable” option.
Note: for VOD to be present in the frontend, it must be included in an online collection and a product.
The “DETAILS” tab is not mandatory, but it is there that you can configure the duration of the video in seconds and the day and time of the start and end of the exhibition. In addition, in the “Preview” field, it is possible to add another previously added VOD, which will work as a preview, if this content is included in a paid product.

If the content is subject to parental control, check the “Require Parental Pin” option, causing the video to be viewed only after the pin has been inserted.
If you want to add thumbnails and posters go to the corresponding tabs, click the “ADD” button and enter the URL of the image in the “URL” field or click the gray box to select an image:
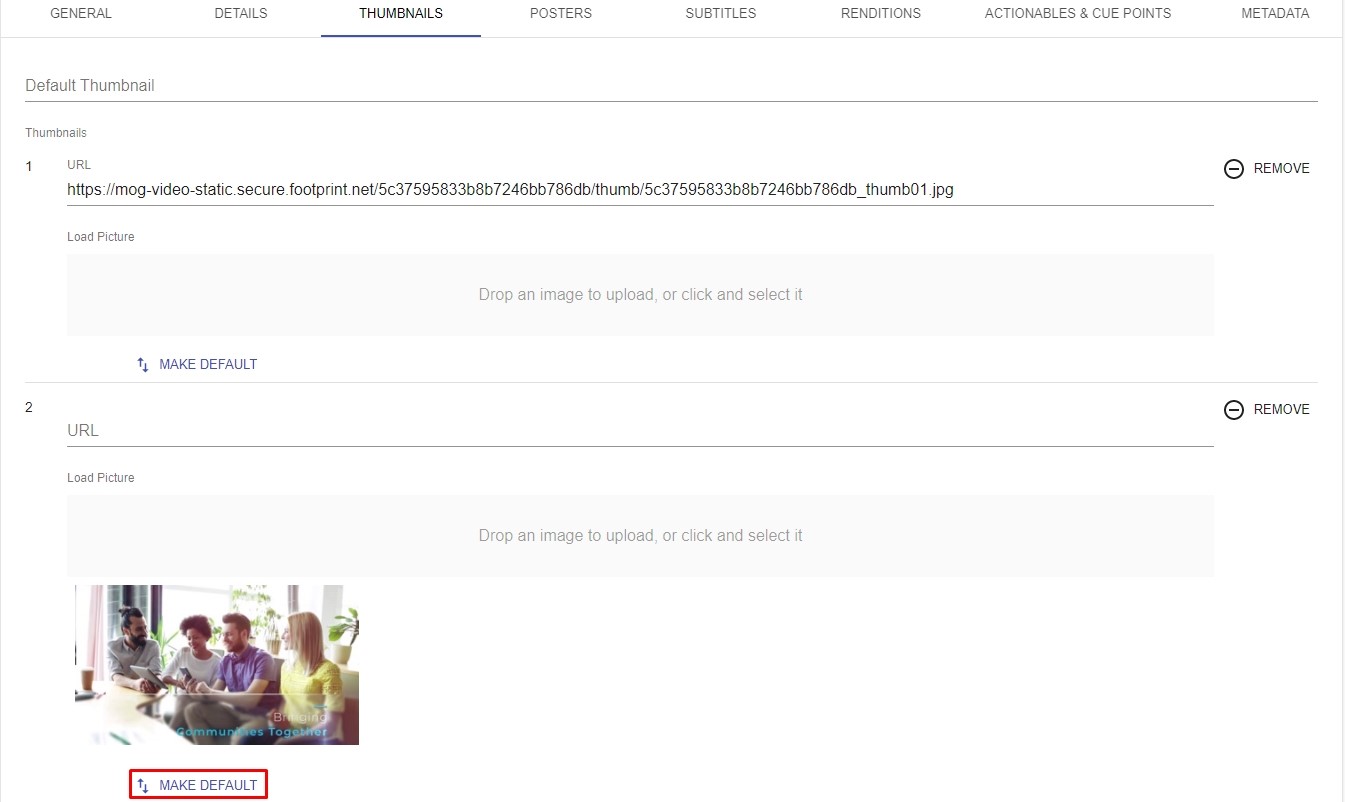
After the images are added, click the “MAKE DEFAULT” button to set the default image.
If you want to add subtitles, in the “SUBTITLE” tab, click on the “ADD” button, select the language according to ISO 639, and enter the URL or click the gray box to select one that must be in WebVTT format:

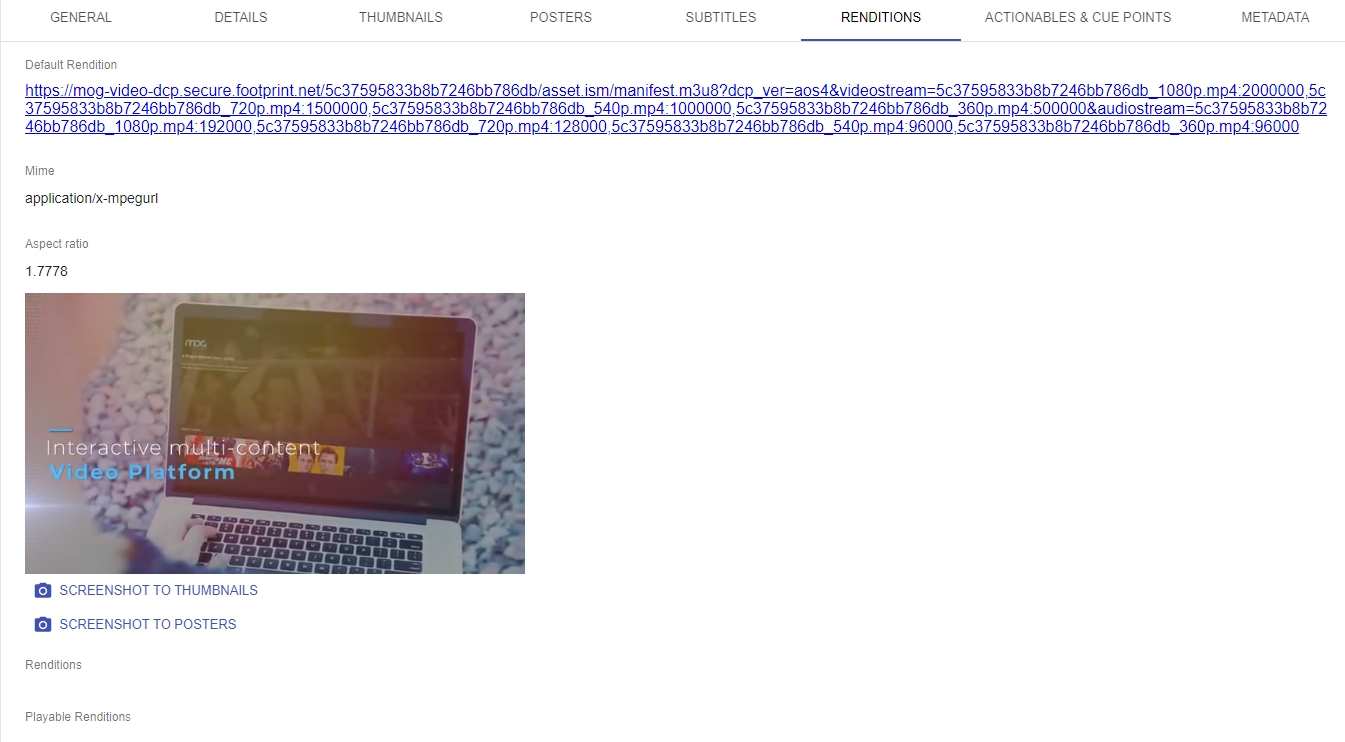
The “RENDITIONS” tab is mandatory and is where the default render URL, mime, and aspect ratio are defined:

If you want to add another alternative quality to the video, click the “ADD” button (below the “Renditions” field) or if you want to add another video play format, click the “ADD” button (below the “Playable Renditions” field).
The “ACTIONABLES & CUE POINTS” tab is optional. There, one or more previously created actionable can be assigned to be triggered along with the VOD:
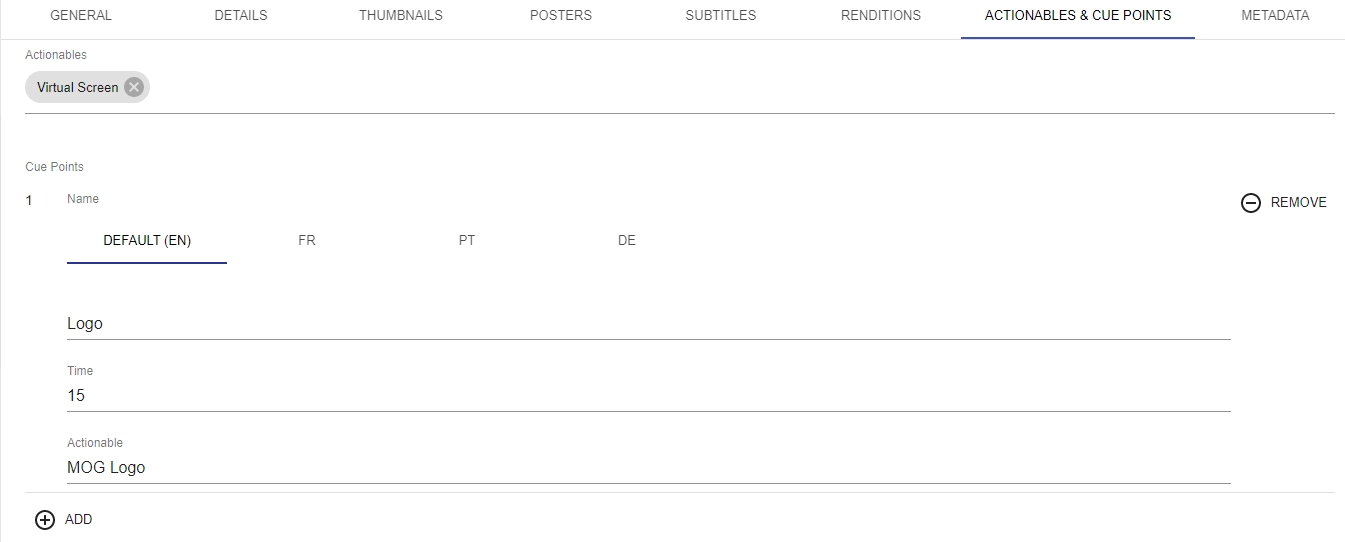
The “Overlay”, “Generic Event”, and “Webhook” actionable types must be inserted in the “Cue Points” section to determine the time they will be triggered. To do so, click on the “ADD” button and configure the fields as in the example above.
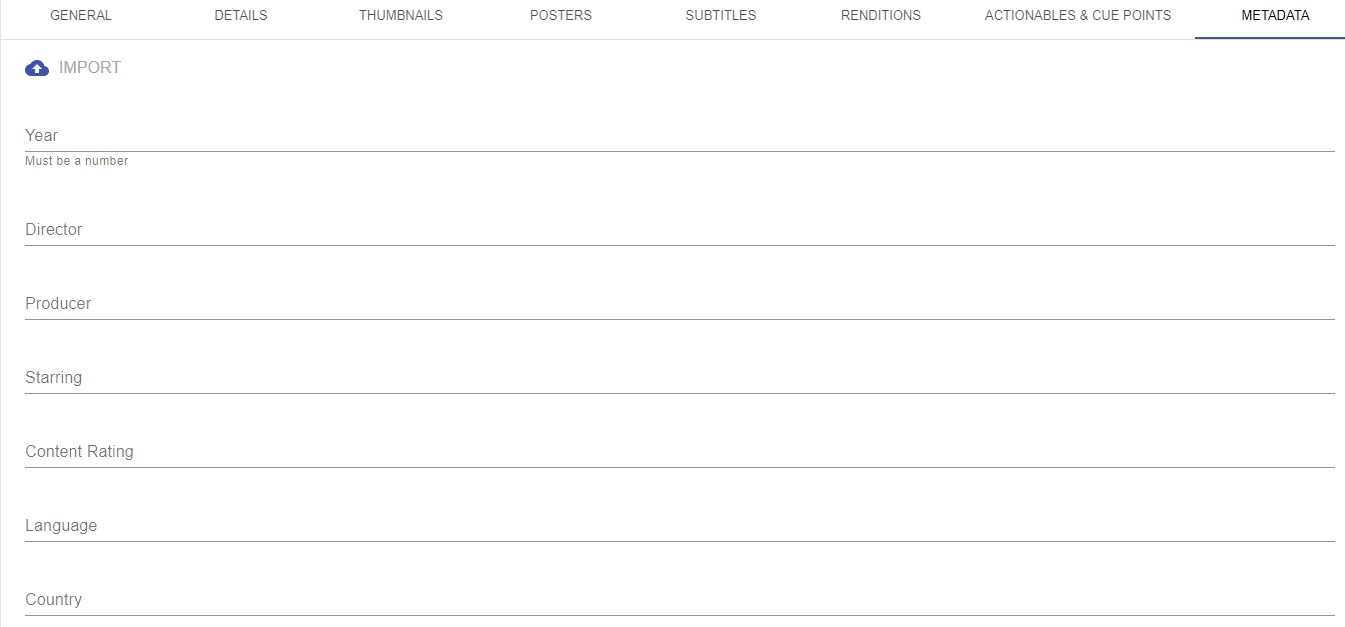
Finally, if applicable, on the “Metadata” tab, fill in the VOD metadata information:
Once this is done, click the “SAVE AND SHOW” button and you are good to go.
For more details on how to configure a VOD, please refer to chapter VODs.